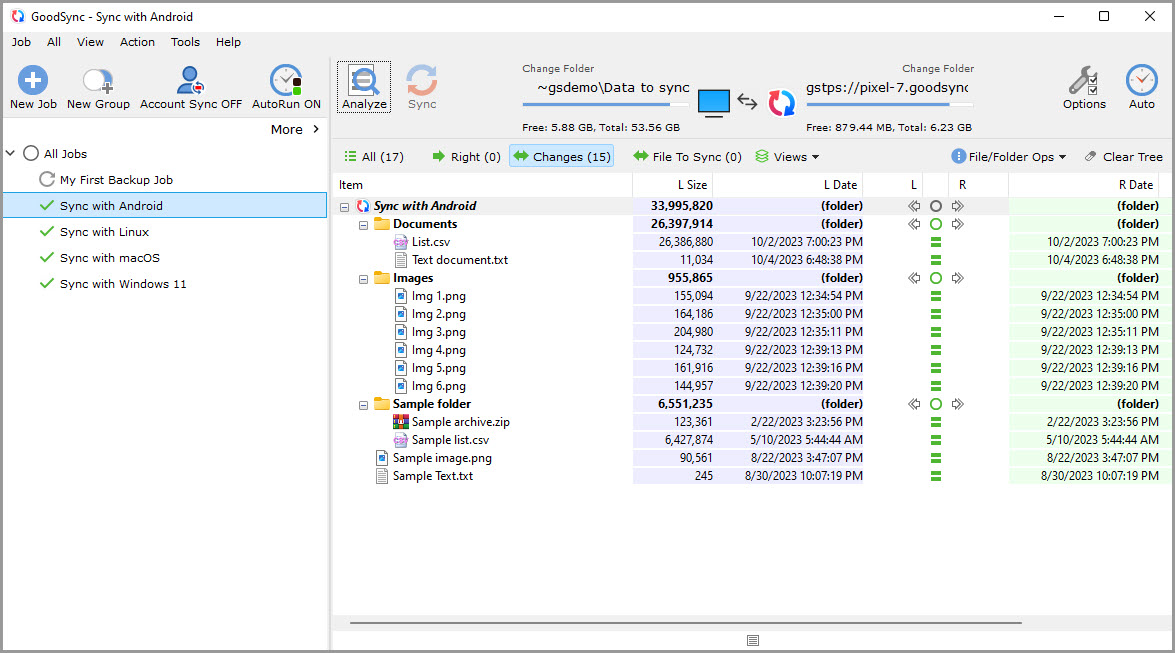
The following use case details the steps for syncing between different operating systems and device types in a mixed environment. This example will demonstrate a sync between a Windows Server and a Windows 11, macOS, Linux, and Android devices.
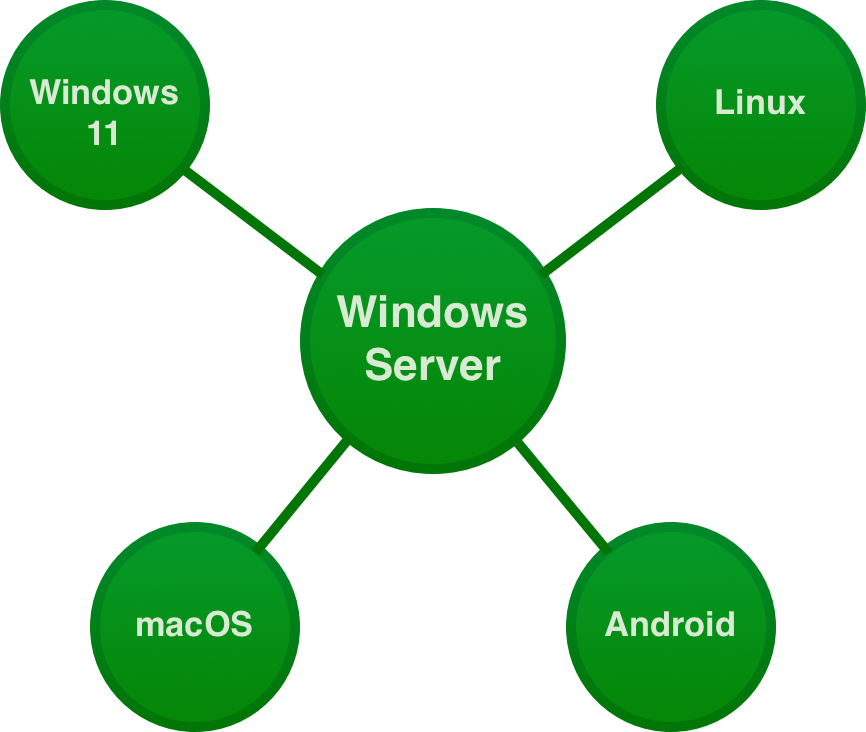
The Windows Server will be set as the primary where all jobs will run. This will ensure ease of administration, as well as optimal performance.
The other devices will be configured to listen for connections with GoodSync Connect, so that the server may sync with them effectively.
NOTE: You will need a GoodSync Account to synchronize devices via GoodSync Connect. If you do not yet have a GoodSync Account, you can review the tutorial for account creation.
Step 1. Enroll devices in your GoodSync Account
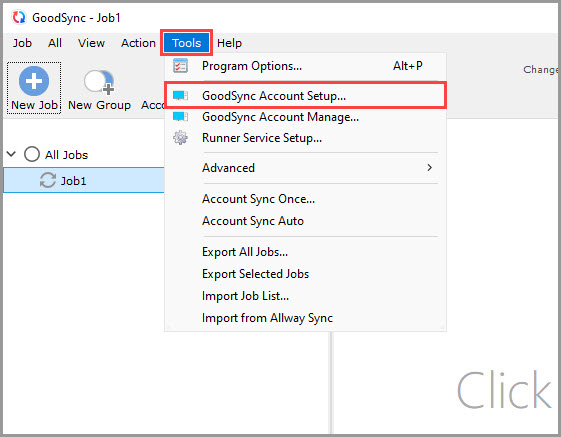
1) On Windows, open GoodSync and navigate to "Tools" >> "GoodSync Account Setup."
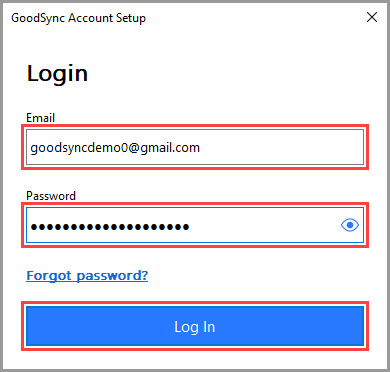
Enter the Email address and Password of your GoodSync Account and click "Log In."
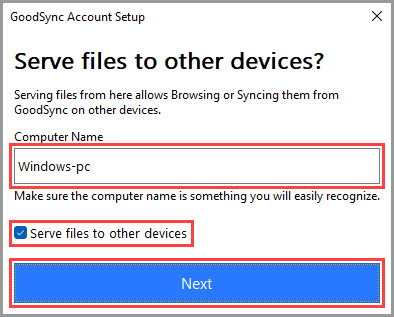
Specify a recognizable Computer Name, check the "Serve files to other devices" option, and click "Next."
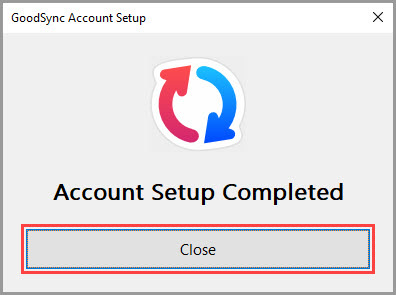
Once GoodSync Account Setup is complete and the computer is enrolled in the Account, you will see the "Account Setup Completed" confirmation. Click "Close" to finish.
2) On macOS, open GoodSync and navigate to "GoodSync" >> "GoodSync Account Setup." Follow the instructions from Step 1 to complete GoodSync Account Setup on the computer.
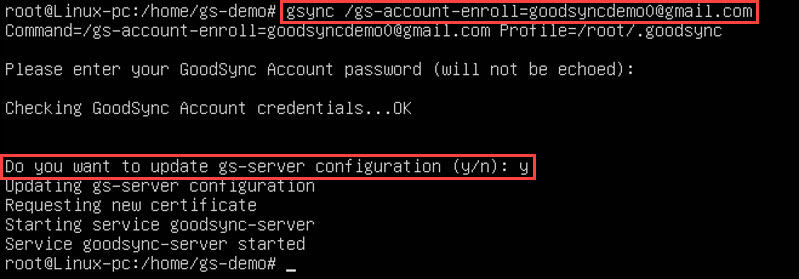
3) On Linux, use the following command to enroll the computer in GoodSync Account:
gsync /gs-account-enroll=email@domain.com
where "email@domain.com" is your GoodSync Account email address. Enter the password of your Account and hit Enter to log in.
Press "y" for "Do you want to update gs-server configuration," and authenticate with your Linux user account if prompted.
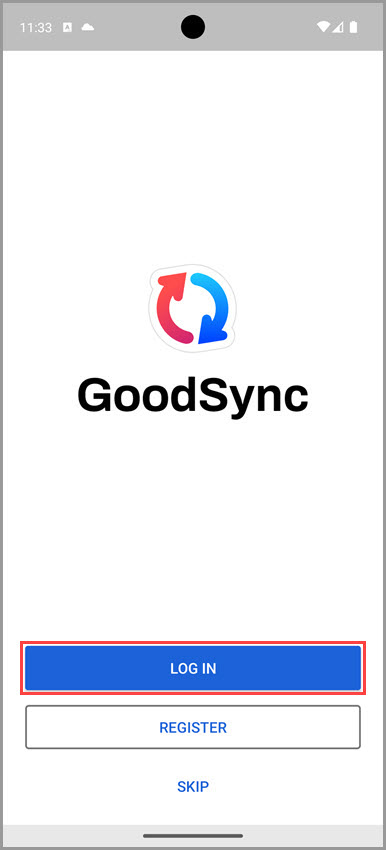
4) On Android, open the GoodSync app and tap "LOG IN."
Next, enter the Email address and Password of your GoodSync Account and tap "LOG IN."
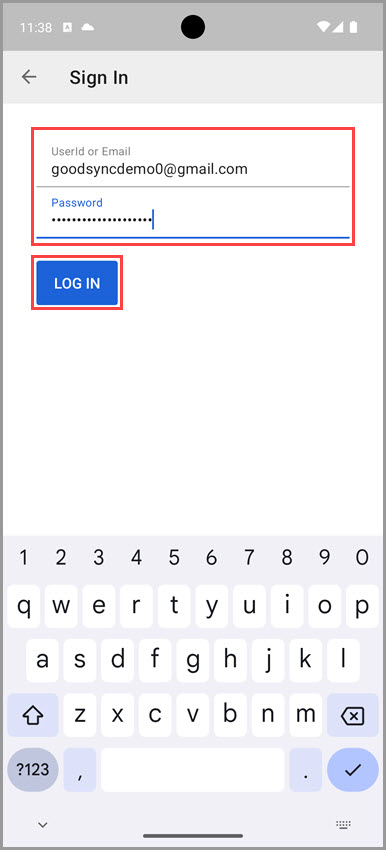
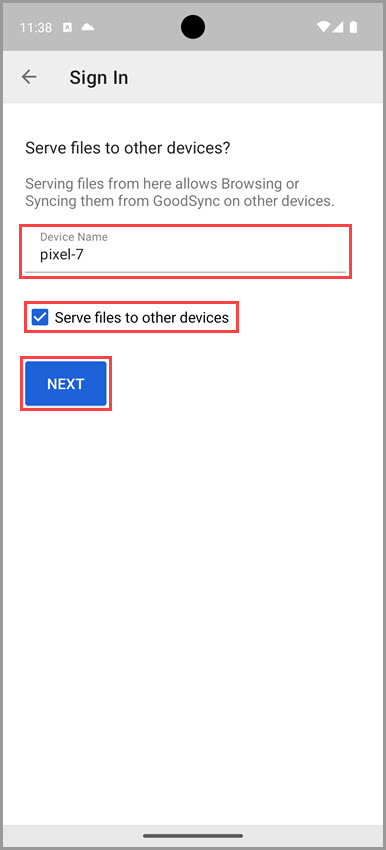
On the following screen, specify a recognizable Device Name, check the "Serve files to other devices" option, and tap "NEXT."
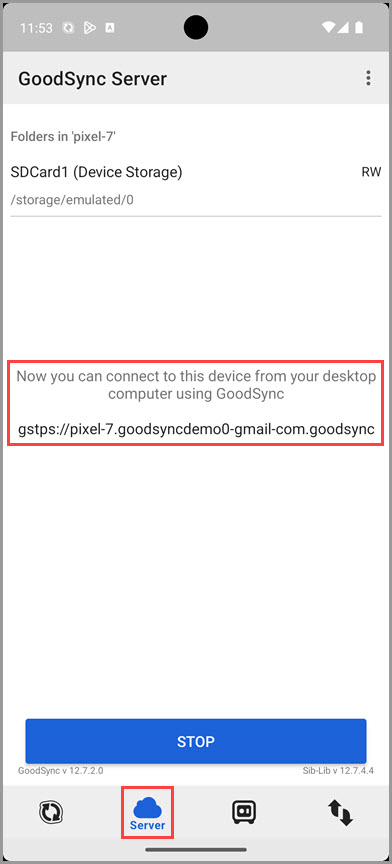
Navigate to the "Server" tab and ensure the GoodSync Server is running on the Android device. You should see the message "Now you can connect to this device from your desktop computer using GoodSync."
If the GoodSync Server is not running, tap the blue "START" button to start it.
Step 2. Set up jobs for the devices
Once the devices are configured, navigate to the Windows Server computer to begin creating jobs. Create the first job for the Windows 11 machine:
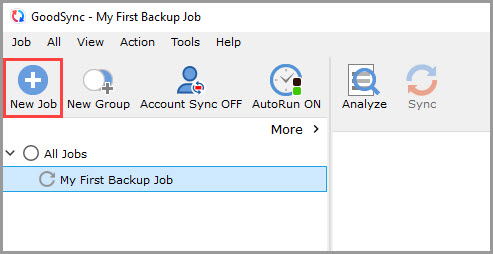
1) Click the "New Job" button in the Toolbar, or, in the "Job" menu, select "New."
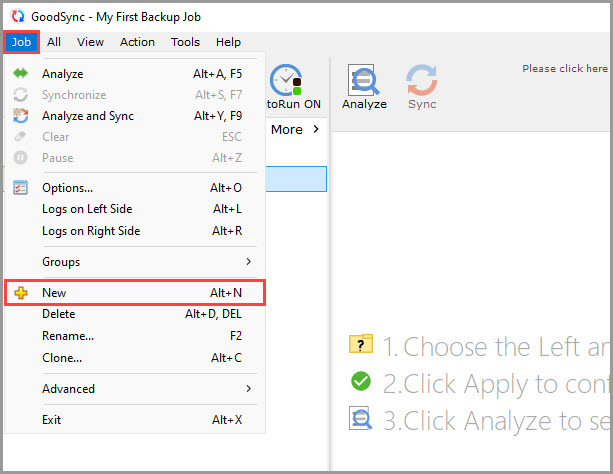
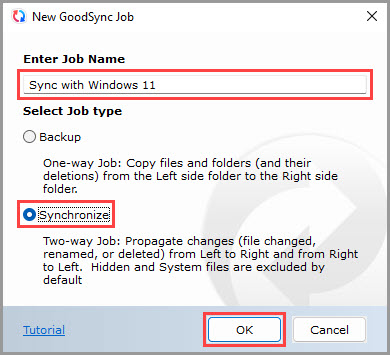
2) In the "New GoodSync Job" prompt, enter the name of your new Job, select "Synchronize" as your Job type, and click "OK."
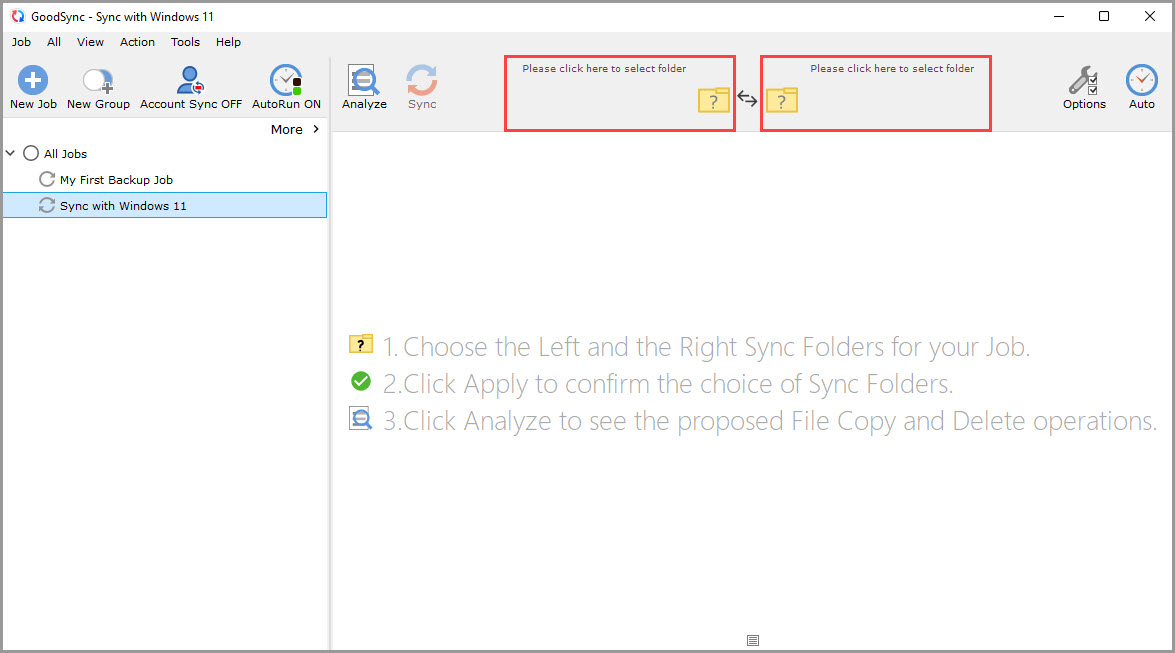
3) Click the Left or Right sync folder controls to view the files and folders available for selection.
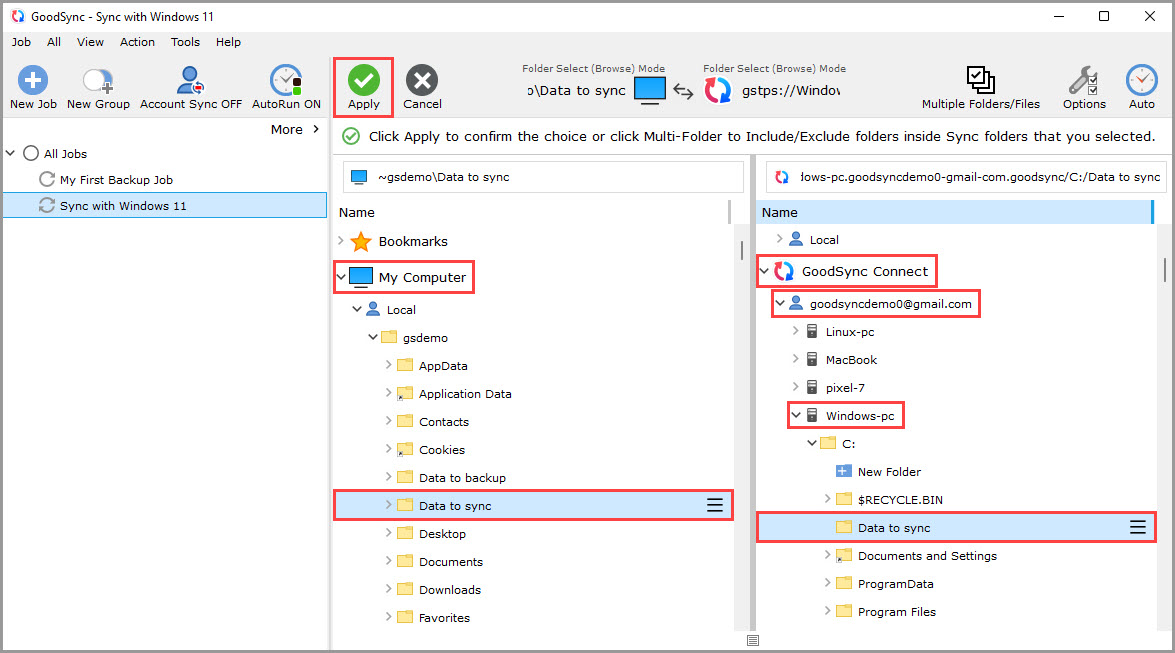
4) On the Left side of the job, expand the "My Computer" file system and select a local folder containing data to be synced to the Windows 11 device.
On the Right side of the job, select the "GoodSync Connect" file system and navigate to your GoodSync Account, displayed as the associated email address.
Select the Windows 11 machine, expand its file system, and choose a folder that will synchronize back to the Windows Server.
Once both the Left and Right sync folders are selected, click the green "Apply" button to save the changes.
5) The job is now ready to Analyze and Sync.
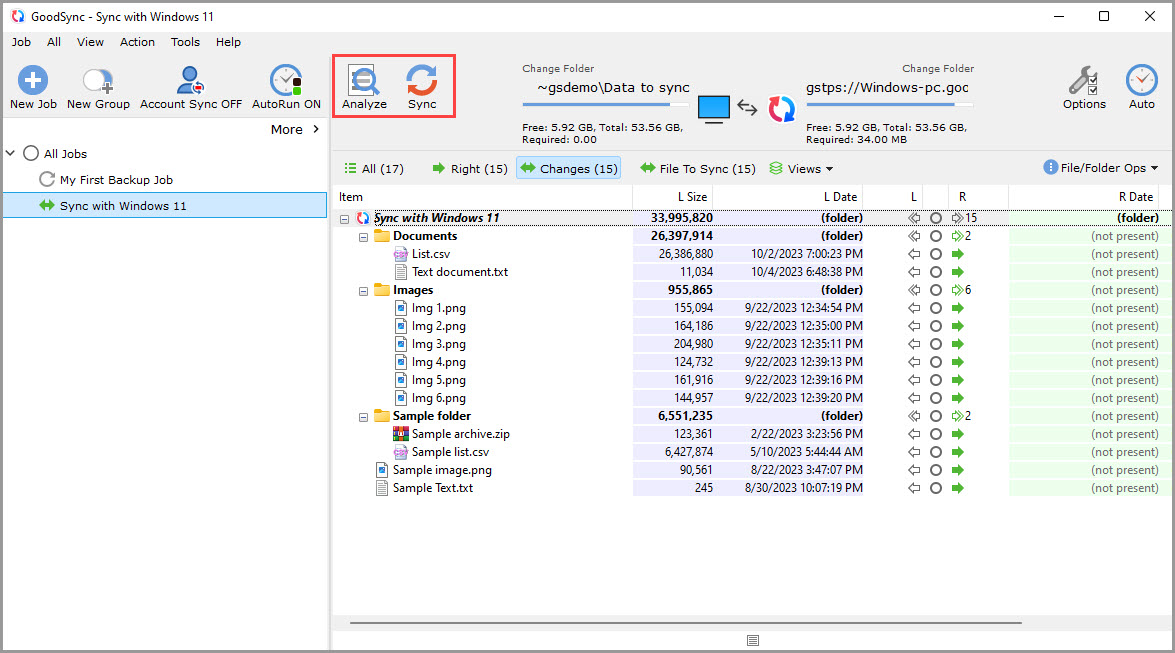
6) Click the "Options" button in the Toolbar, or, in the "Job" menu, select "Options" to configure additional settings for this job.

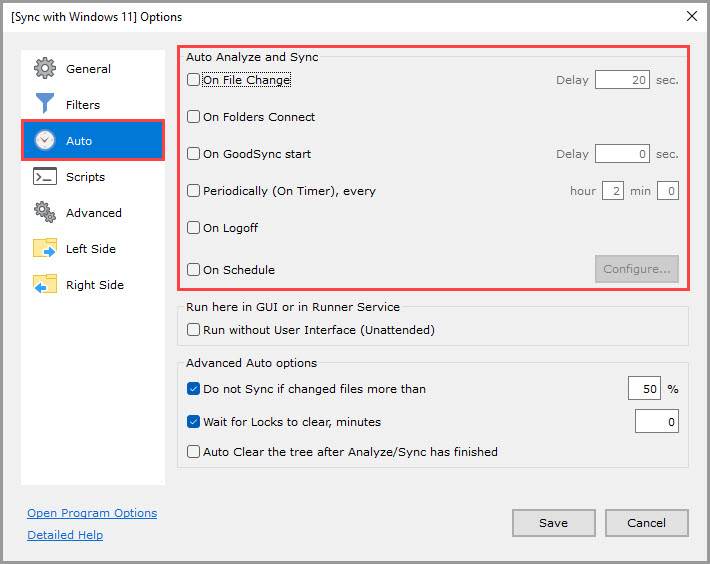
First, select the "Auto" tab from the left menu to configure scheduling and enable the desired options.
NOTE: If the server source folder contains data and is not empty, setting automatic scheduling and clicking "Save" may perform an initial sync to the Windows 11 machine. If you would like to wait until all jobs are configured before performing sync, you may set scheduling at a later time.
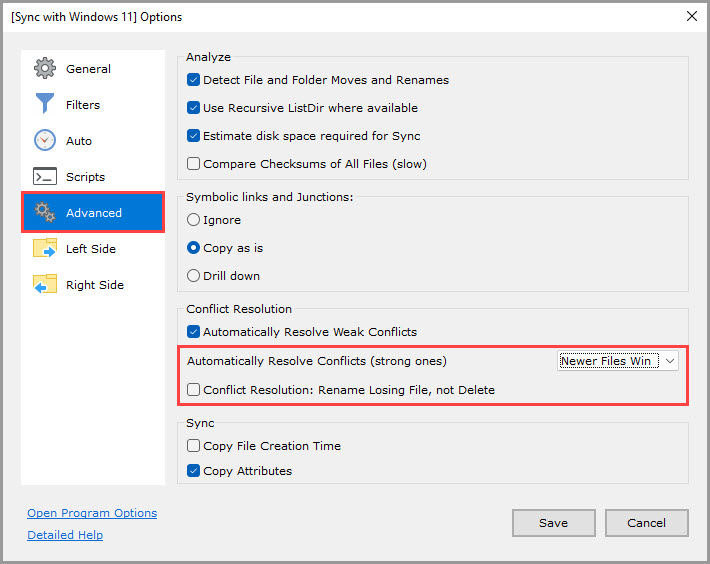
Next, select the "Advanced" tab from the left menu and set "Automatically resolve conflicts" to "Newer Files Win" to ensure that the most recently modified file will take priority in a conflict. If desired, you may also choose to rename and keep the losing file, rather than delete it.
7) Follow the same process for the remaining devices:
- Create a job on the Windows Server for the device;
- Select the sync folder on the source server;
- Select the sync folder on the destination device;
- Set scheduling and conflict resolution as desired.
Once all jobs have been configured, data will sync between these devices and the Windows Server according to user-specified scheduling.