GoodSync uses Jobs to back up and synchronize files and folders. Each Job identifies the two locations GoodSync will use and determines how changes will be handled between them.
A GoodSync Job defines:
- The Left and Right sides, which contain the folders or storage locations used by the Job.
- The Job direction, such as a one-way backup or two-way synchronization.

- The options that control how files are analyzed, copied, deleted, and synchronized.
In the example below, we will create a simple Backup Job that copies files from a local folder to a Google Drive account.
NOTE: Links to additional information about supported file systems and GoodSync Job Options are available at the bottom of this article.
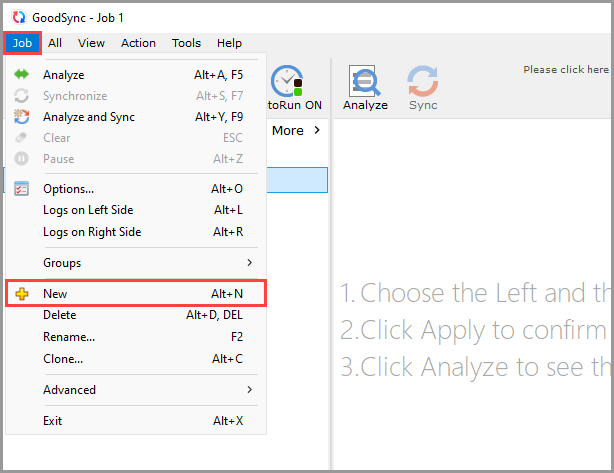
1) Open GoodSync and click the "New Job" button in the toolbar. You may also select Job > New from the main menu.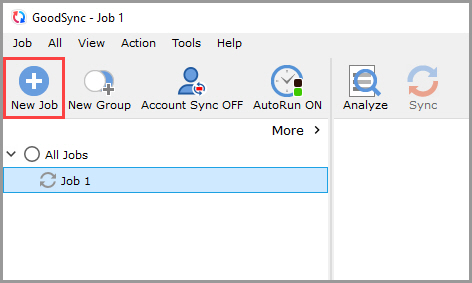
2) In the New GoodSync Job window:
- Enter a name for the new Job.
- Select the appropriate Job Type.
The available Job Types are:
- Backup: Copies files, folders, changes, and deletions from the Left side to the Right side.
- Synchronize: Copies files, folders, changes, and deletions in both directions between the Left and Right sides.
For this example, select "Backup", and then click "OK."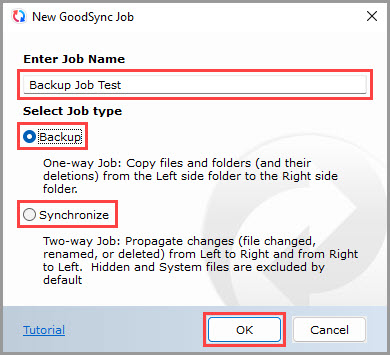
3) Click the Left Browse or Right Browse button to select the files, folders, or supported storage location for that side of the Job.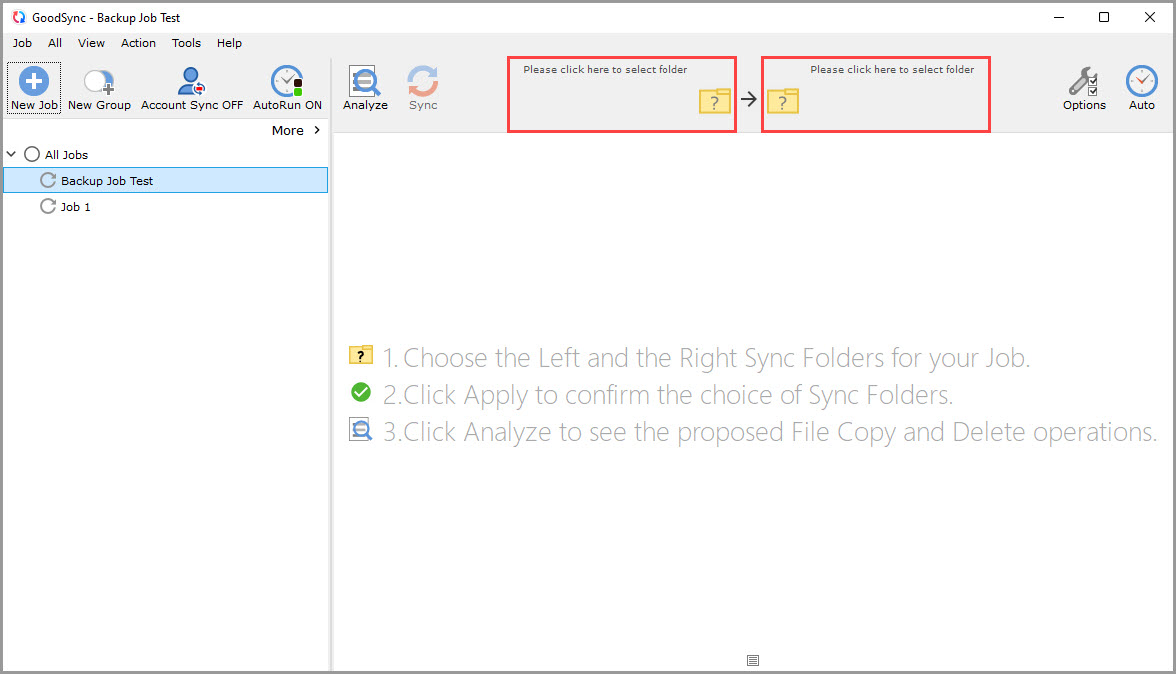
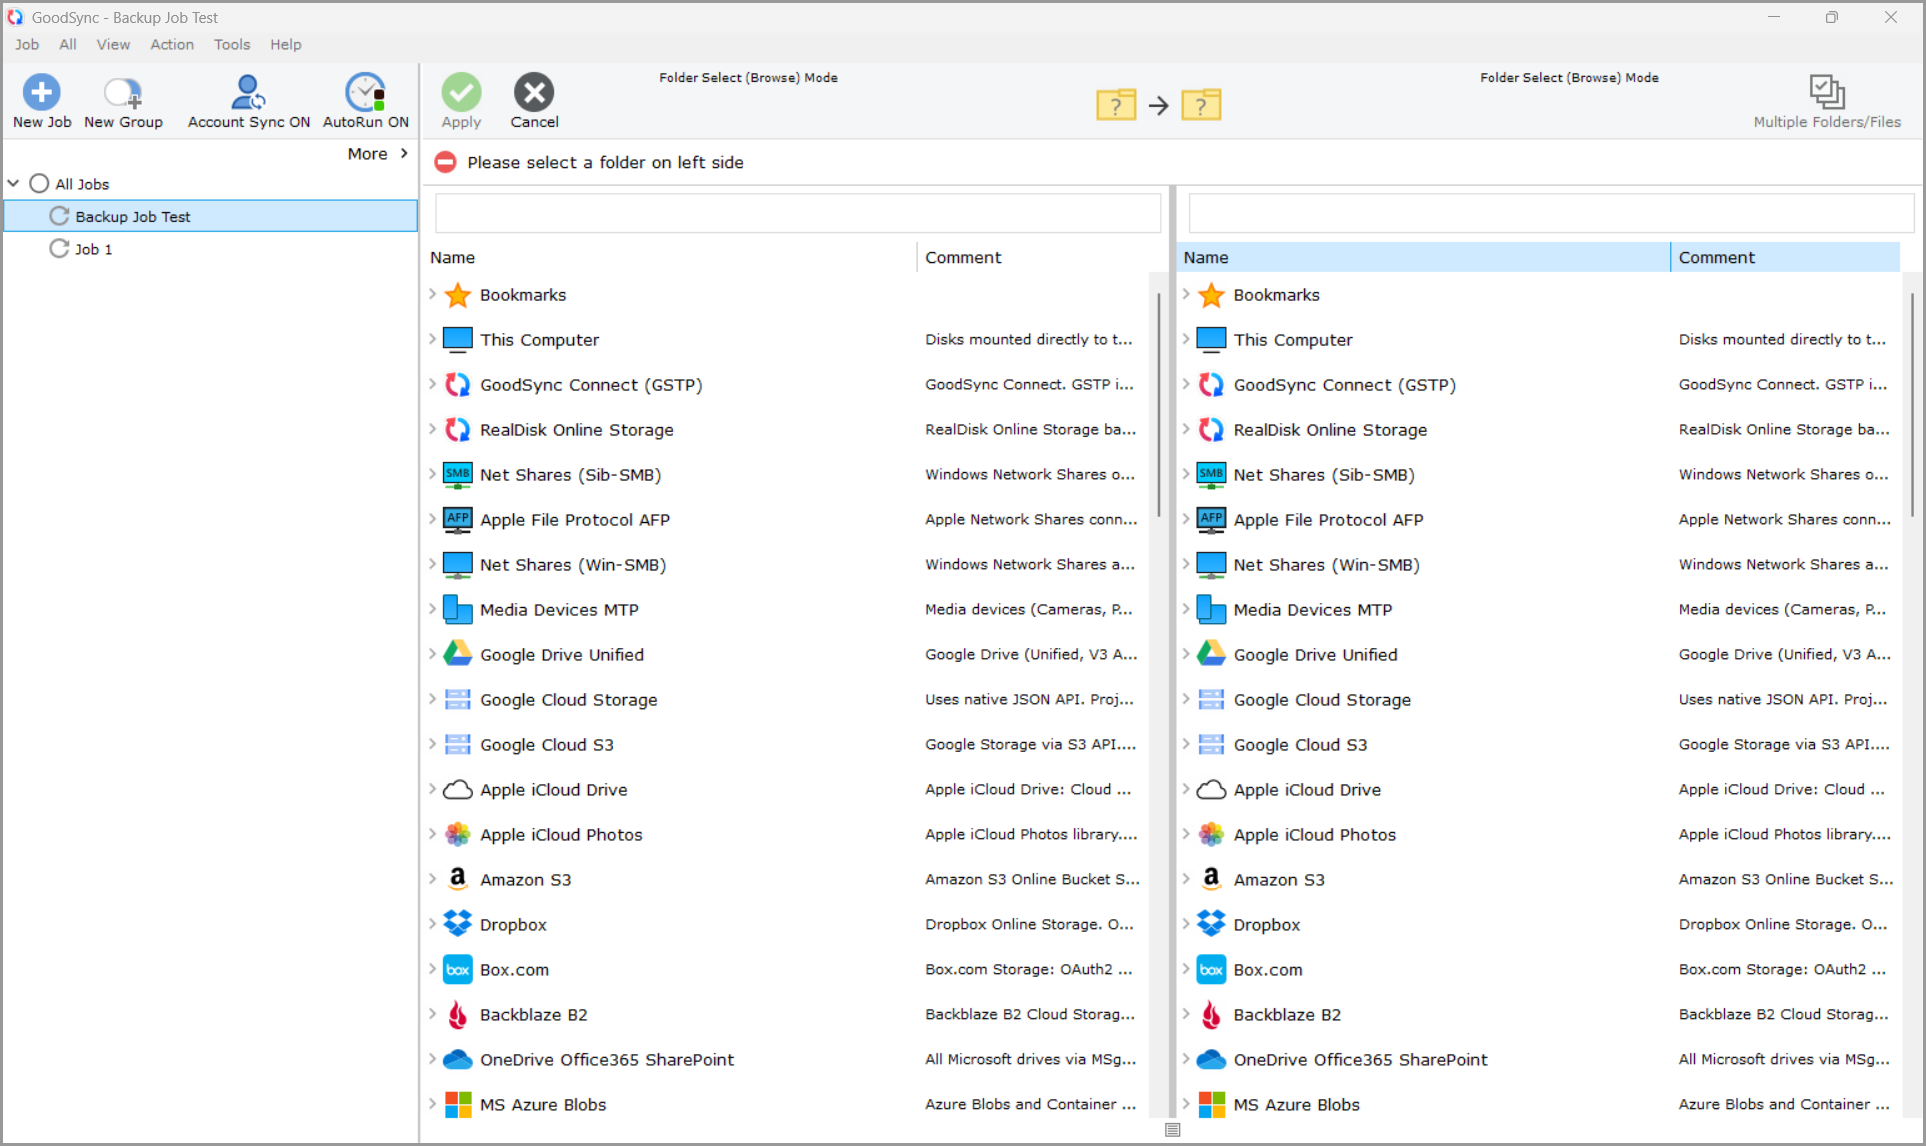
4a) On the Left side, select the local folder containing the files you want to back up.
On the Right side, select "Google Drive Unified."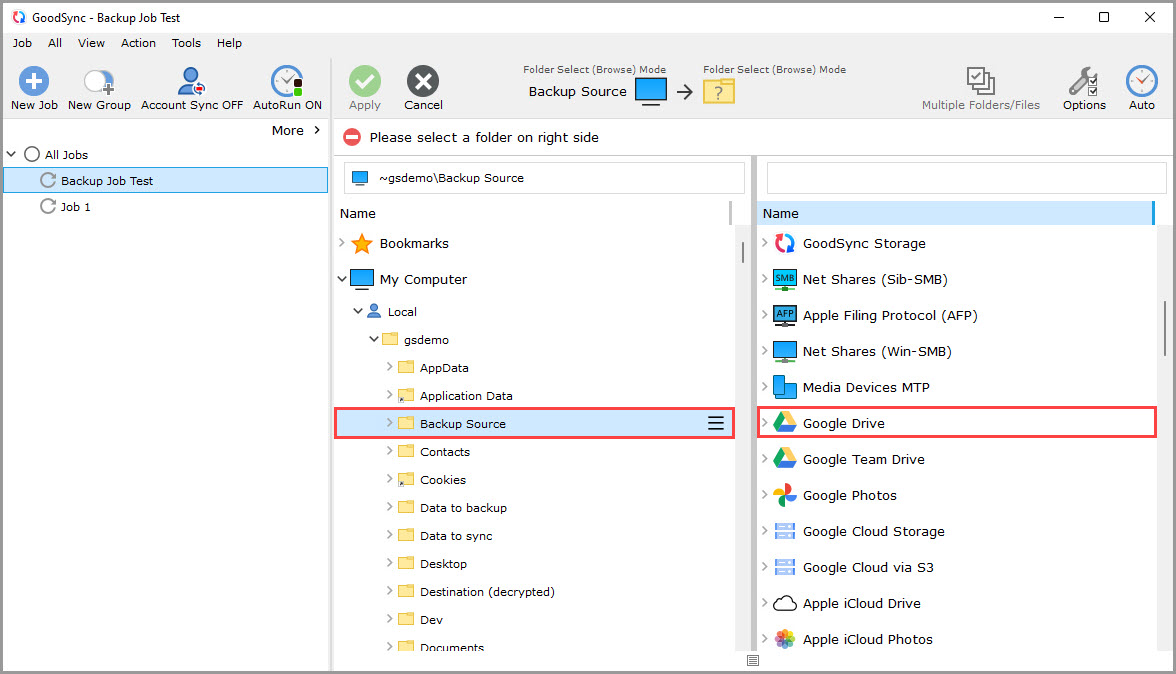
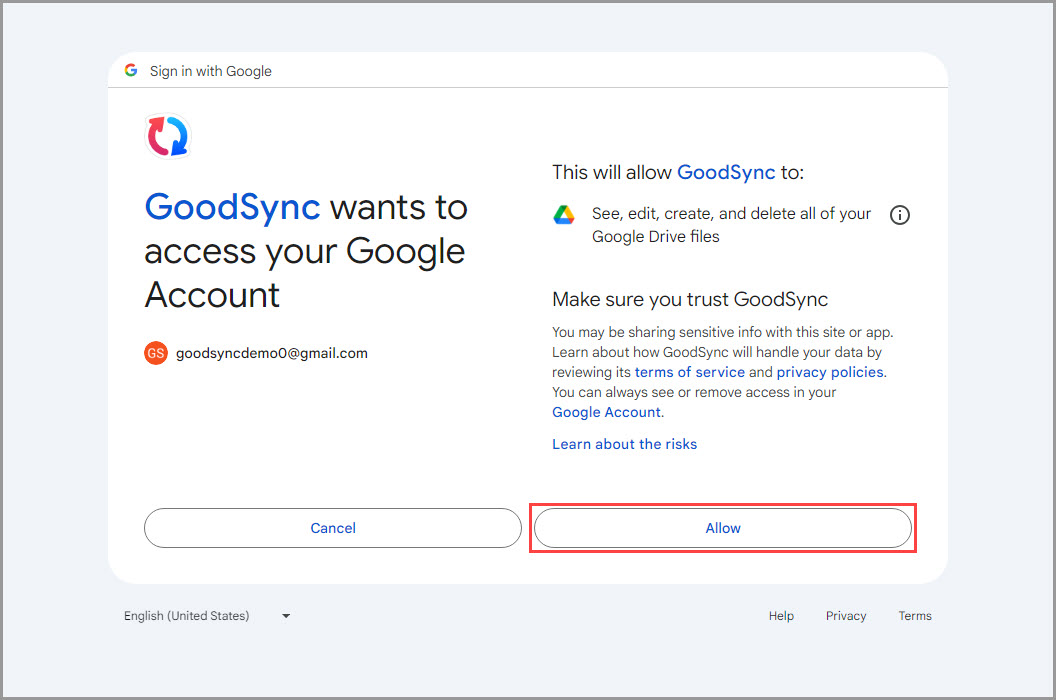
4b) If the Google Drive account has not previously been connected, GoodSync will prompt you to authorize access.
Click "Connect to Google Drive", sign in to the Google account you want to use, and complete the authorization process.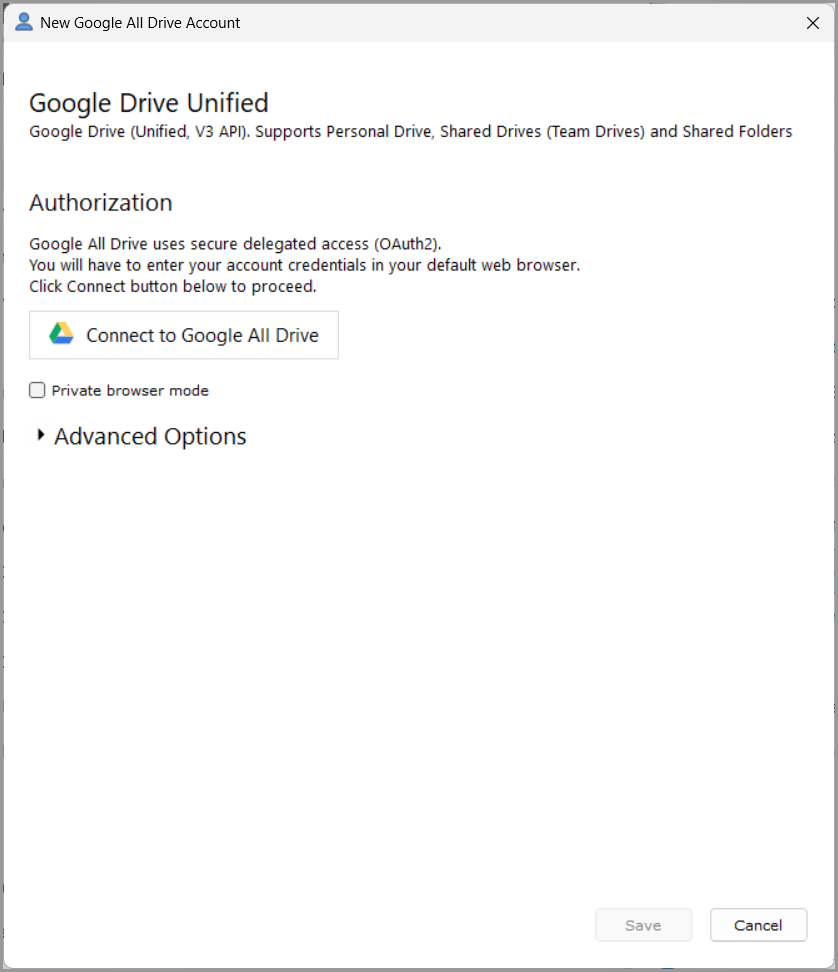
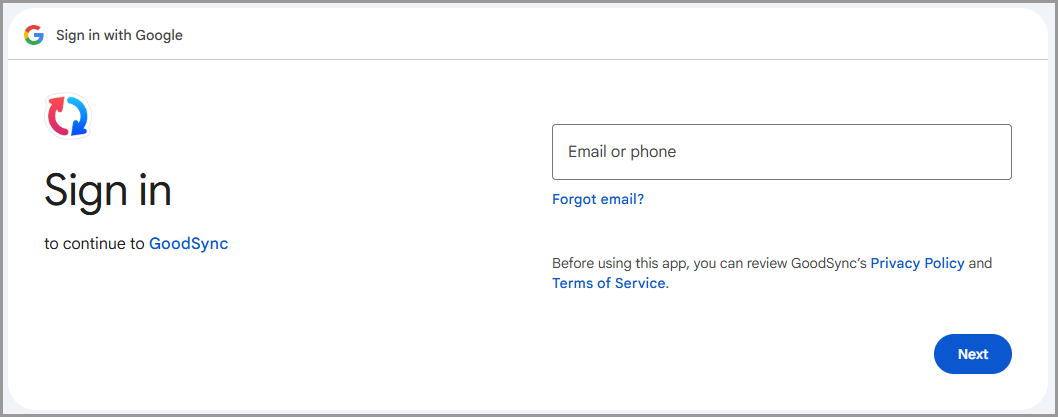
5) Select the Google Drive folder that will store the backup.
Confirm that the correct locations are displayed on both sides:
- The Left side should contain the local folder you want to back up.
- The Right side should contain the destination folder in Google Drive.
Click "Apply" in the upper-left corner to save the selections and return to the main GoodSync window.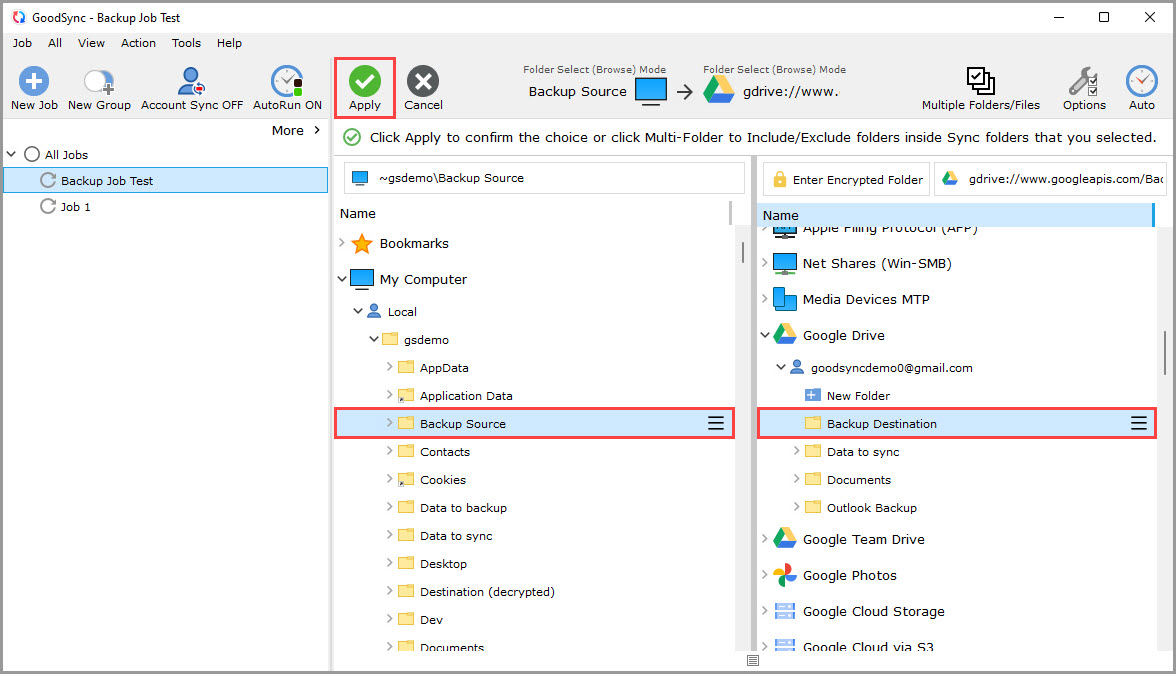
6) Click "Analyze" to compare the source and destination folders and display the changes GoodSync proposes to make.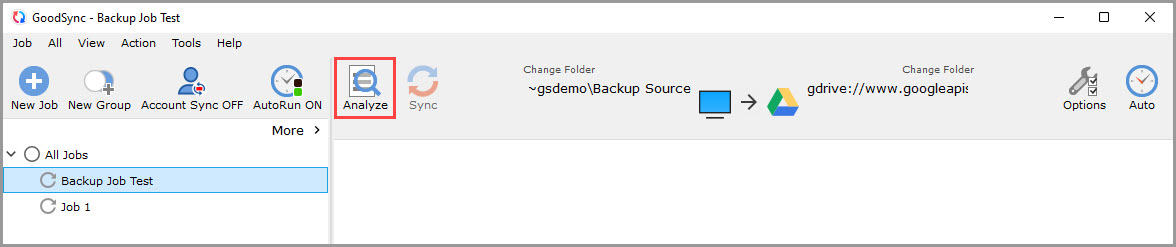
7) Review the proposed changes before running the Job. The green arrows show the direction in which files will be copied or updated.
When the proposed changes are correct, click "Sync" to run the Backup Job.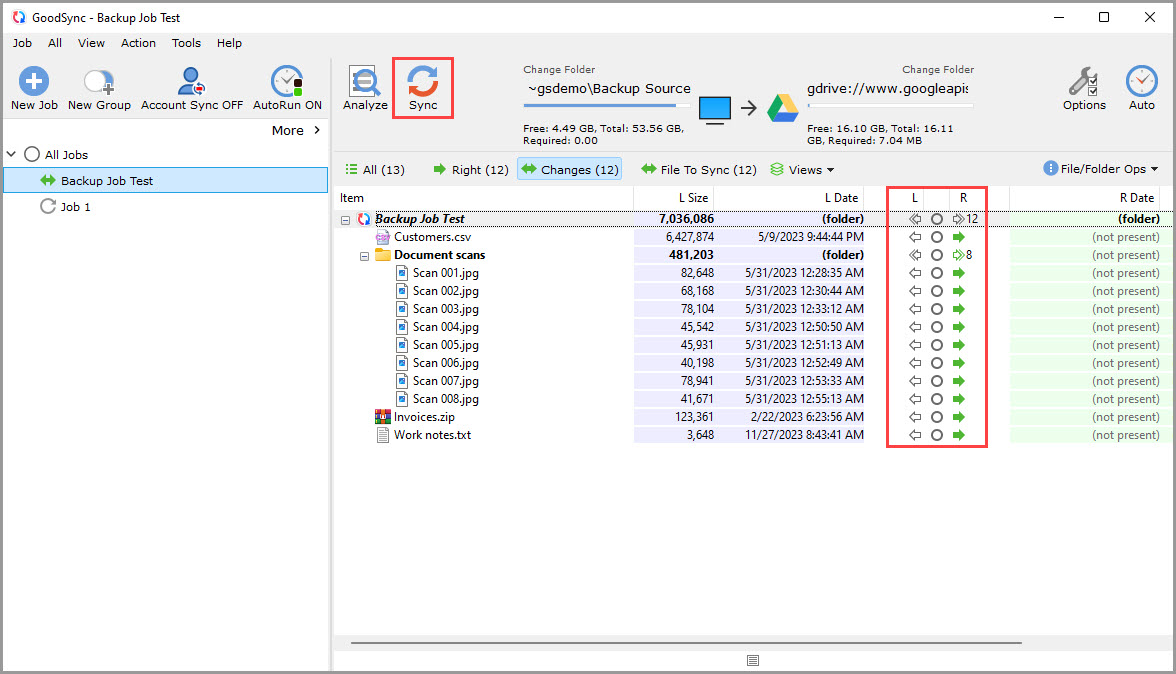
8) GoodSync will copy the selected files to Google Drive.
When the source and destination folders match, GoodSync displays a green equals sign, confirming that both sides are in sync.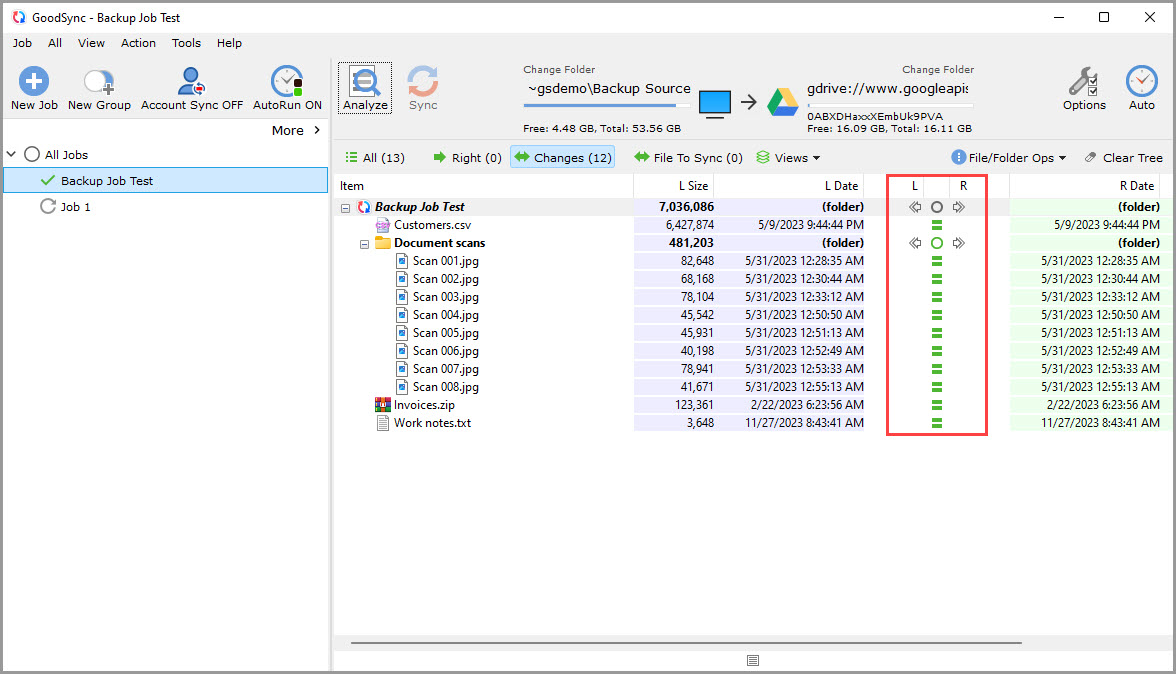
NOTE: For instructions on connecting GoodSync to other supported file systems, click here.
For more information about GoodSync Job Options, click here.