Your GoodSync Account is used to:
- Manage your GoodSync licenses, register and activate devices.
- Use GoodSync Transfer Protocol (GSTP) to connect your devices.
- Use GoodSync Cloud Storage (GSCS) to store your files.
With the GoodSync application, a new GoodSync Account can be created either:
A) During the installation of the GoodSync app. Read our tutorial articles on installation here.
B) On an already installed GoodSync app, by clicking the "Tools" menu in the top left and selecting "GoodSync Account Setup."
NOTE: If you are using method A, start from Step 1. If you are using method B, start from Step 5.
1) Download the latest version of GoodSync for Windows from our downloads page.
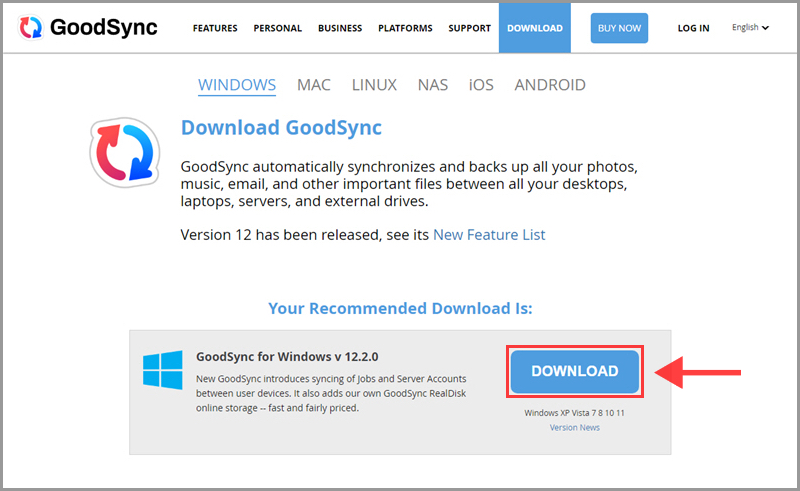
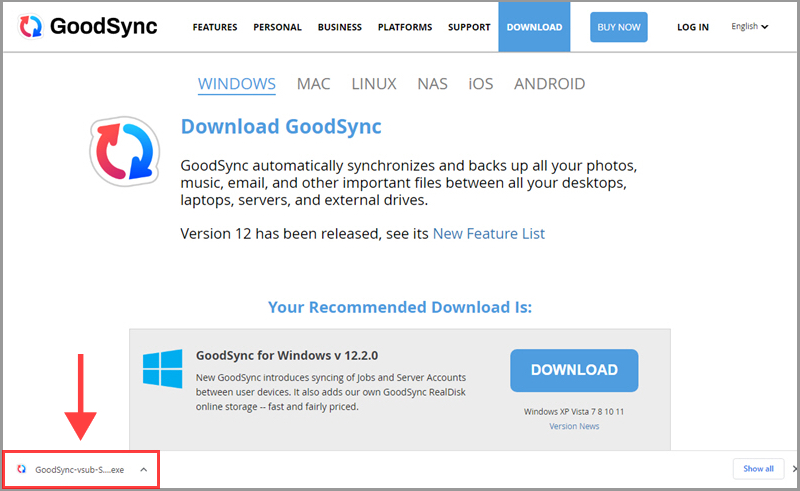
2) Once the installation file is downloaded, a link to it displays in the download bar at the bottom of your browser window. Click it to begin the installation process.
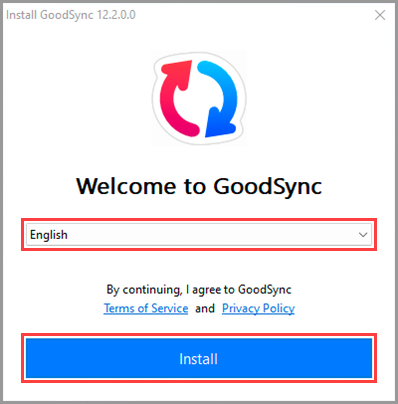
3) On the "Welcome to GoodSync" screen, choose your language, and click "Install."
NOTE: By clicking "Install," you agree to GoodSync Terms of Use and Privacy Policy.
4) On the next screen, you will have the option either to enter your existing account information or to create a new GoodSync account. Click the corresponding button.
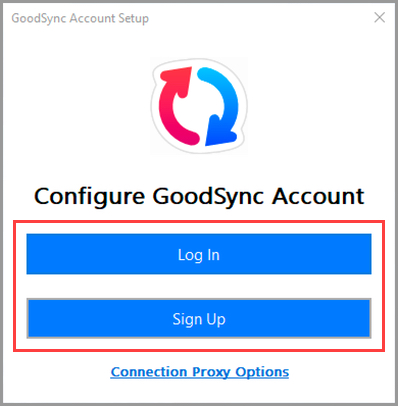
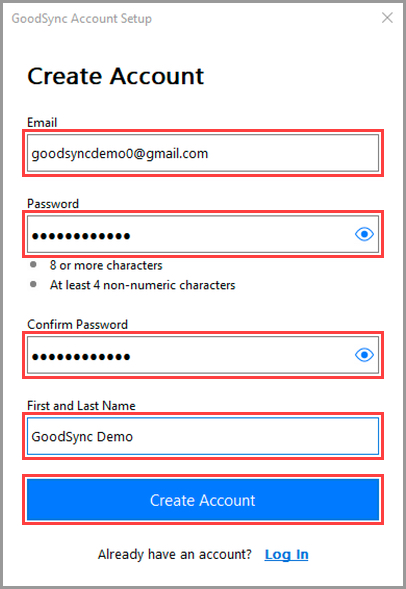
5) Enter the appropriate information, then click the corresponding button to proceed.
NOTE: If creating a new GoodSync Account, specify a valid email address as it will be used for the One Time Password (OTP) authentication.
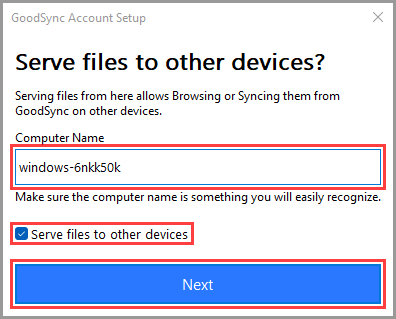
6) Next, you will be prompted to specify the computer name and choose if GoodSync is to serve files to other devices. Based on this, GoodSync will act either as a server or a client.
"Serve files to other devices" unchecked (Client): GoodSync installed on this computer can make outgoing requests only and cannot accept incoming requests.
"Serve files to other devices" checked (Server): GoodSync installed on this computer can accept incoming requests. You will be able to access data on the computer from GoodSync installed on your mobile or another device.
Select your preferred setting, then click the "Next" button.
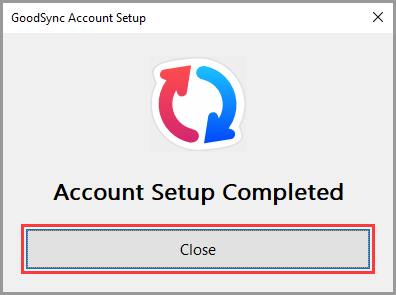
7) The last screen will confirm your GoodSync Account setup is completed. Click the "Close" button to finish.