The GoodSync app for Android allows you to access, back up, and synchronize files from your Android device.
Install GoodSync
Follow the steps below to download and install GoodSync from the Google Play Store.
1) On your Android device, open the Google Play Store.
2) Use the search bar at the top of the screen to search for "GoodSync."
3) Select GoodSync by Siber Systems Inc. from the search results.
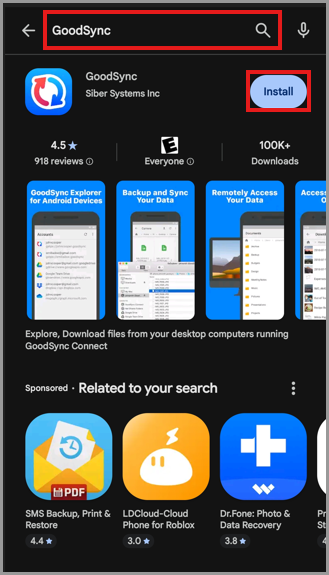
4) Tap the "Install" button.
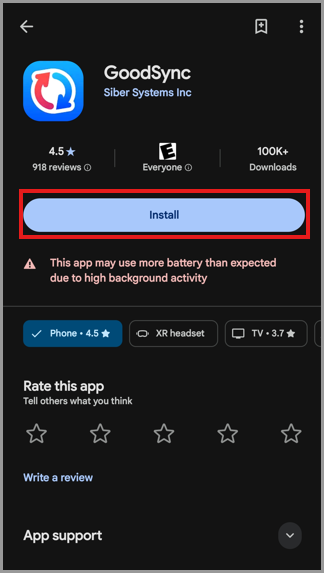
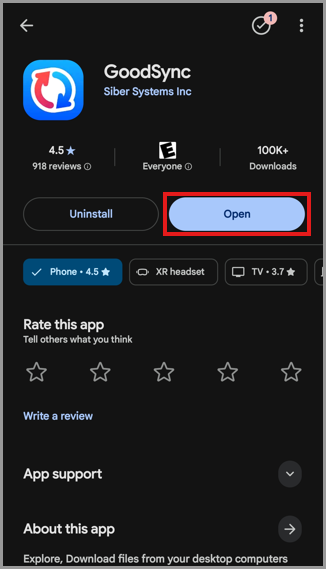
5) After the installation is complete, tap the "Open" button.
Continue to the Initial setup section to configure the GoodSync app.
Initial setup
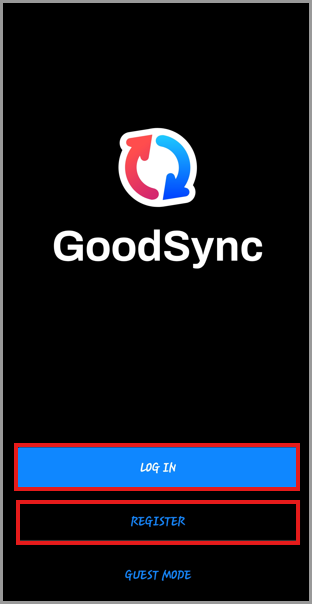
1) When you open GoodSync for the first time, tap "Log In."
Enter your GoodSync UserID or email address and password. Then, tap "Log In."
NOTE: If you do not have a GoodSync account, tap "Register" and follow the prompts to create one.
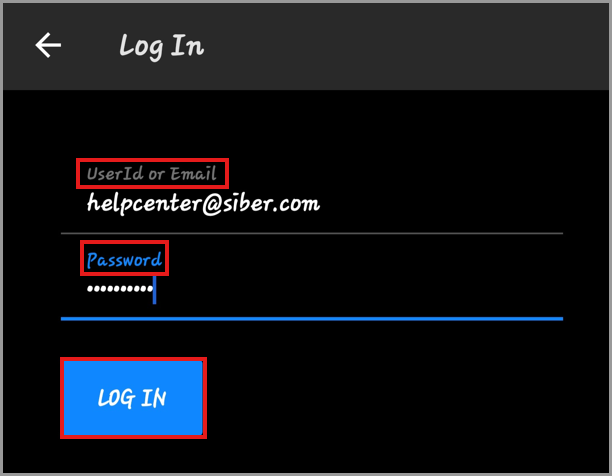
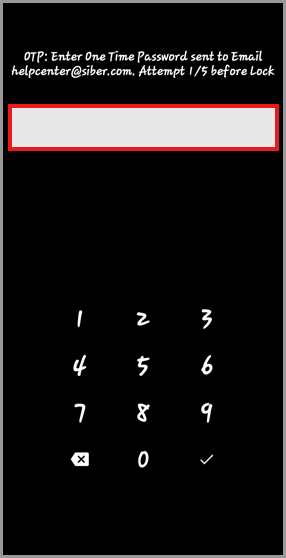
2) Enter the one-time password (OTP) sent to the email address associated with your GoodSync account.
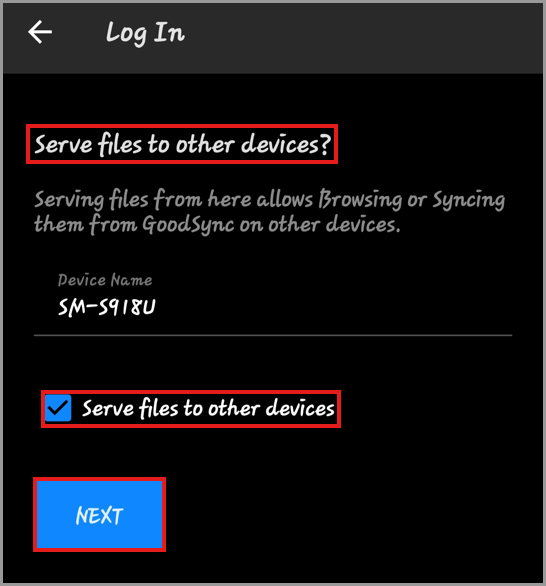
3) Leave or update the Device Name. This name will appear in your GoodSync account and on other devices using the same GoodSync account.
Review the available setup option:
Serve files to other devices: When enabled, other GoodSync devices can connect to this Android device and access the data permitted by the GoodSync Server configuration.
After reviewing the settings, tap "Next."
Allow GoodSync to run in the background
Android may restrict applications from running in the background to conserve battery power. Allowing GoodSync to run without battery restrictions helps keep GoodSync available while the app is running in the background or the device screen is turned off.
1) When the battery optimization message appears, tap "OK."
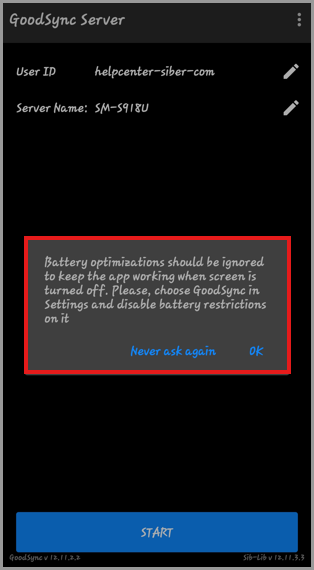
2) Locate and select GoodSync in the Android battery settings.
3) Select "Unrestricted," "Don't optimize," or the equivalent option available on your device.
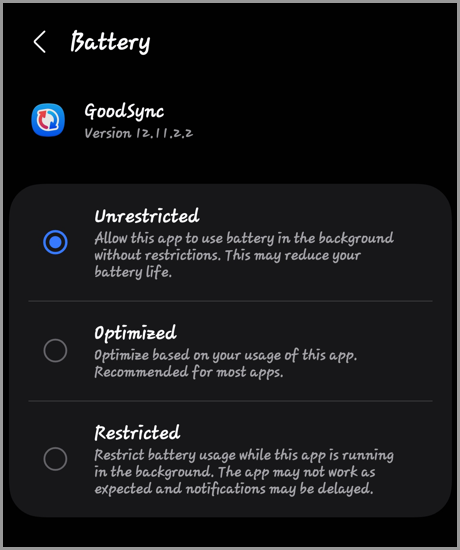
NOTE: The names and locations of battery settings may vary depending on the Android version and device manufacturer.
Grant the required permissions
GoodSync first requires permission to create and access its State File. The State File contains the synchronization information GoodSync uses to determine differences between the selected source and destination locations.
1) When the State File permission prompt appears, tap "Grant access."
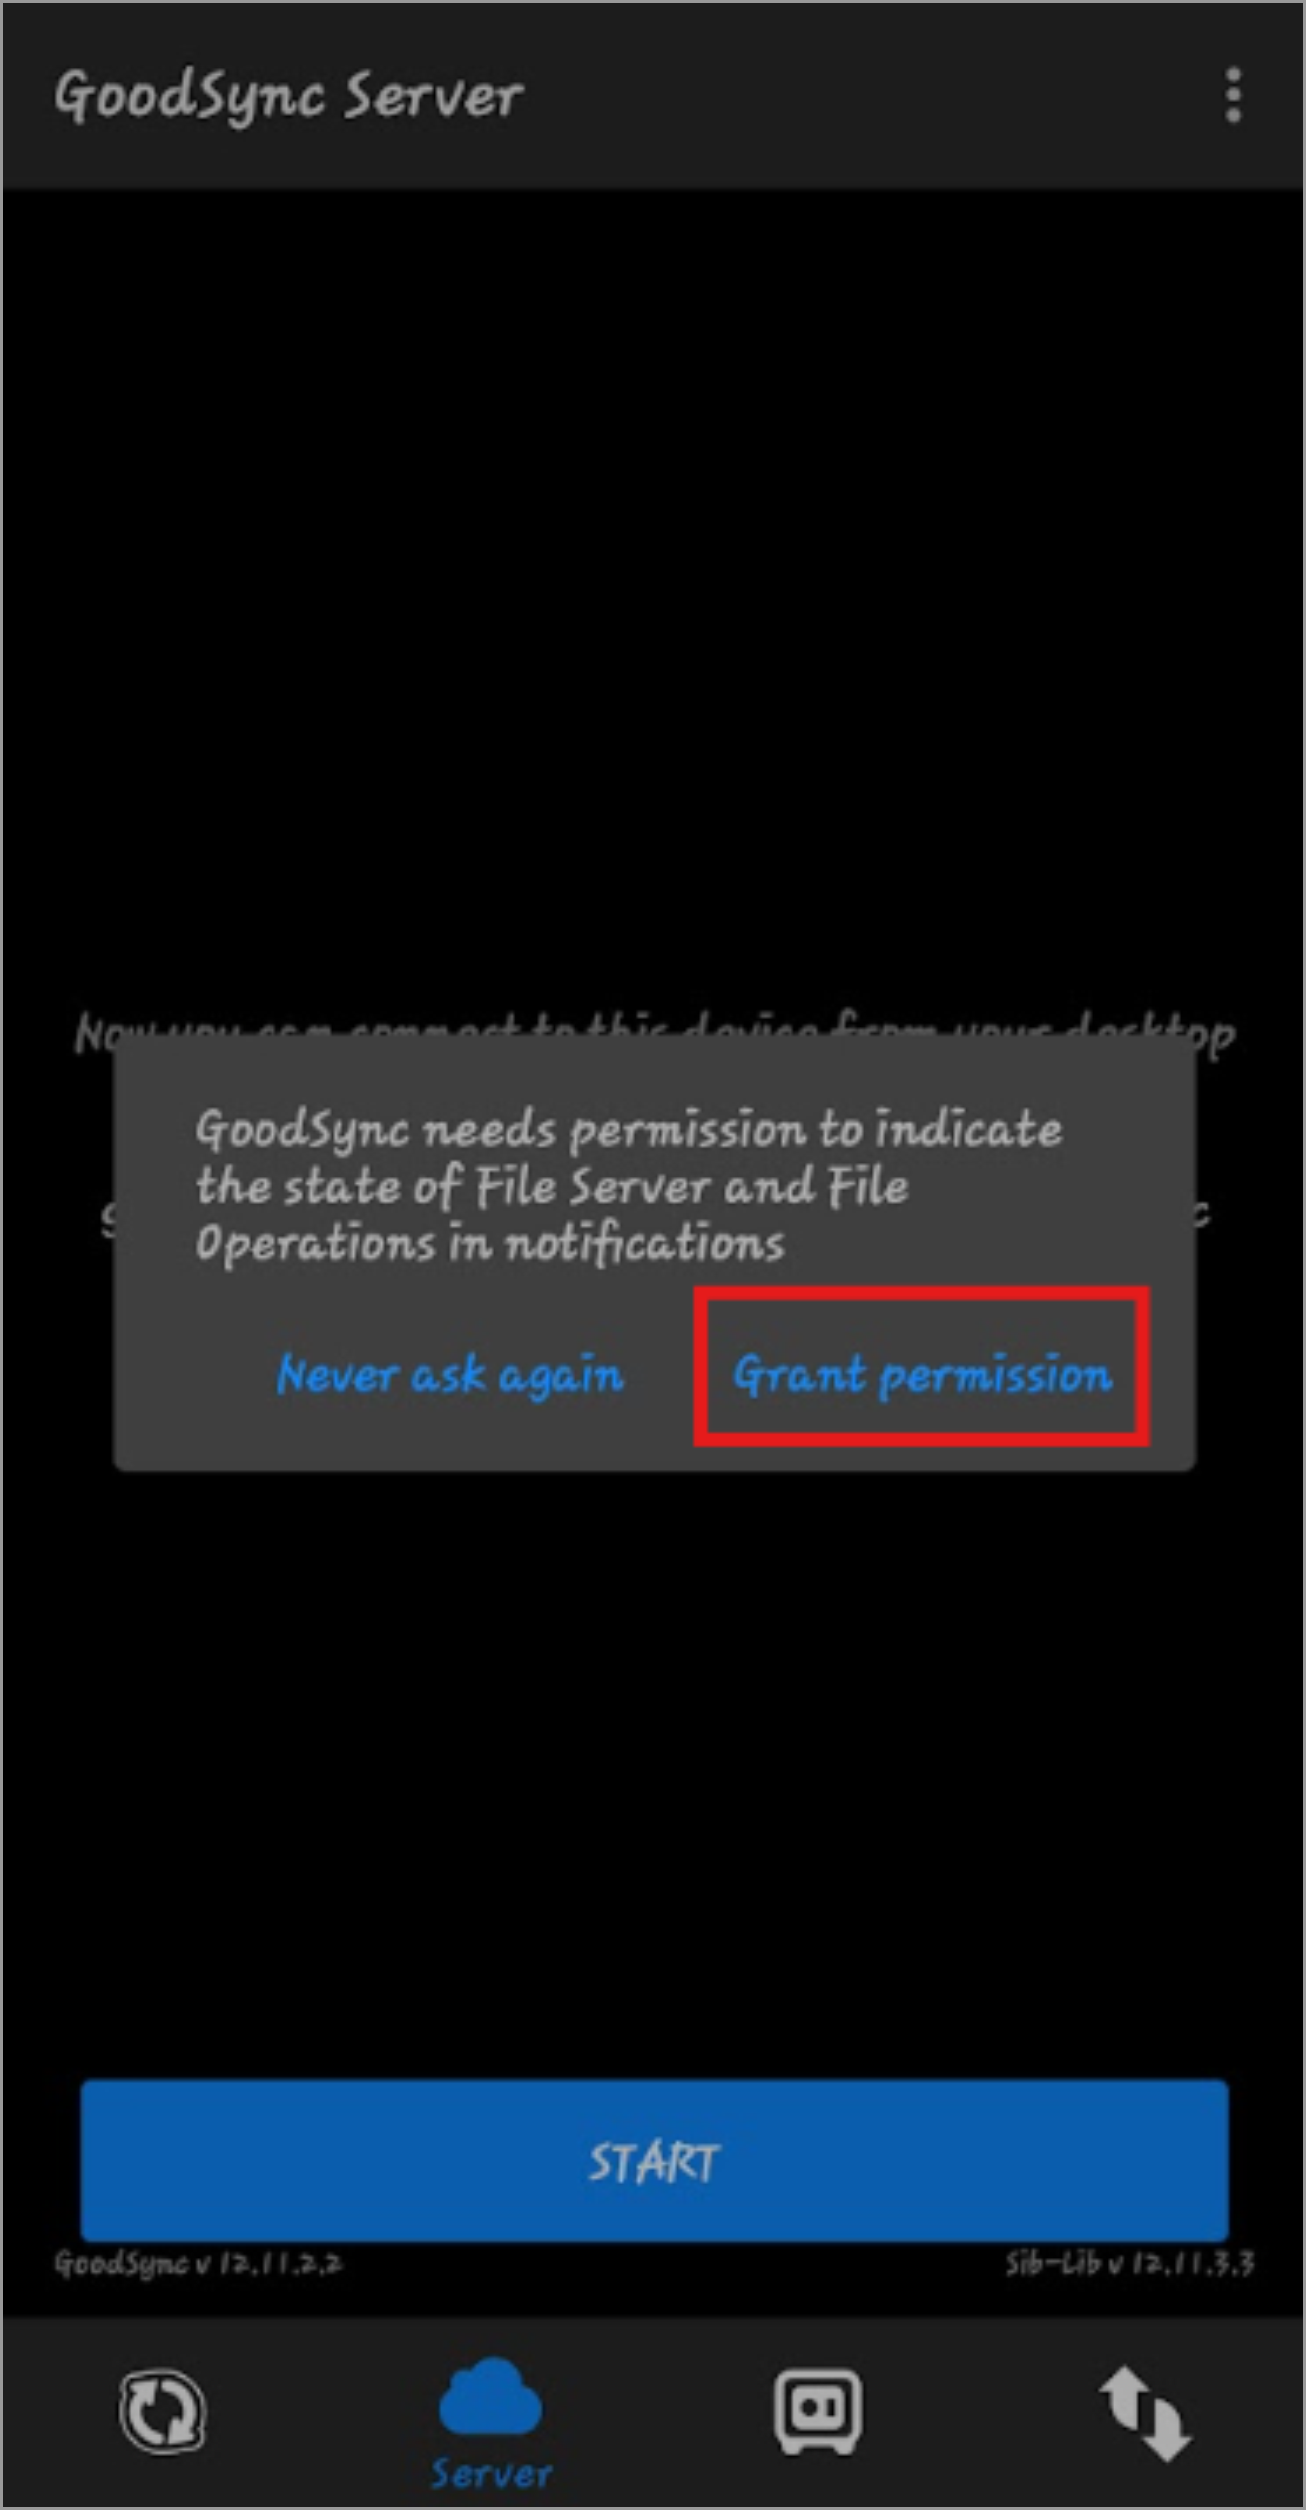
2) GoodSync will then request permission to manage files stored on the Android device.
On Android 11 and later, GoodSync requires permission to manage files stored on the device, SD cards, and connected USB storage devices.
When Android opens the "Manage all files access" settings, locate and select GoodSync, if required.
Enable "Allow access to manage all files."
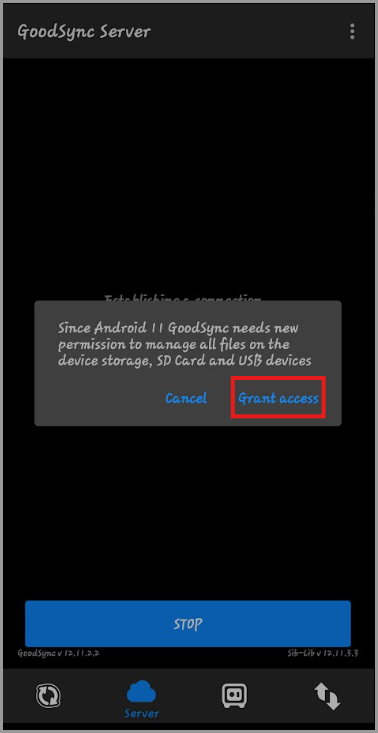
NOTE: The names and locations of file access settings may vary depending on the Android version and device manufacturer.