GoodSync Connect allows you to connect multiple devices to one GoodSync Account. That makes backing up any data from those devices easy.
Follow the steps below to add your iOS device to a GoodSync Account and create a photo backup from that device.
Adding your iOS device to GoodSync Connect
1) On your iOS device, download and install GoodSync from the App Store.
NOTE: For instructions on downloading and installing GoodSync on iOS, click this link.
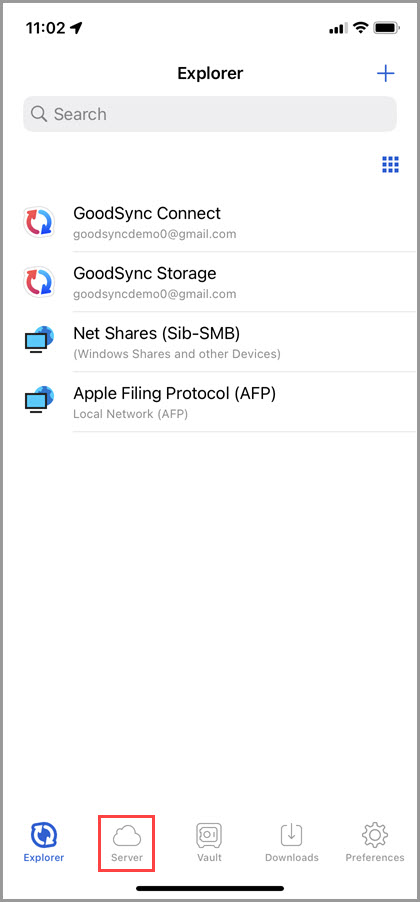
2) After downloading, installing, and creating or signing into your GoodSync account, open the GoodSync app. Tap the "Server" tab at the bottom of the screen.
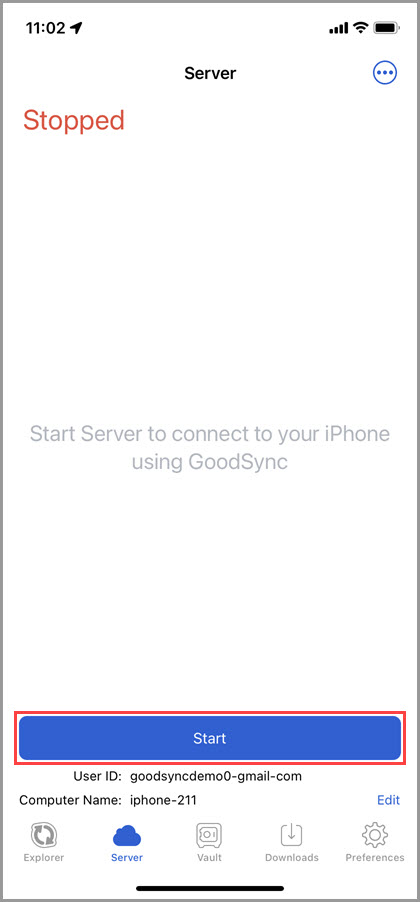
3) Tap the blue "Start" button at the bottom of the screen.
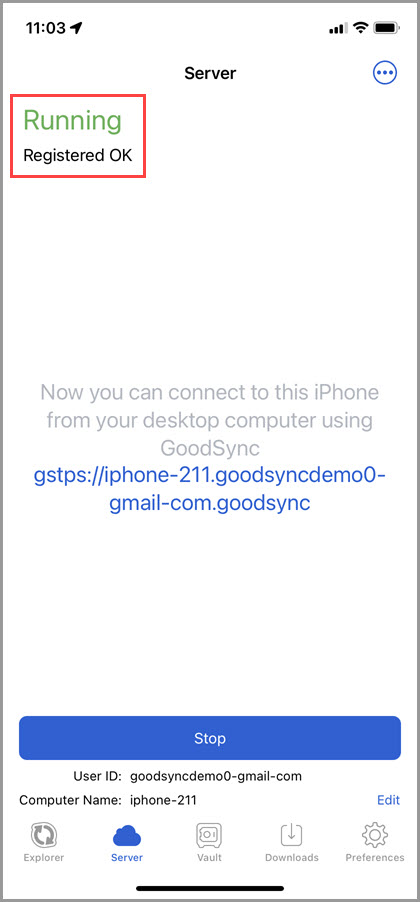
4) Once you see "Running" in green in the top left corner, the server has been successfully started. Your iOS device is now reachable via GoodSync Connect.
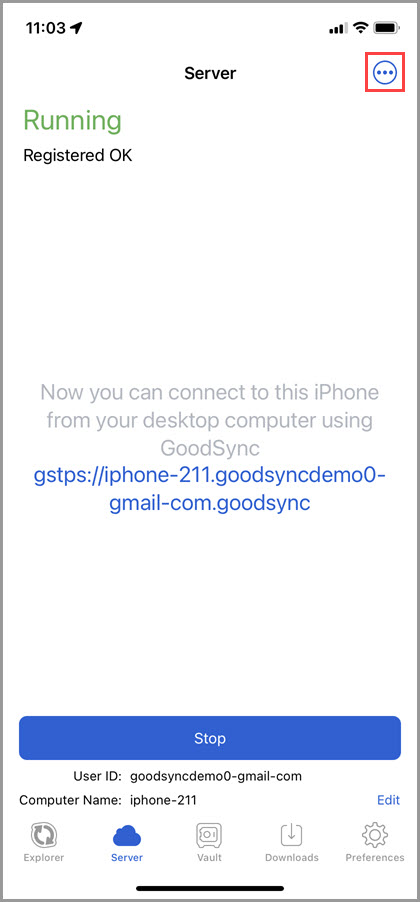
5) To allow GoodSync to access your photos, tap the 3-dot icon in the upper right corner and select "Photo access."
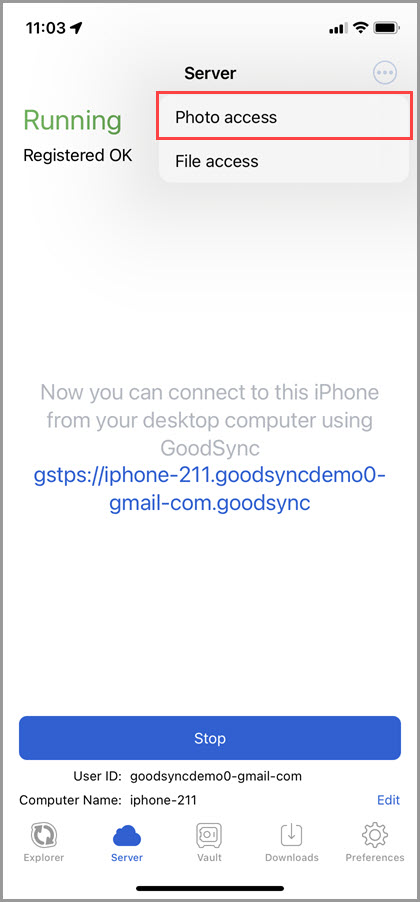
6) You will be prompted to provide access to your photos through the device's settings. Tap the "Settings" button to be brought to a Settings page, allowing you to select the level of access to give to the GoodSync app.
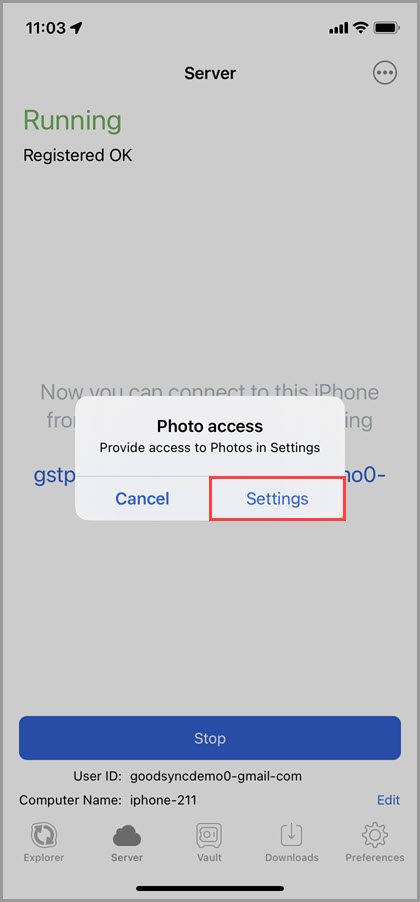
7) Tap "Photos" on this page.
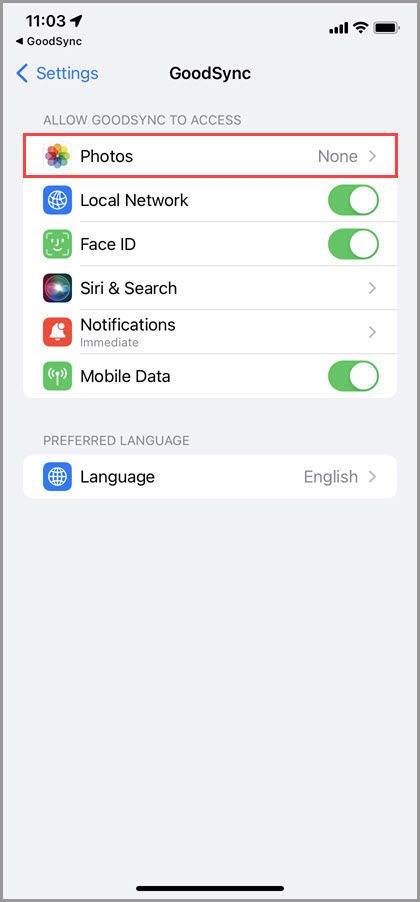
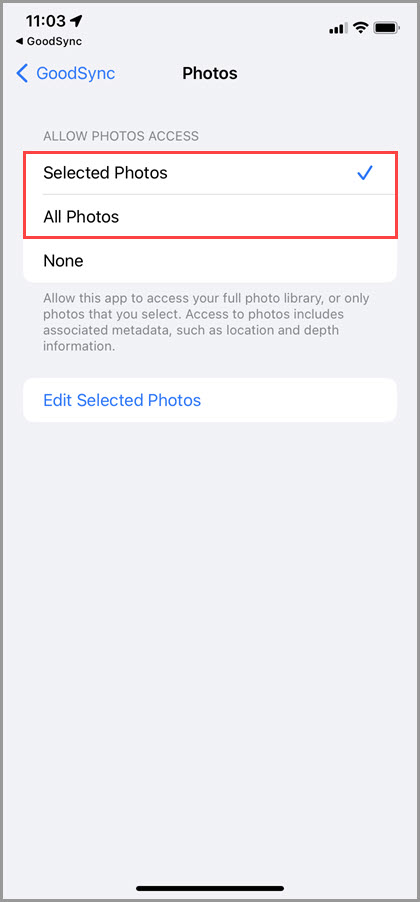
8) Here, you can select specific photos to allow GoodSync to access or can allow GoodSync to access all photos in your gallery.
Backing up photos from your iOS device
If you haven't already, download and install GoodSync on your computer.
Now that you have registered your iOS device with the GoodSync Account and run the server, you can switch to your desktop installation of GoodSync to finish configuring the backup.
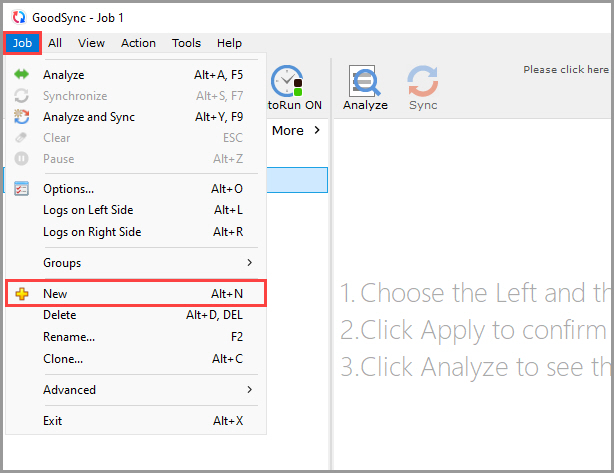
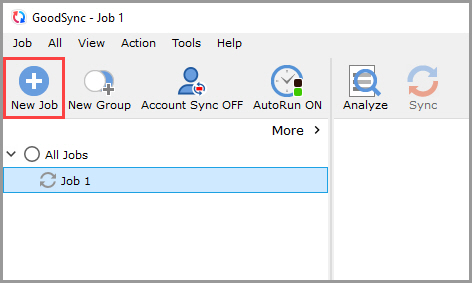
1) In the "Job" menu, select "New" or click the "New Job" button in the toolbar.
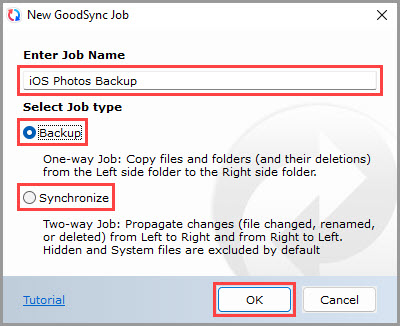
2) In the New GoodSync Job prompt, enter the name of your new Job.
Then, select "Backup" or "Synchronize" as your Job type.
Click the "OK" button when done.
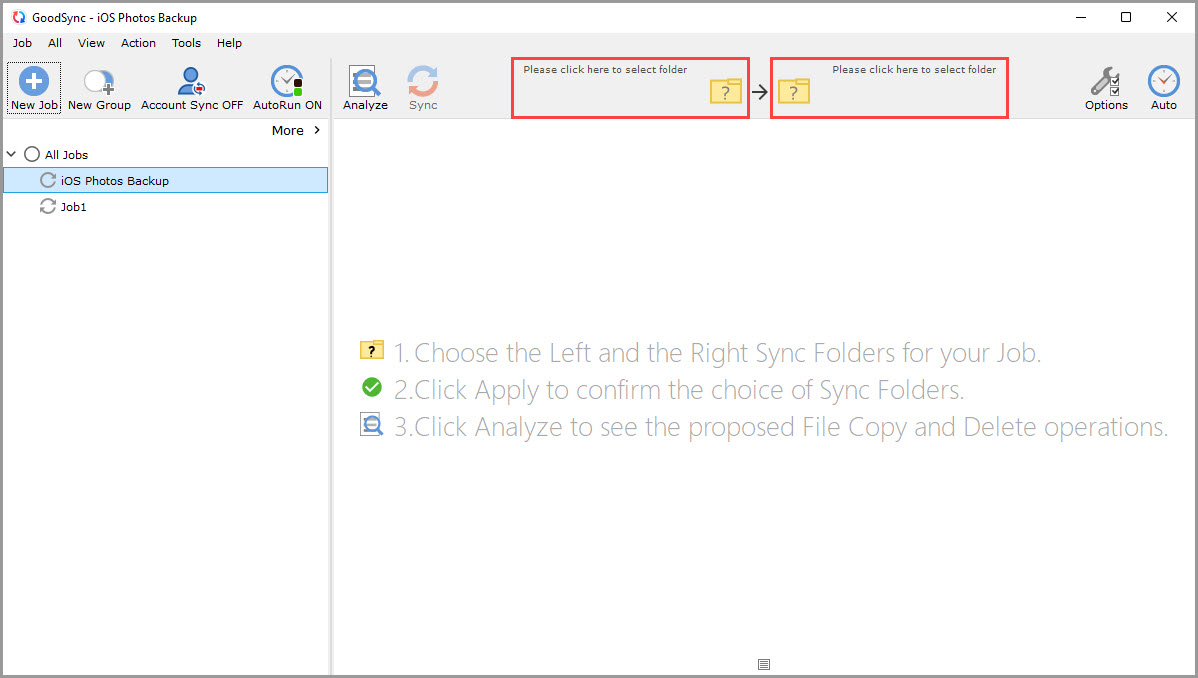
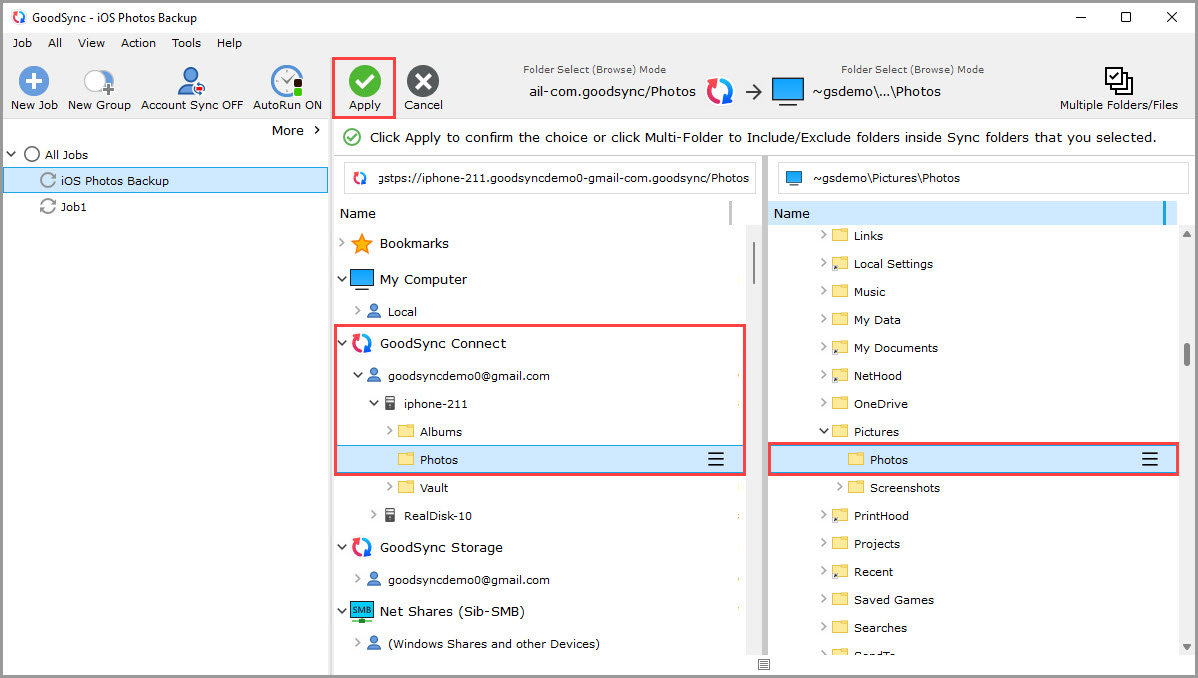
3) Click the left or right sync folder controls to view the files and folders available for selection.
4) On the left side, select "GoodSync Connect," click your GoodSync Account, and click the name of your iOS device.
Select the "Photos" folder or whichever folder holds the data on the device you wish to back up.
On the right side, select the folder you wish to back up that data to.
Then, click the green "Apply" button.
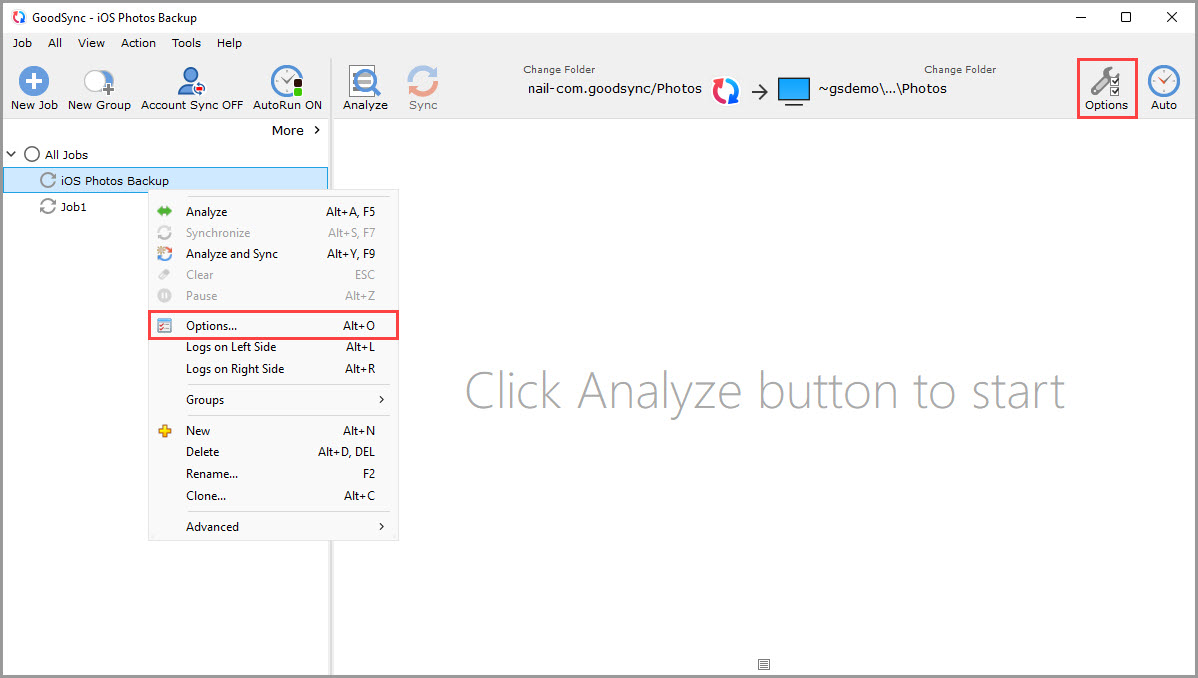
5) Click the "Options" button in the toolbar or right-click the Job and select "Options."
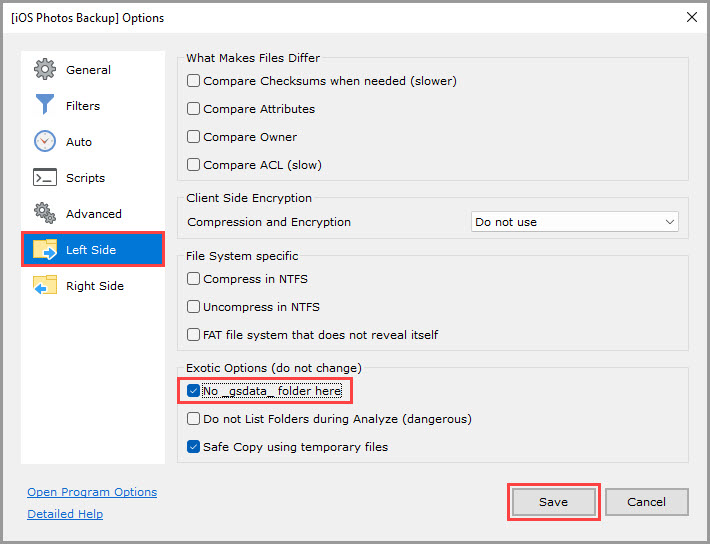
6) From the column on the left, select the options for the side of the iOS device. In this case, the Left Side.
Check the box marked "No _gsdata_ folder here."
Then, click the "Save" button at the bottom right of the window.
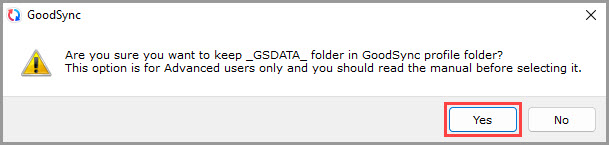
You will be prompted to confirm this action. Click "Yes" on this prompt.
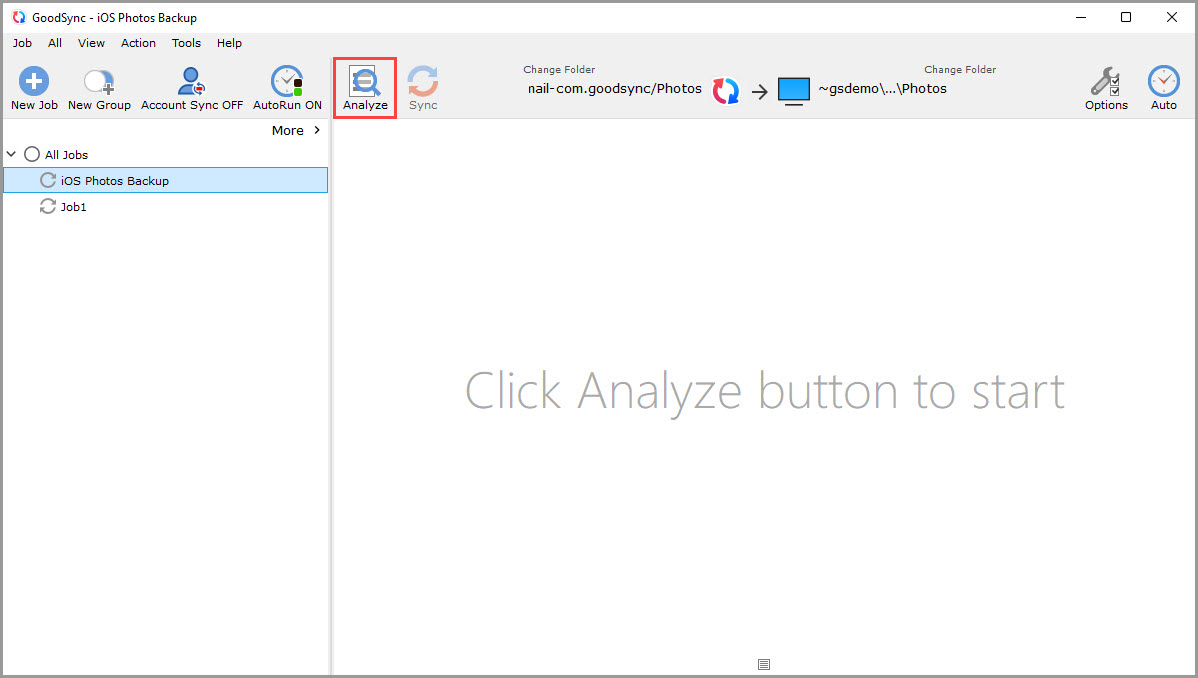
7) Click "Analyze" to see the proposed changes.
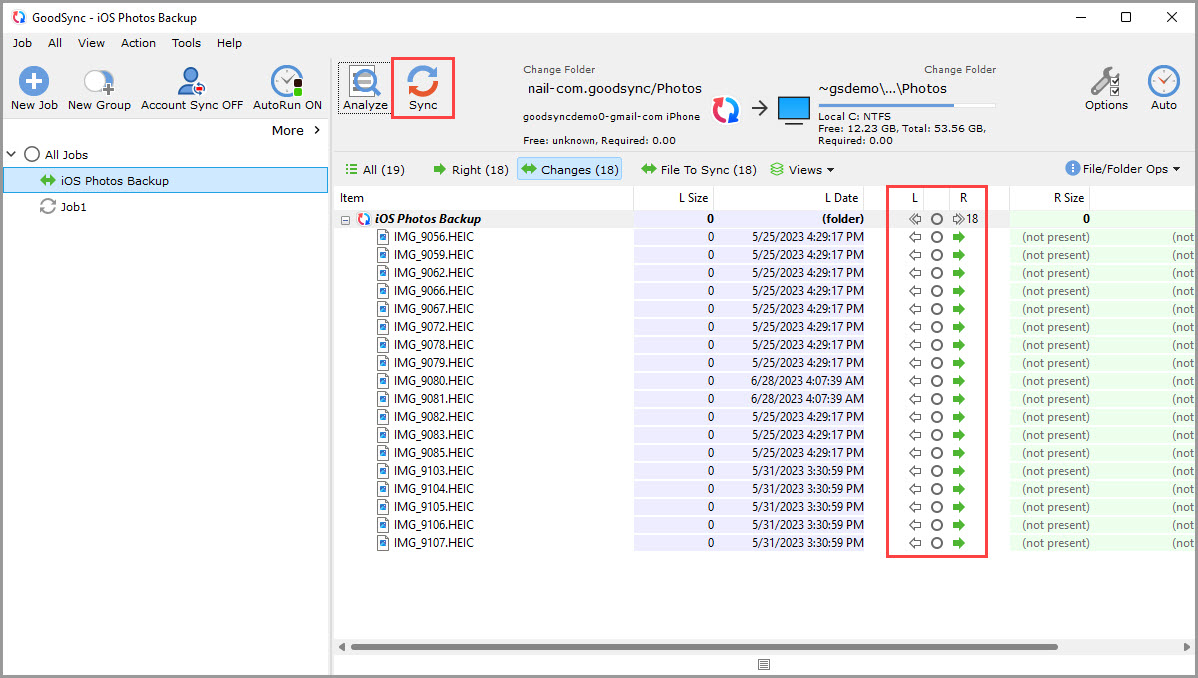
8) Click "Sync" to make the proposed changes.
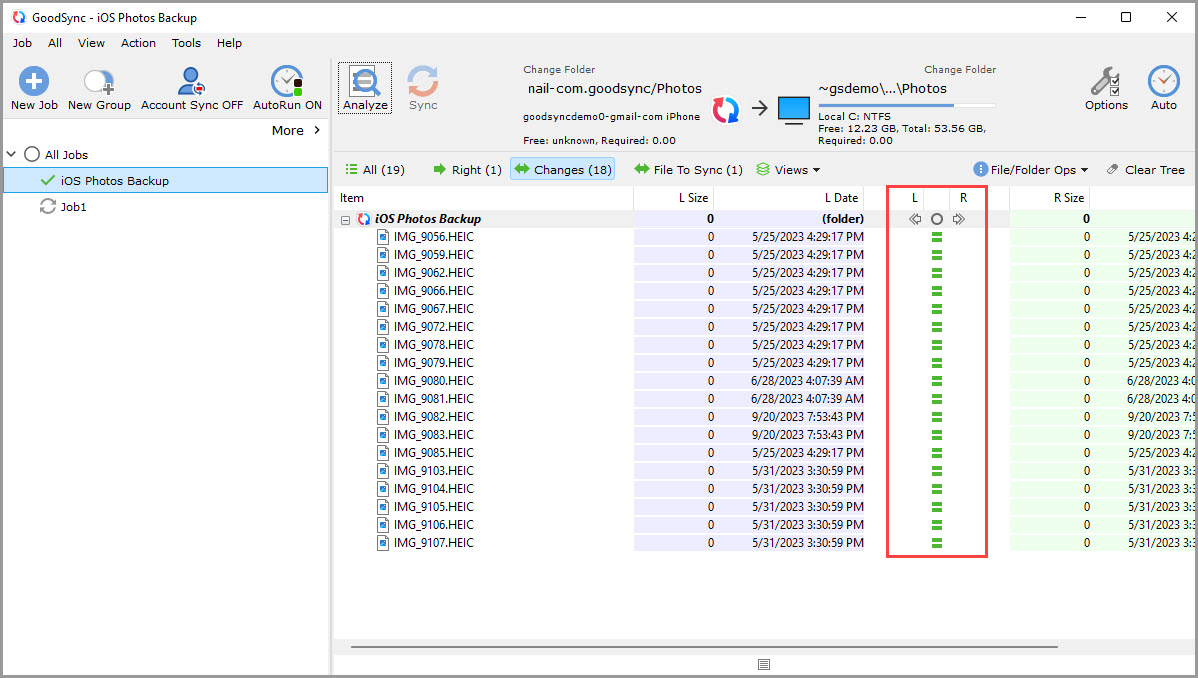
9) Once you see the equals sign between the left and right folders, your backup Job is complete.
NOTE: To configure the job with automation or other settings, click here.