Each device used with GoodSync generates a unique DeviceID, which is required to enroll that device into your list of Approved Devices. Activity from each enrolled device is logged and displayed, allowing you to easily verify which devices are accessing your account.
To add an extra layer of security, you can enable two-factor authentication using the Google Authenticator app or by receiving a one-time password (OTP) via email or SMS. This verification is required when enrolling a device in your list of Approved Devices.
NOTE: After changing the two-factor authentication settings for your GoodSync account, you must sign in again on all devices using that account.
To do so, open Tools >> Account Setup on Windows or GoodSync >> Account Setup on macOS.
Google Authenticator
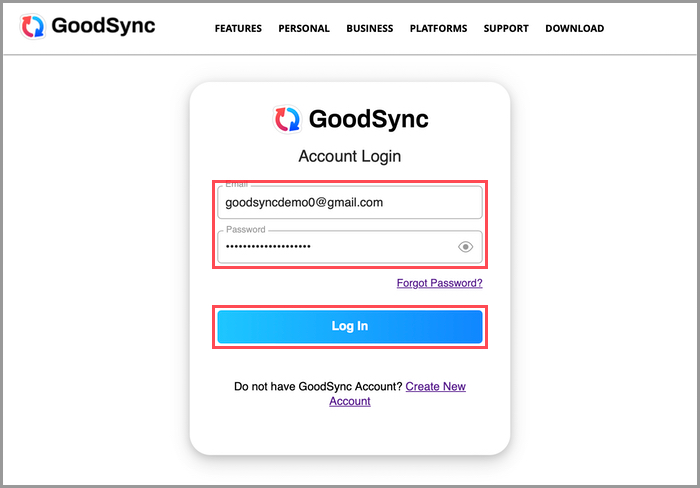
1) Go to the GoodSync Account Login page and log in to your GoodSync Account.
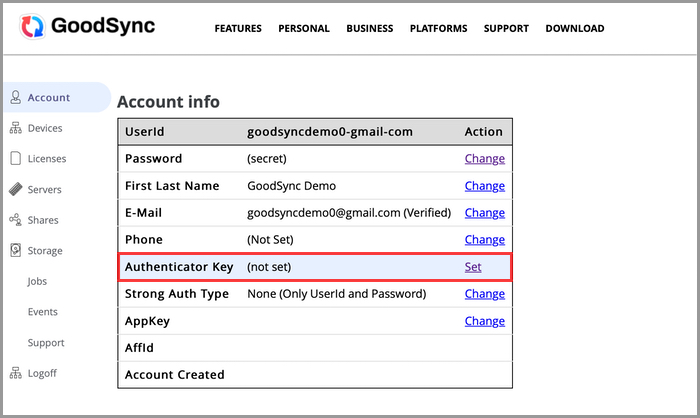
2) Once logged in, you can find yourself on the "Account" page. In your account information, you will see a field titled "Authenticator Key." To the right of this field, click the link labeled "Set.
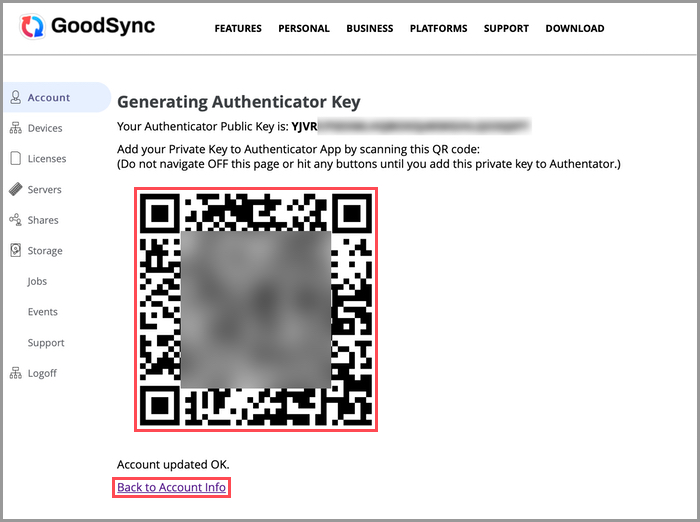
3) Using the Google Authenticator app, scan the QR code to add your GoodSync account. Once you finished adding your GoodSync account to the Authenticator app, click the "Back to Account Info" link.
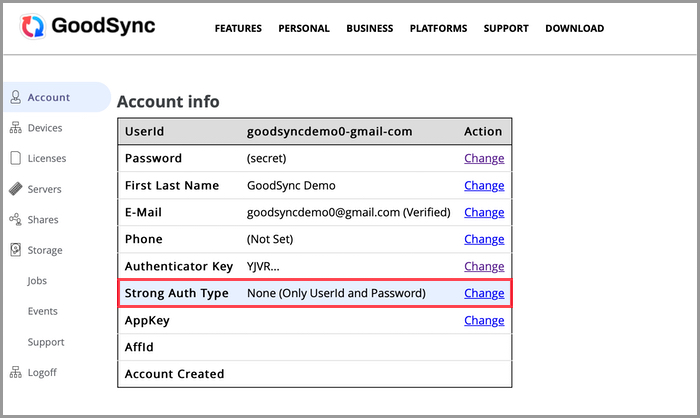
4) In your account information, you will see a field titled "Strong Auth Type." To the right of this field, click the link labeled "Change."
5) Next to the "Strong Auth Type" field, you will see three options. Select the "One Time Password (OTP) by Authenticator" option. Then, click the "Update" button.
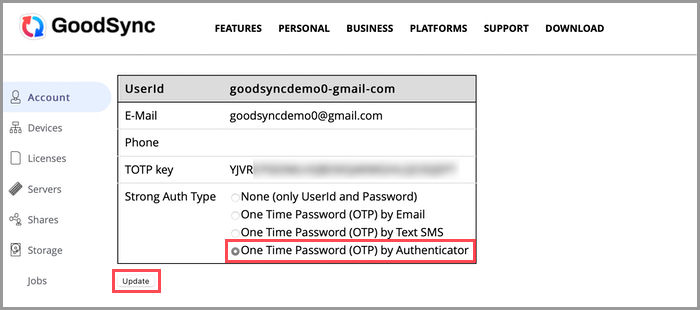
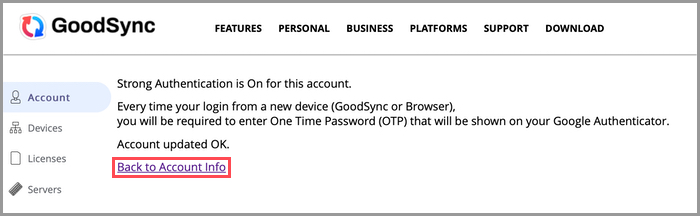
6) You will then be presented with a confirmation screen. Click the "Back to Account Info" link to return to your account.
One Time Password (OTP)
1) Go to the GoodSync Account Login page and log in to your GoodSync Account.
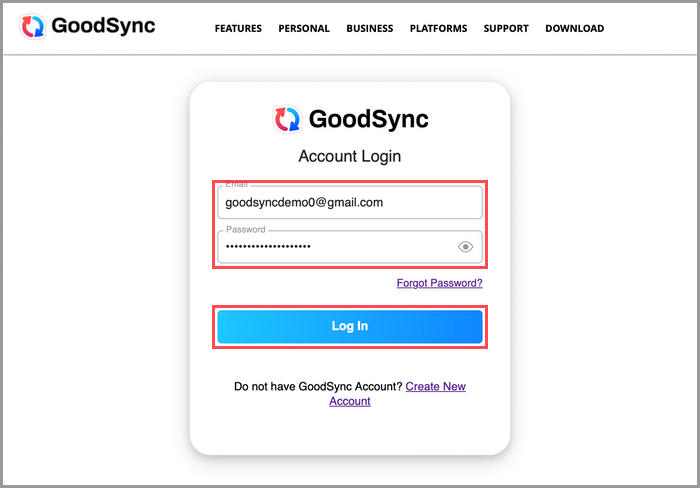
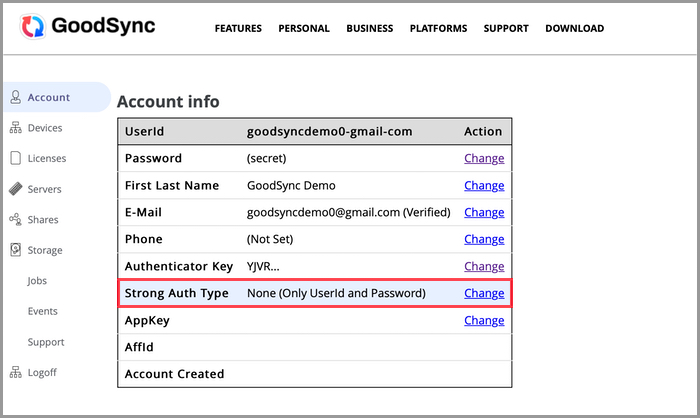
2) Once logged in, you can find yourself on the "Account" page. In your account information, you will see a field titled "Strong Auth Type." To the right of this field, click the link labeled "Change."
3) Next to the "Strong Auth Type" field, you will see three options. Select either "One Time Password (OTP) by Email" or "One Time Password (OTP) by Text SMS" to enable One Time Password. Then, click the "Update" button.
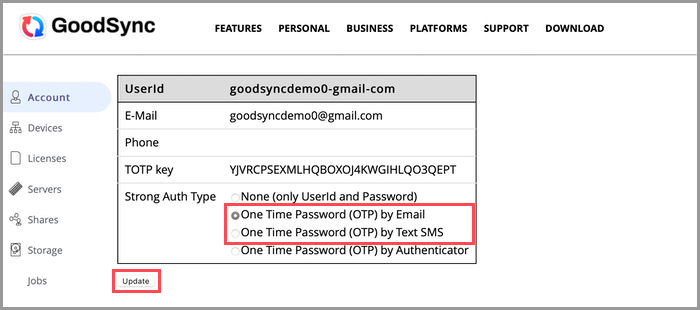
4) Once the One-Time Password has been enabled, GoodSync will present you with a confirmation screen.
Click the "Back to Account Info" link to return to your account information.
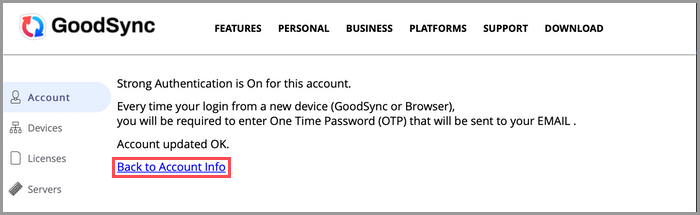
From now on, whenever you access GoodSync from a new device, you will be prompted to enter the OTP that will be emailed or texted to you.