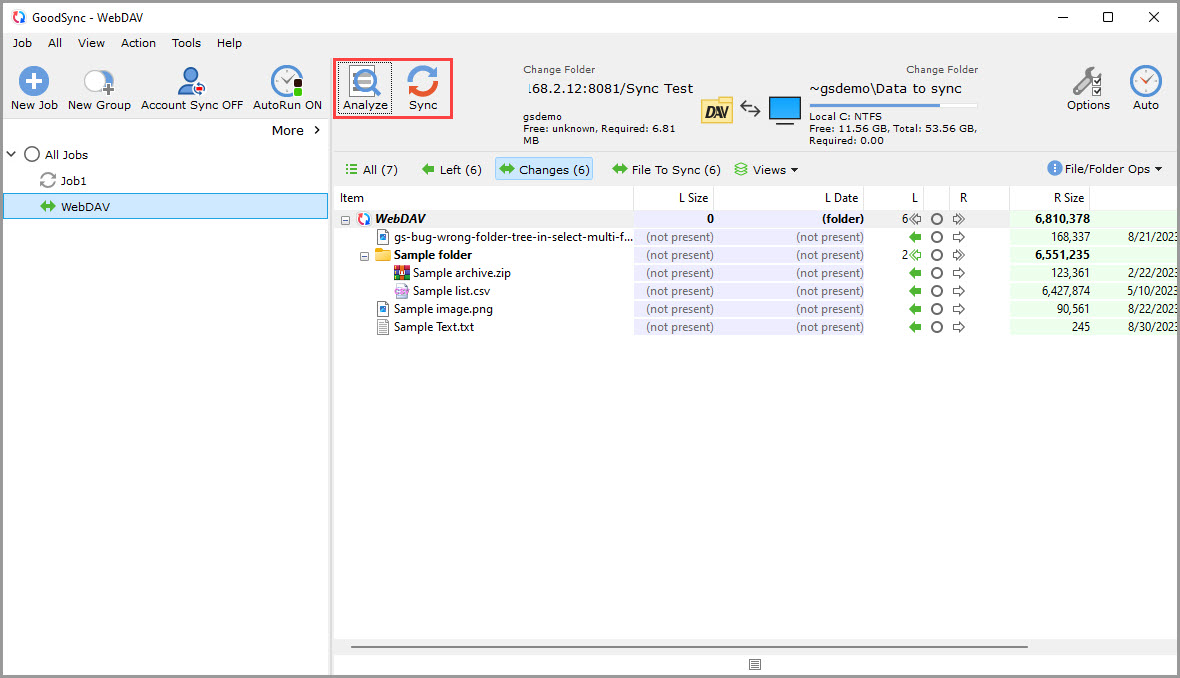
If you haven't already, download and install GoodSync.
With GoodSync, you can back up and sync to and from a WebDAV server. To do so, follow these steps:
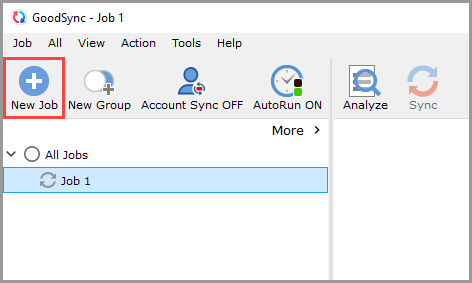
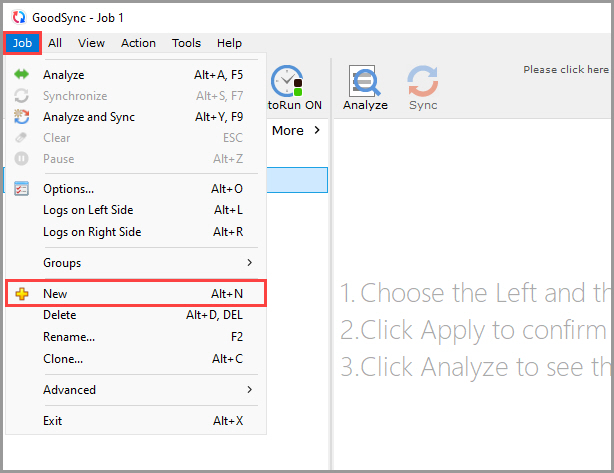
1) Open GoodSync and click the "New Job" button in the toolbar, or, in the "Job" menu, select "New."
NOTE: You can select and modify an existing GoodSync job instead of creating a new one. In this case, skip to Step 3.
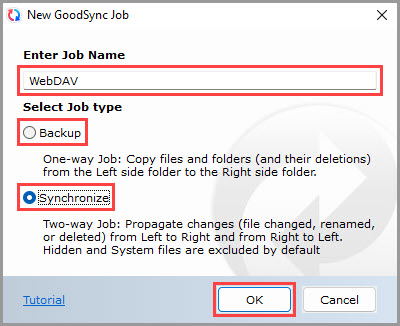
2) In the New GoodSync Job prompt, enter the name of your new Job. Then, select "Backup" or "Synchronize" as your Job type.
Click the "OK" button when done.
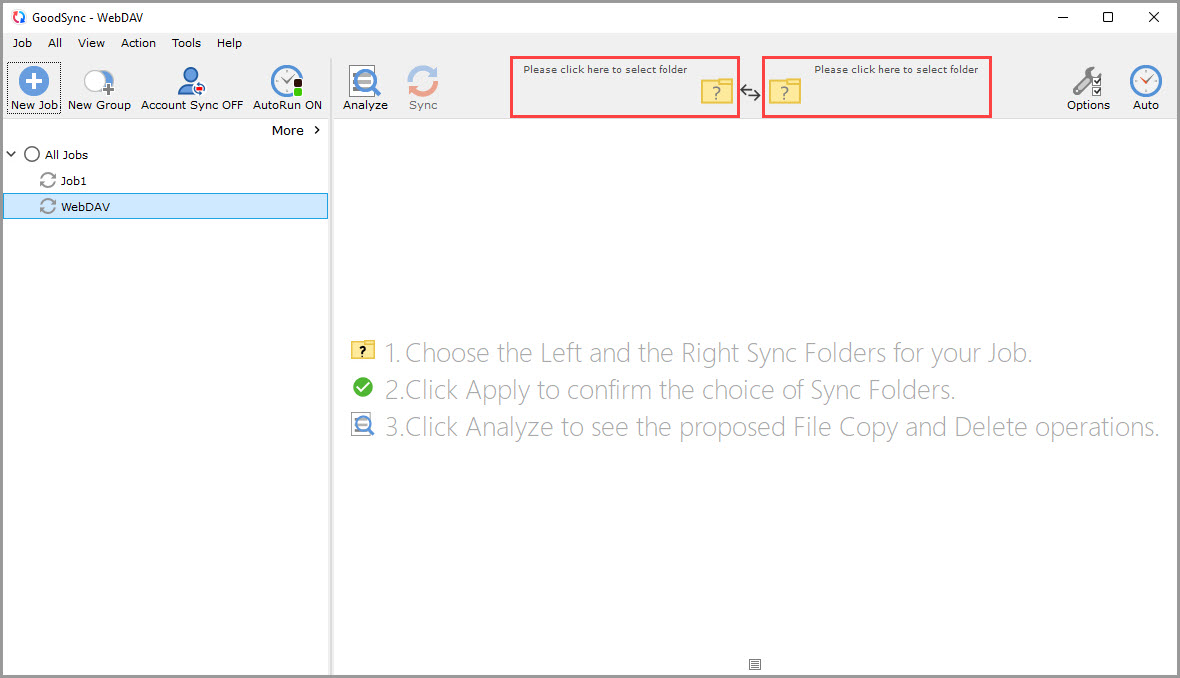
3) Click the left or right sync folder controls to view the files and folders available for selection.
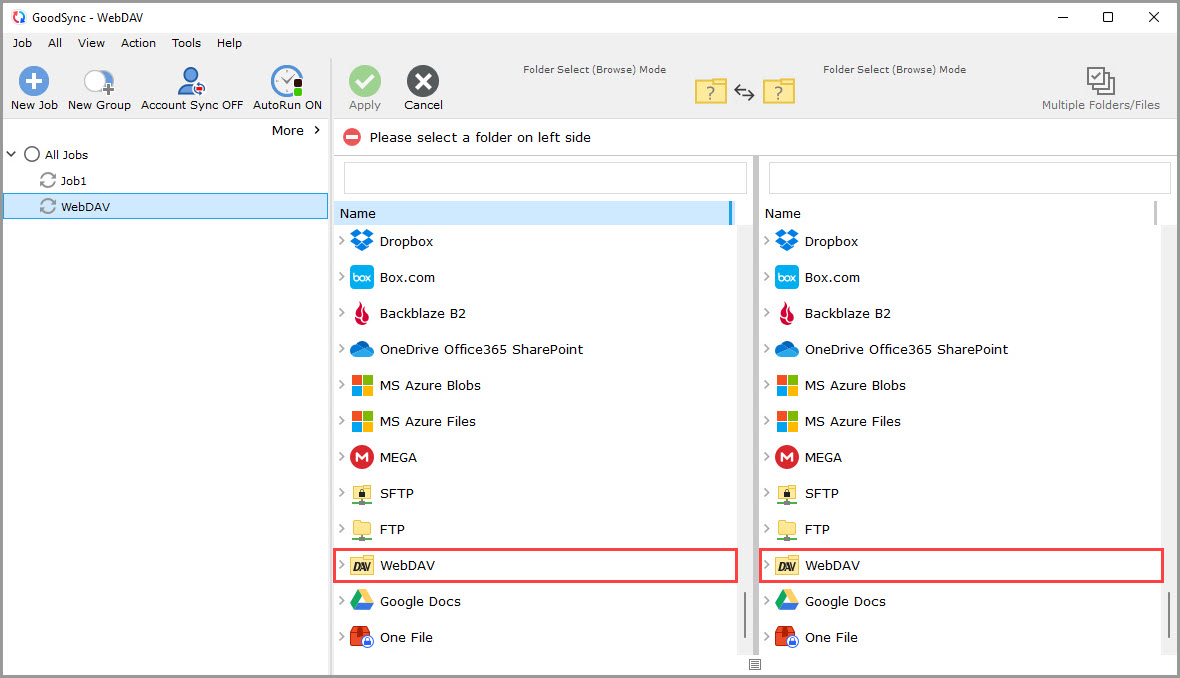
4) Scroll down and select "WebDAV" from the list of supported services on either side.
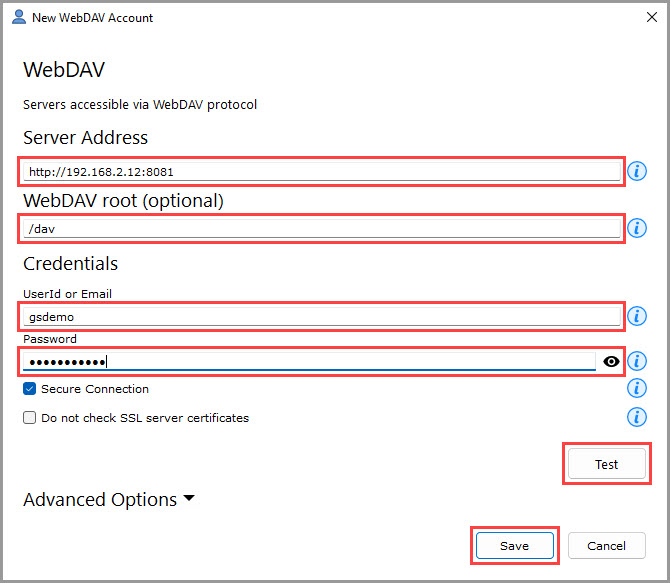
5) Enter the server name into the "Server Address" field in the format: http://server.com. If needed, specify a custom port after the server address separated by a colon: http://server.com:1001.
If you would like to specify a WebDAV root folder, you can do so in the "WebDAV root" field.
Enter your UserID or Email and Password for the server in the specified fields.
After entering this information, click "Save" at the bottom right.
NOTE: You also have the option to test your connection to the server, if you wish, by clicking the "Test" button after you have filled out the other information.
6) After connection to the WebDAV server is set up, your server account will be shown within the GoodSync interface.
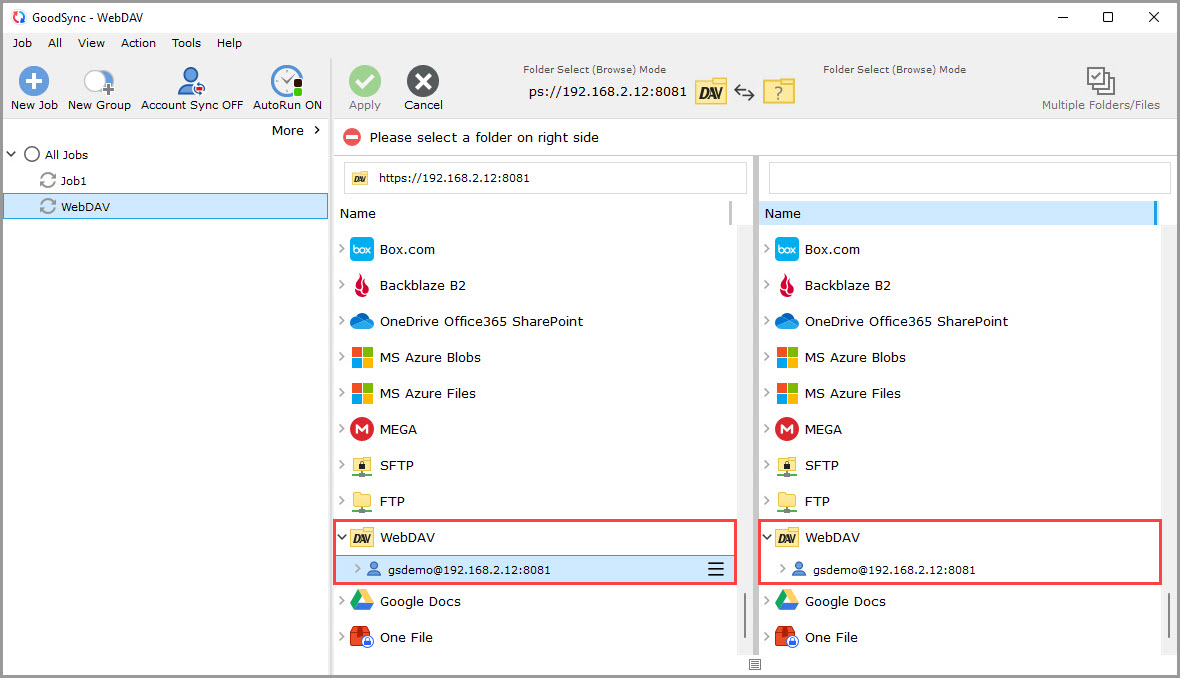
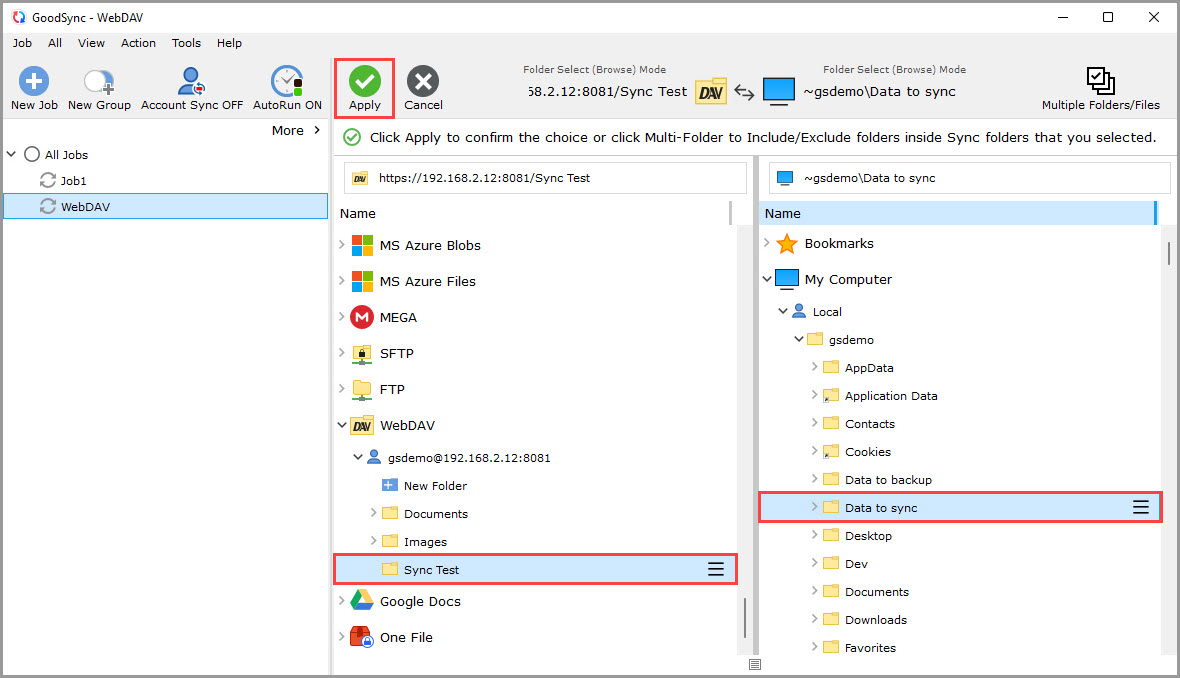
7) Select a folder on the WebDAV server you wish to back up or sync to.
Select your source/destination folder on the opposite side.
Then, click the green "Apply" button.
8) Your Job is now ready to Analyze and Sync.