This tutorial shows how to export your data from Salesforce Lightning and back it up with GoodSync.
If you haven't already, download and install GoodSync.
- How to Export Your Data From Salesforce Lightning
- Creating a Backup Job in GoodSync to Back Up Your Salesforce Data
How to Export Your Data From Salesforce Lightning
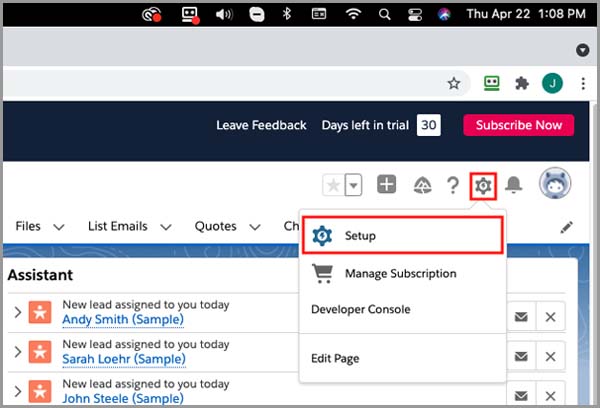
- Log in to your Salesforce account, then click the gear icon in the upper-right corner.
- Click Setup.
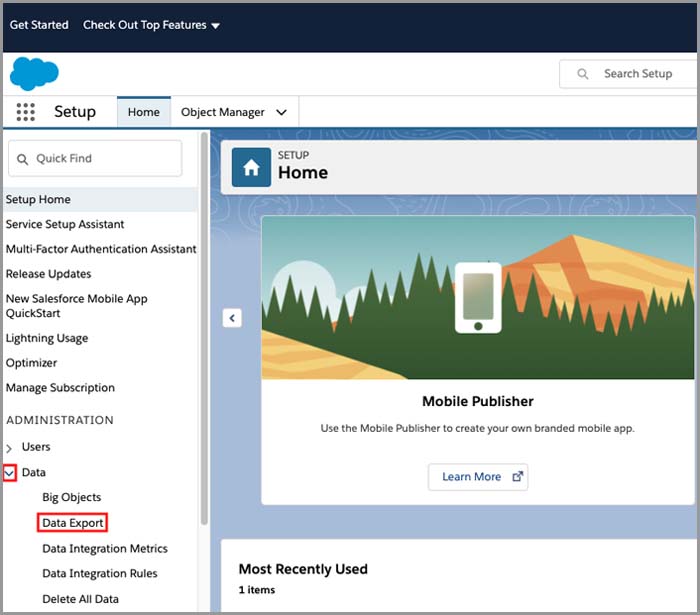
- In the left-hand menu, click the arrow next to Data, then click Data Export.
- On the Data Export screen, click Export Now.

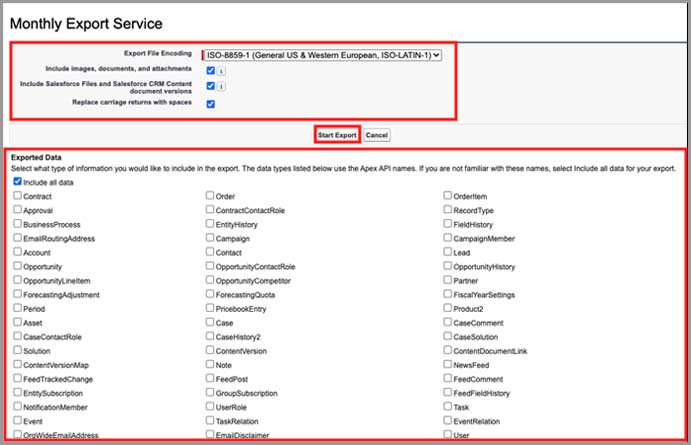
- Choose your export options, then click Start Export.
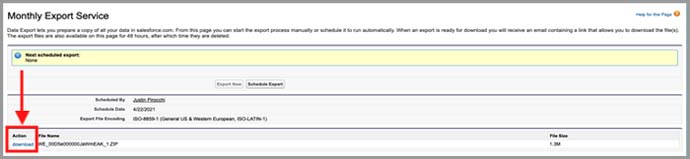
- When the export is ready, it appears as available for download, and Salesforce sends you an email. Download the export. Your browser saves it to your Downloads folder or your default download location.
Creating a Backup Job in GoodSync to Back Up Your Salesforce Data
- Open GoodSync and click New Job in the toolbar, or select Job > New.
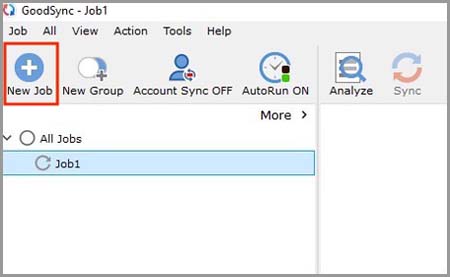
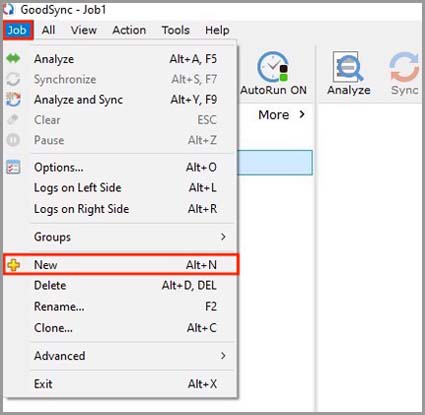
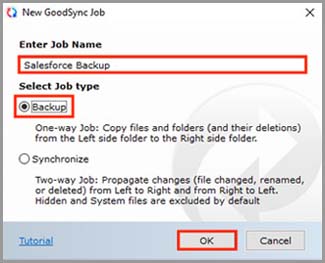
- In the New GoodSync Job window, enter a name for the job, select Backup as the job type, and click OK.
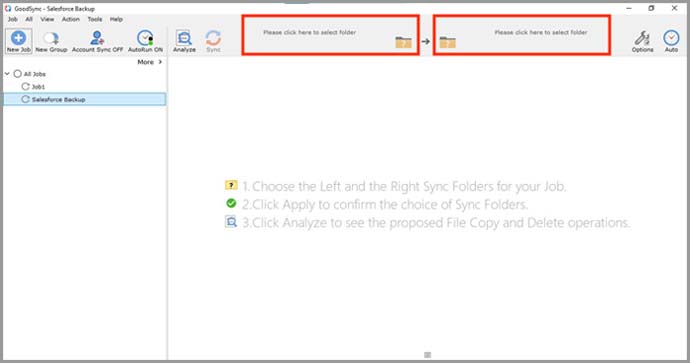
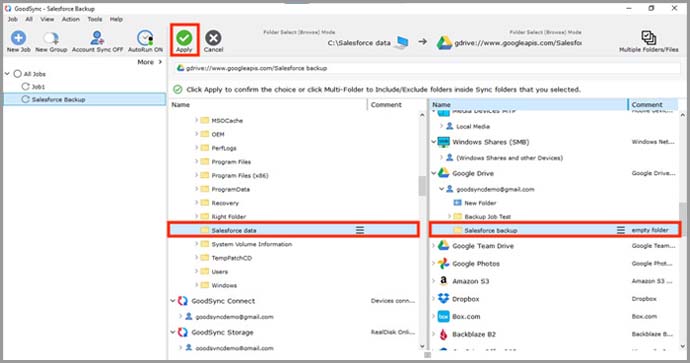
- Click the Left or Right browse button at the top of the window to choose the folders for the job.
-
On the Left side, select the folder that contains your Salesforce export. You can also select individual export files.
On the Right side, select the backup destination. This example uses Google Drive. For setup steps, see Google Drive Unified Backup/Sync.
When both sides are selected, click Apply.
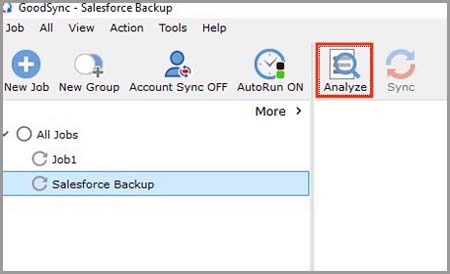
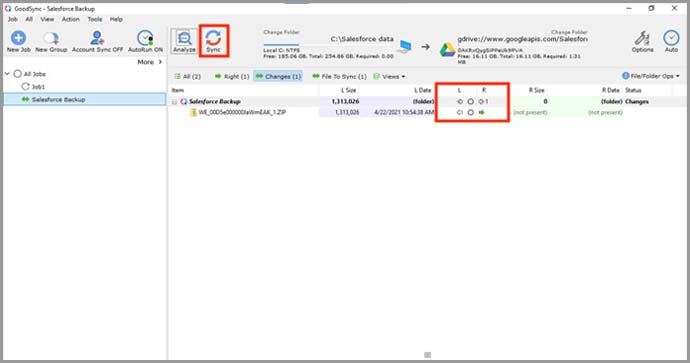
- Click Analyze and check that the data will be copied to the right place.
- Click Sync to copy the data to the destination.
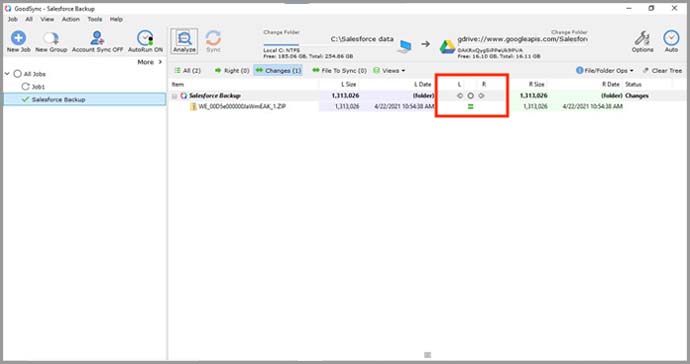
- The sync is complete when a green equals sign appears between the L and R columns.
NOTE: For more job settings, see GoodSync Job Options.