Uploading Server Accounts to the Control Center allows you to select the predefined locations within Control Center Jobs. That is achievable with any file system supported by GoodSync.
With Control Center v3.1.1, uploading Server Accounts has been replaced with Account Sync. The New scheme enables a two-way sync of Server Accounts, Jobs, and Program Options between the GoodSync Account and the GoodSync Control Center Account via the Mediator server.
This approach allows you to utilize the GoodSync GUI client application on Windows or Mac for creating and editing Jobs and Server Accounts in a user-friendly GUI environment. It offers the convenience of browsing through folders deep within various online and offline file systems while supporting complex authentications such as OAuth2, capabilities that the Control Center Web UI does not provide.
NOTE: All newly created GoodSync Control Center accounts will automatically be enrolled in the New scheme.
New scheme (GS CC version 3.1.1 and up)
NOTE: The following example will use Google Drive as a demonstration. The process is similar for all other file systems.
1) Ensure that the current device is connected to the Control Center as a runner (a Windows machine is used in this example). For details regarding device setup, click here.
2) Open the GoodSync GUI. On Windows, the GoodSync GUI can be found in "C:\Program Files\Siber Systems\GoodSync\GoodSync.exe." On Mac, you may locate the GoodSync GUI application in the "Applications" folder.
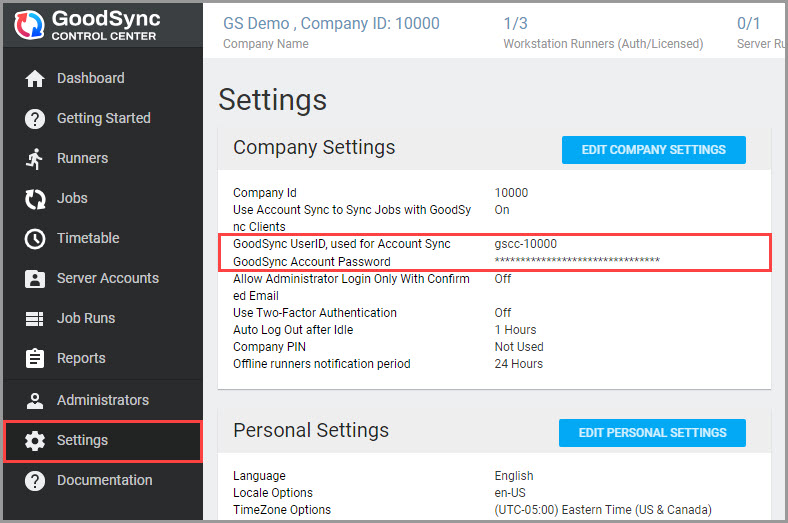
If opening GoodSync GUI for the first time, you will be prompted to log in with a GoodSync Account. Use the credentials of the Account created during the Control Center setup. These may be found in the "Settings" section of your Control Center.
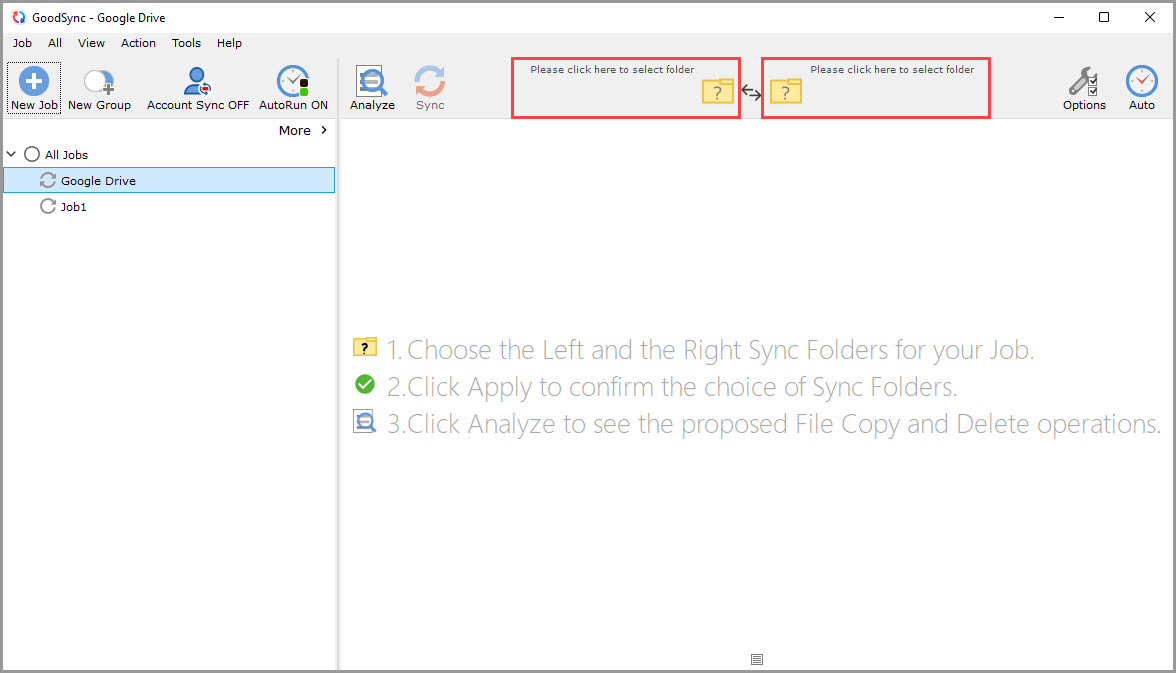
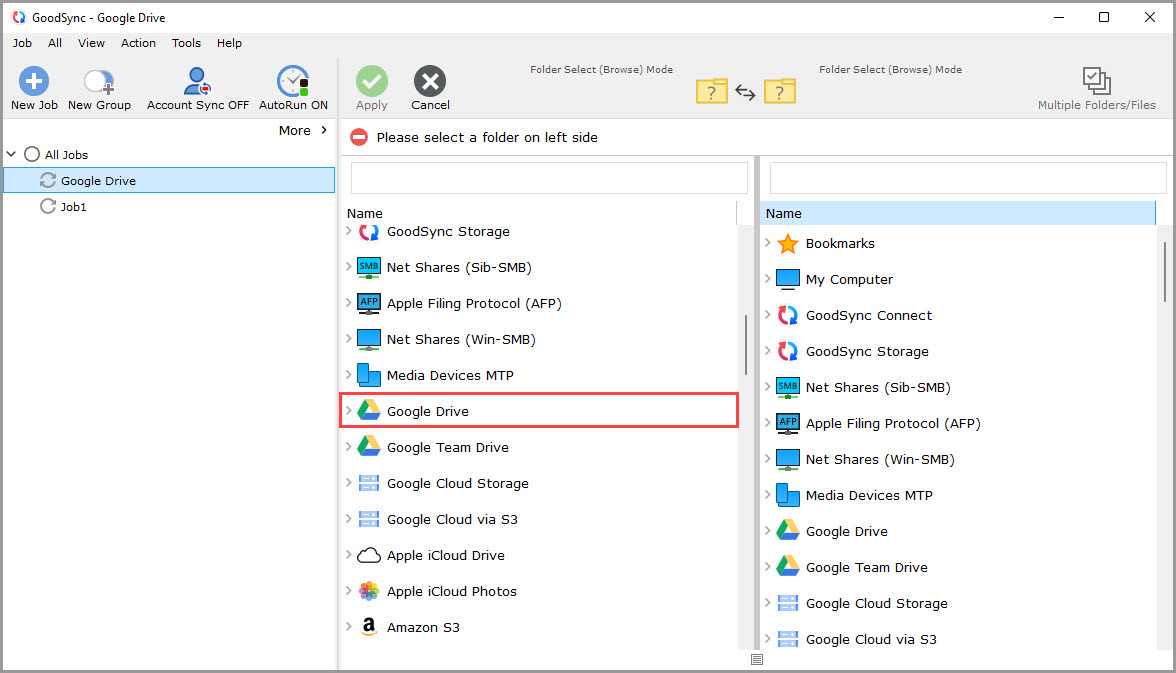
3) Click the left or right sync folder controls to view the file systems available for selection. Next, click the file system you would like to access for use in the Control Center Jobs. We will use Google Drive as an example.
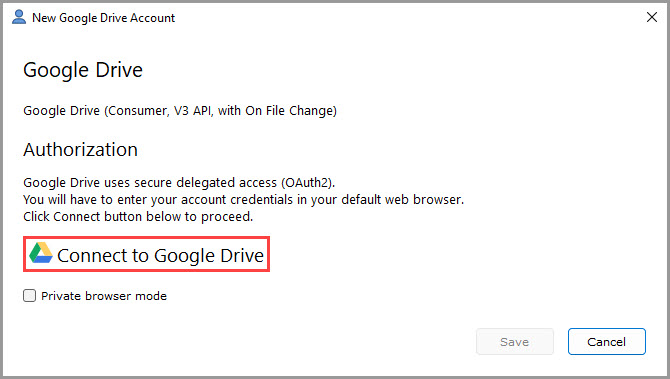
4) A window will appear, prompting you to authorize GoodSync to access your Google Drive account. Click on the "Connect to Google Drive" button.
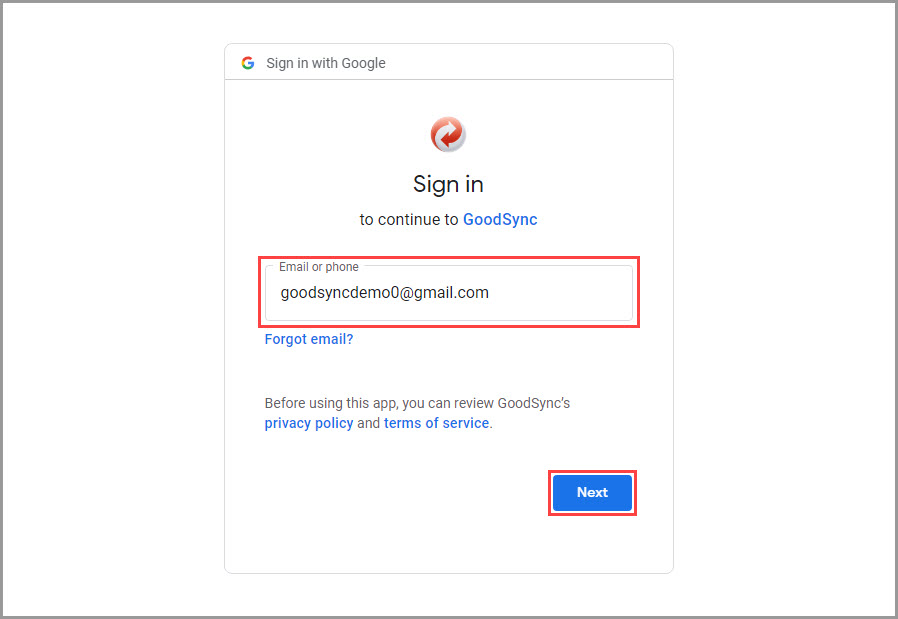
5) A Google authentication page will open in your default browser. Enter the name of your Google account. Then click the blue "Next" button.
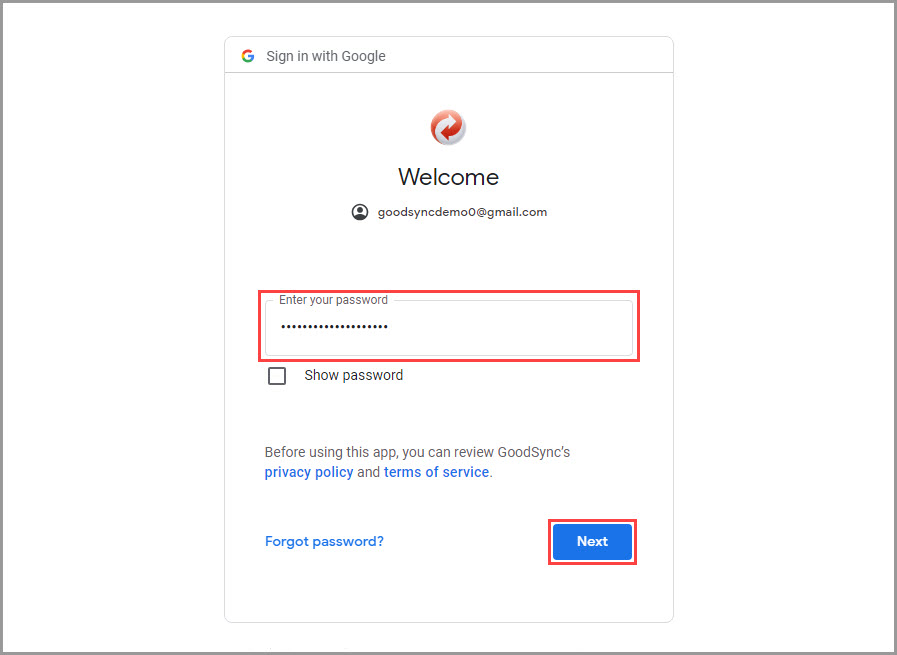
Provide the password of your Google account, and click "Next."
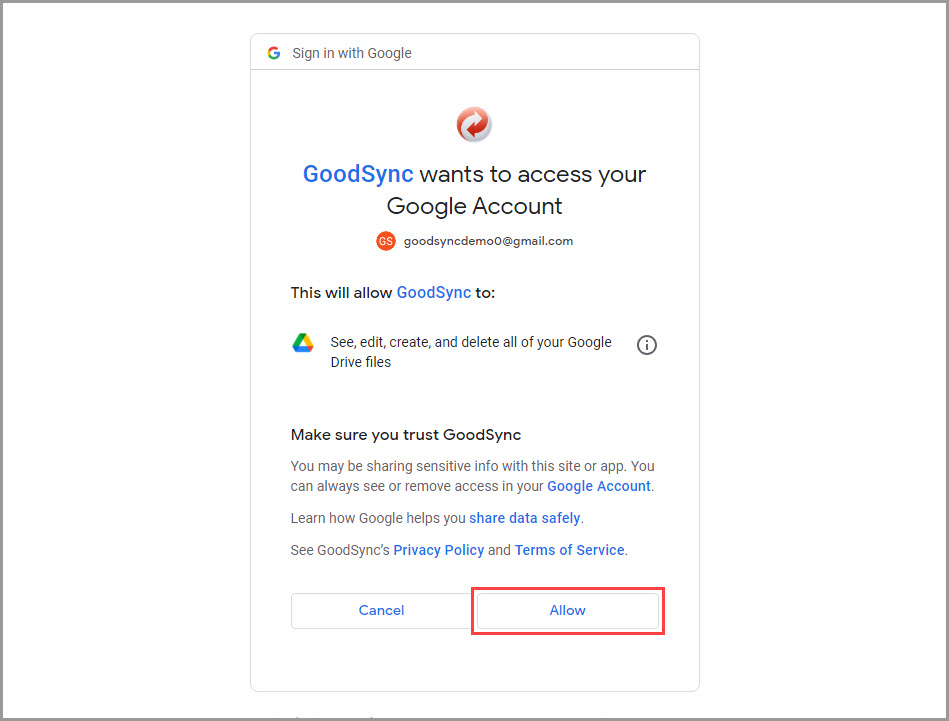
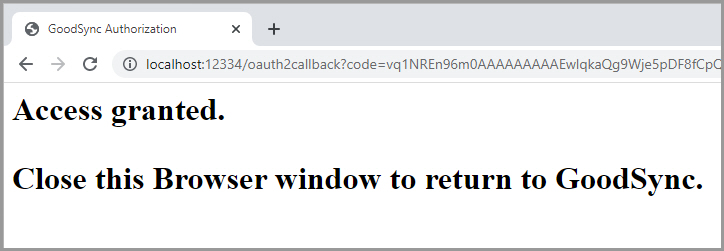
Click "Allow" to grant GoodSync access to the Google Drive file system. You will then be taken to a page confirming the access granted.
6) Select a folder within your Google Drive account that you would like to upload to the Control Center for Job runs. Select a different folder on the opposing side of the Job, then click the green "Apply" button at the top to save the changes.
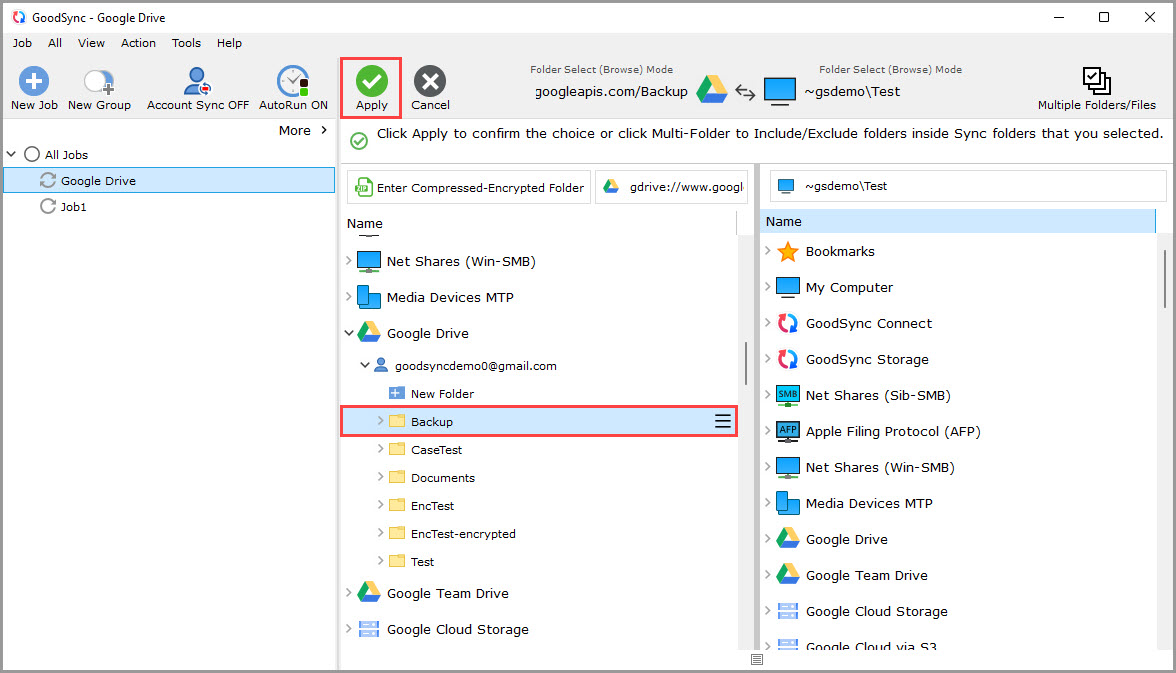
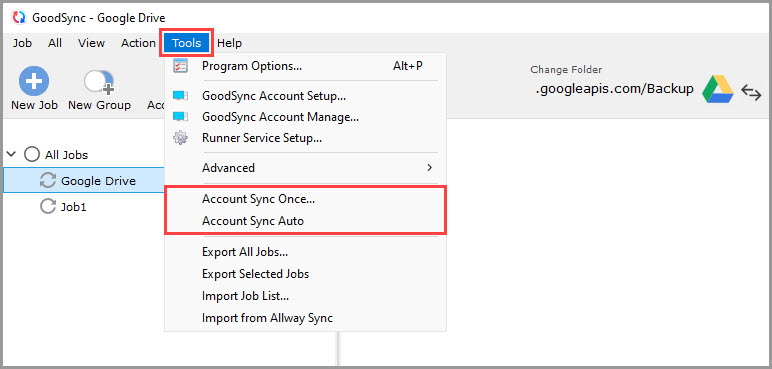
7) Once the folder has been selected, navigate to "Tools" >> "Account Sync Once" or "Tools" >> "Account Sync Auto" (on Mac, "GoodSync" >> "Account Sync Once" or "GoodSync" >> "Account Sync Auto," correspondingly) to sync Accounts, Jobs, and Program Options with the Mediator server.
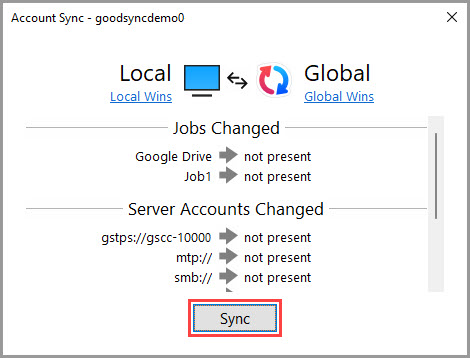
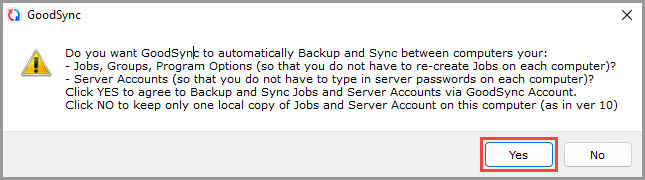
8) Confirm that you wish to perform the Account Sync by clicking "Sync" or "Yes," depending on the option you selected in the previous Step.
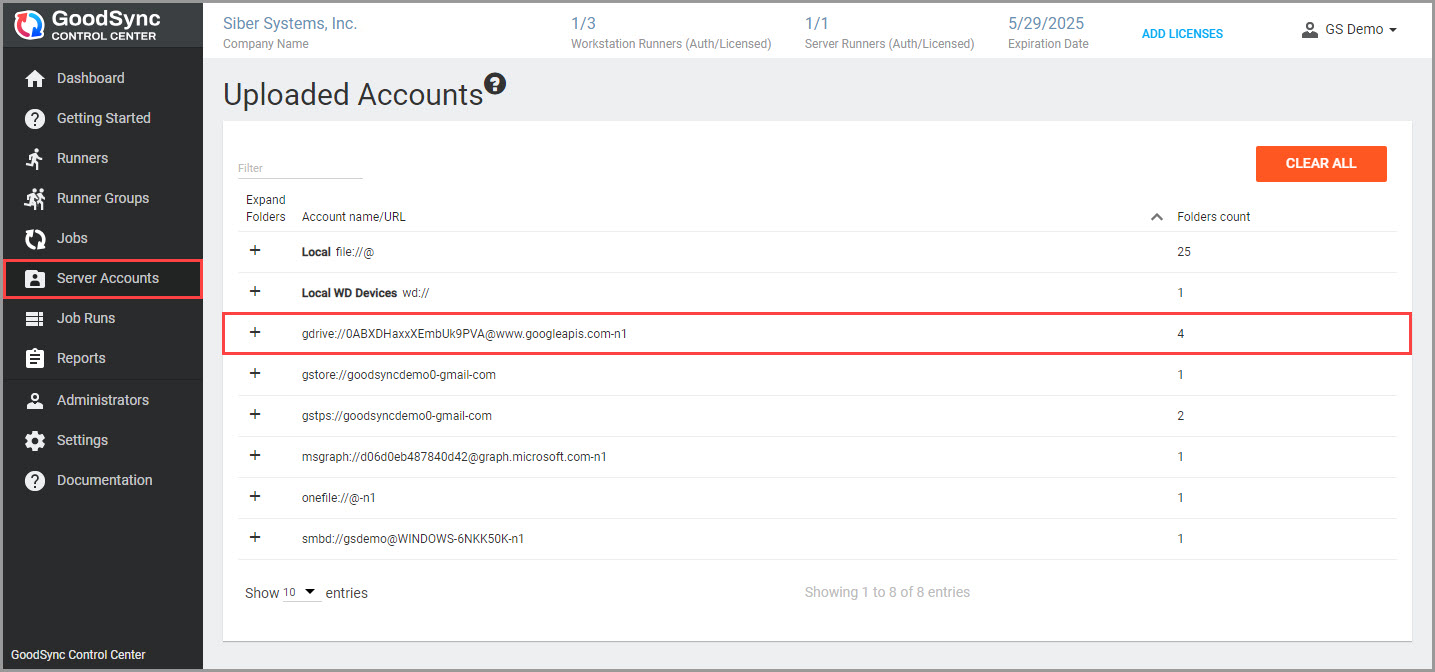
9) After Account Sync has been completed in GoodSync GUI, go to the Control Center, navigate to the "Server Accounts" section, and click the "SYNC WITH GOODSYNC ACCOUNT" button to synchronize Accounts, Jobs, and Program Options with your Control Center. Synchronized Server Accounts will be displayed in the table below.
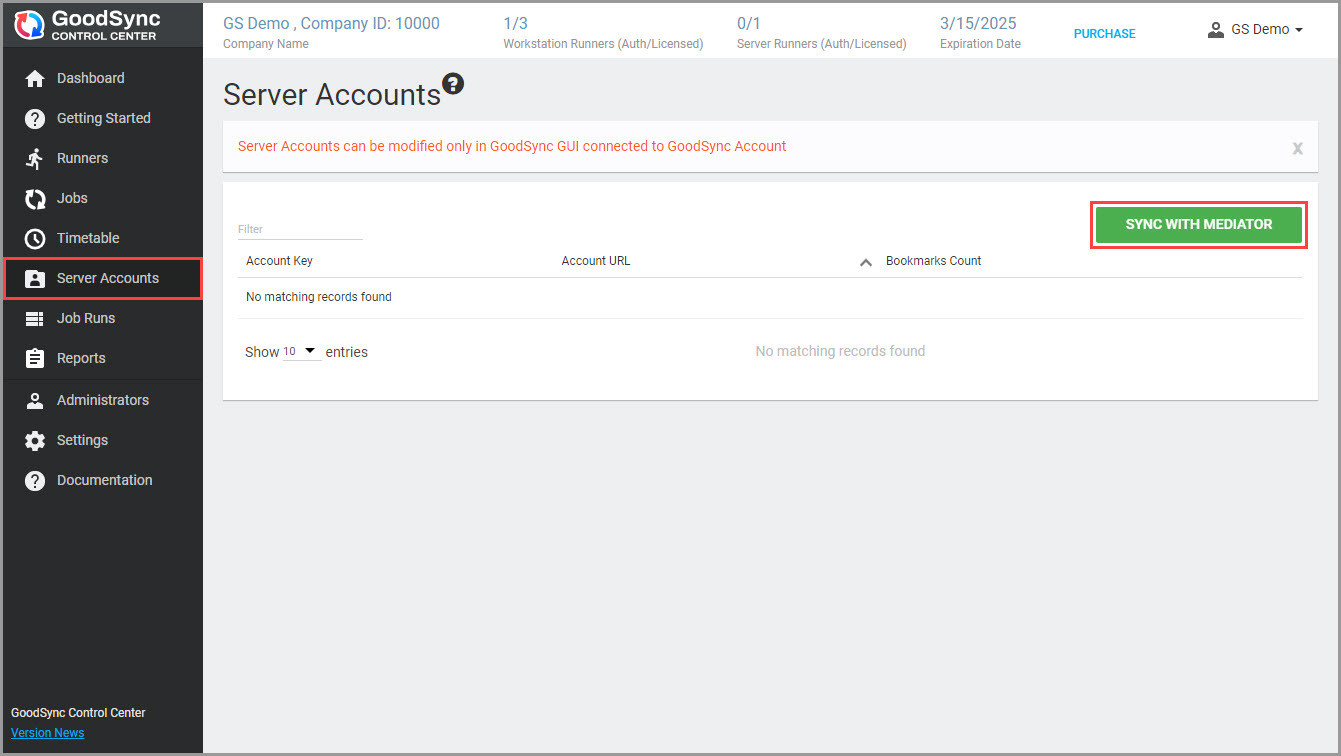
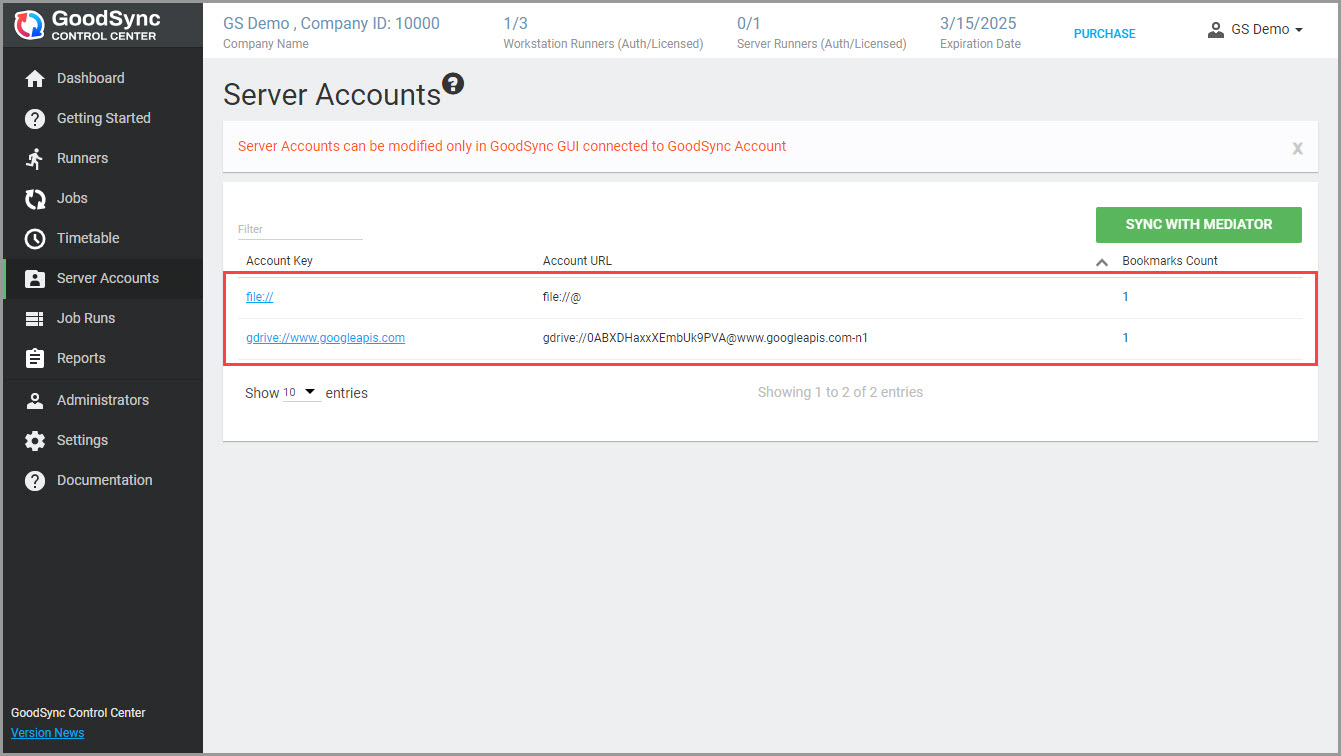
10) When creating new Jobs or updating existing ones, select the corresponding Account and Folder for the Left/Right Folder of your Job.

Old scheme
NOTE: The following example will use Google Drive as a demonstration. The process is similar for all other file systems.
1) Ensure that the current device is connected to the Control Center as a runner (a Windows machine is used in this example). For details regarding device setup, click here.
2) Open the GoodSync GUI. On Windows, the GoodSync GUI can be found in "C:\Program Files\Siber Systems\GoodSync\GoodSync.exe." On Mac, you may locate the GoodSync GUI application in the "Applications" folder.
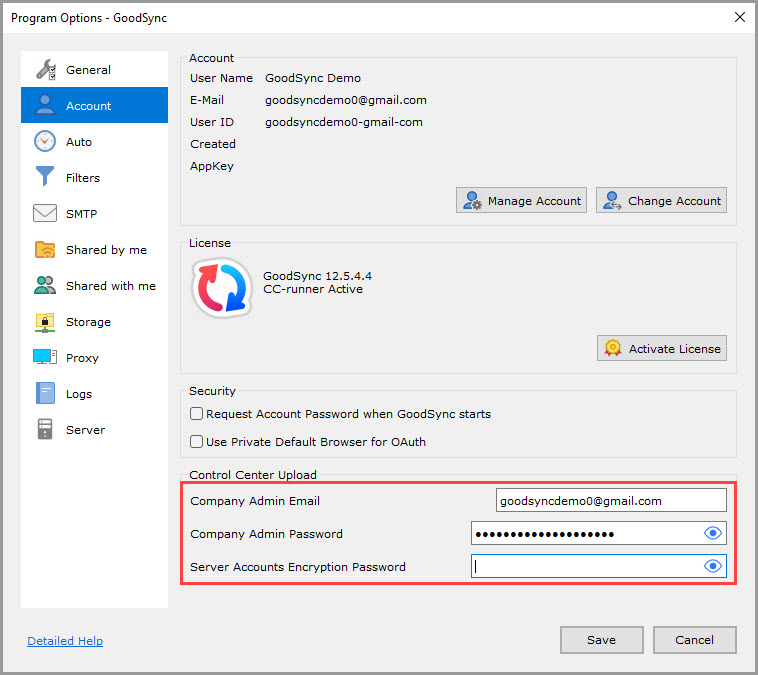
3) Navigate to "Tools" >> "Program Options" >> "Account" (or "GoodSync" >> "Preferences" >> "Account" on Mac) and provide the email and password to your Control Center account. That allows your device to upload the account directly into your company console.
NOTE: You may leave the "Server Accounts Encryption Password" field empty. If you define a "Server Accounts Encryption Password," you will need to utilize the /cc-acct-pwd flag when installing Control Center Runner. That enables the decryption of encrypted Accounts and Jobs.
Learn how to use the /cc-acct-pwd flag from the "User Setup" articles for Windows and Mac.
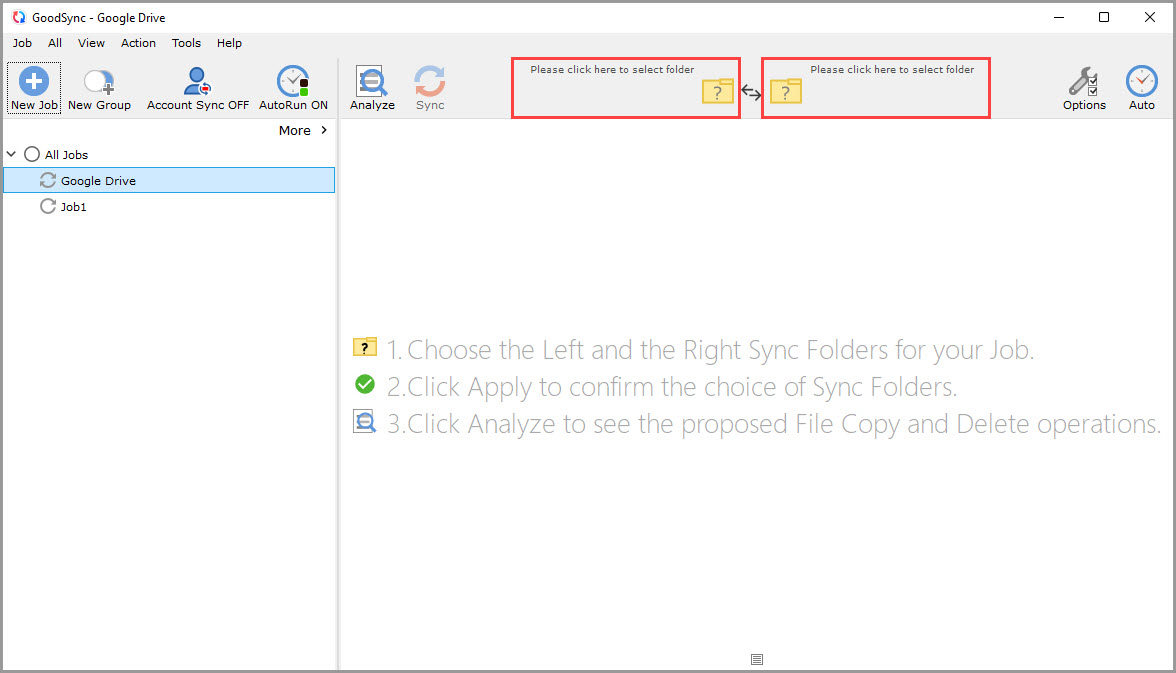
4) Click the left or right sync folder controls to view the file systems available for selection. Next, click the file system you would like to access for use in the Control Center Jobs. We will use Google Drive as an example.
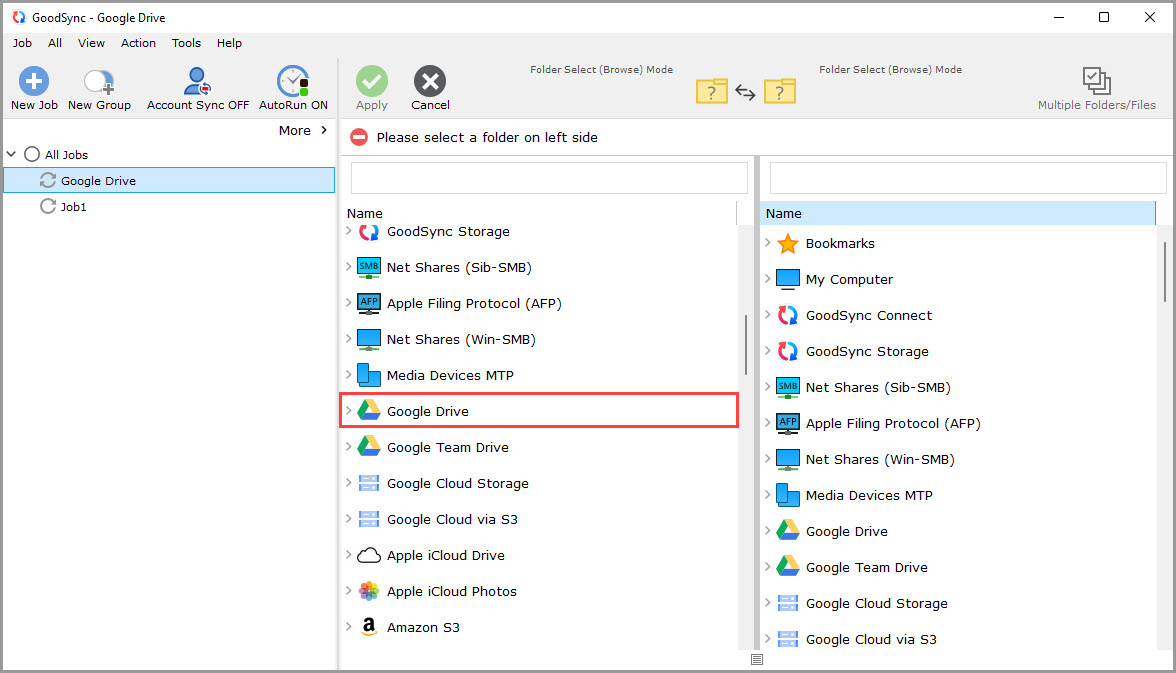
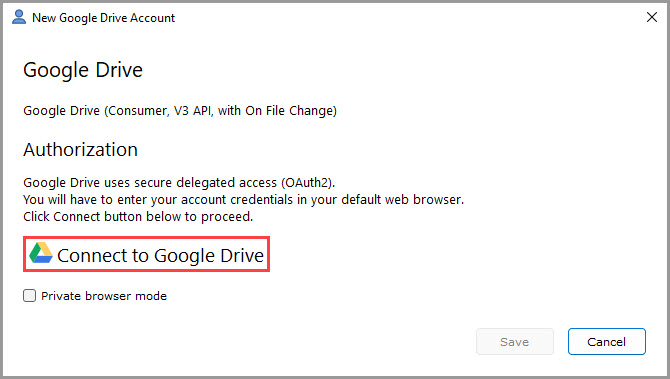
5) A window will appear, prompting you to authorize GoodSync to access your Google Drive account. Click on the "Connect to Google Drive" button.
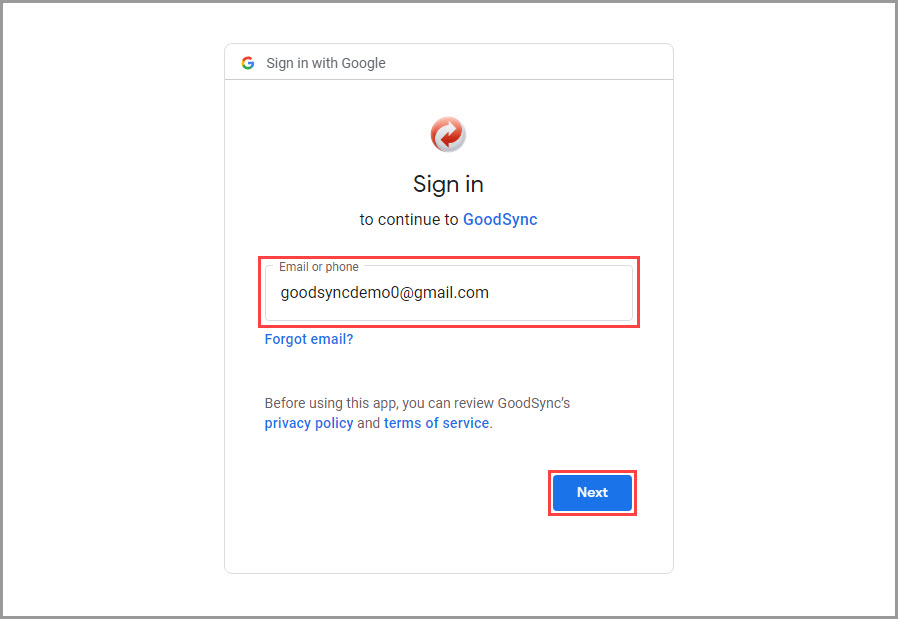
6) A Google authentication page will open in your default browser. Enter the name of your Google account. Then click the blue "Next" button.
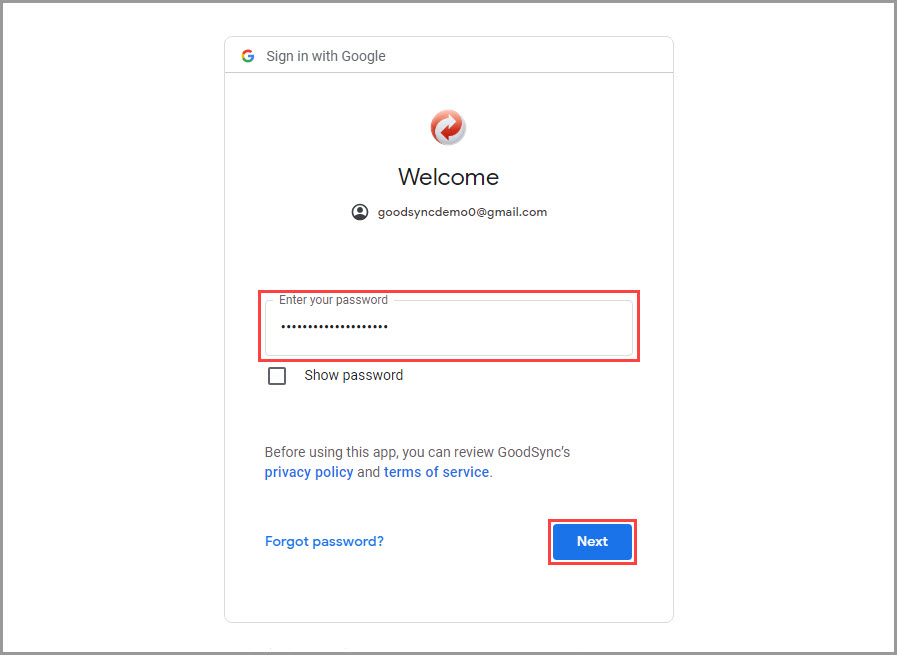
Provide the password of your Google account, and click "Next."
Click "Allow" to grant GoodSync access to the Google Drive file system. You will then be taken to a page confirming the access granted.
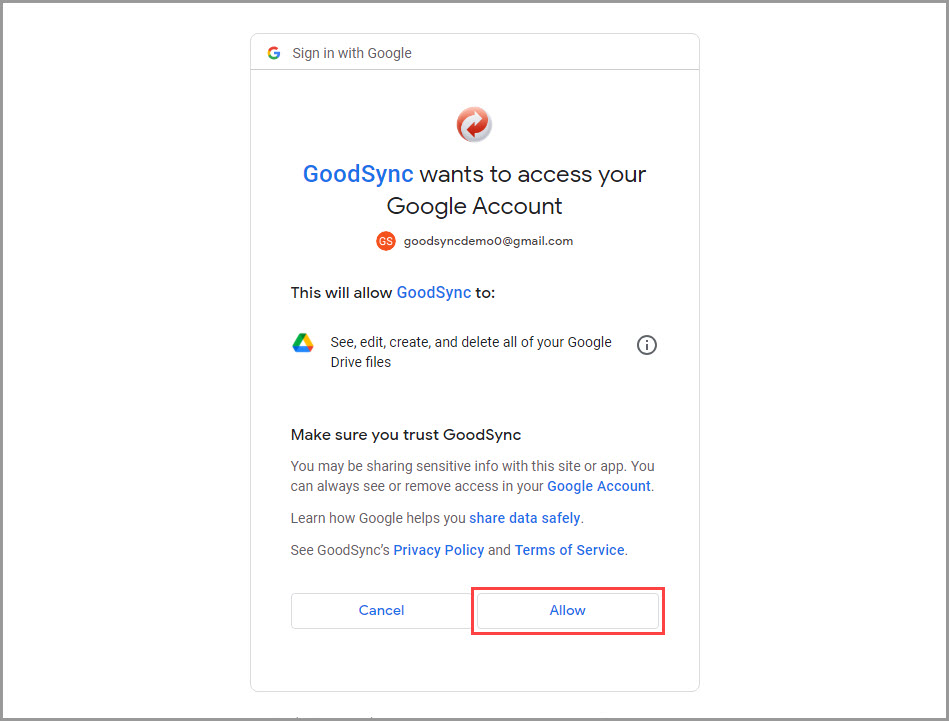
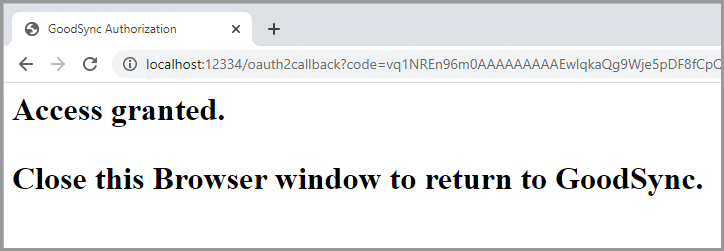
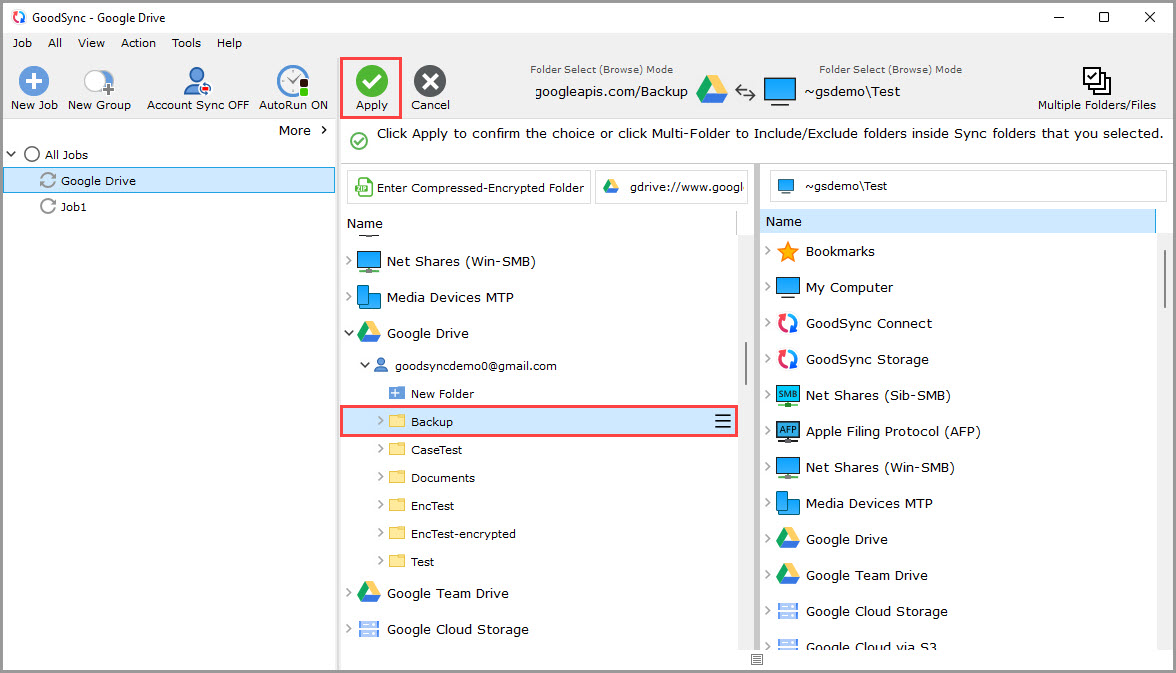
7) Select a folder within your Google Drive account that you want to upload to the Control Center for Job runs. Select a different folder on the opposing side of the Job, then click the green "Apply" button at the top to save the changes.
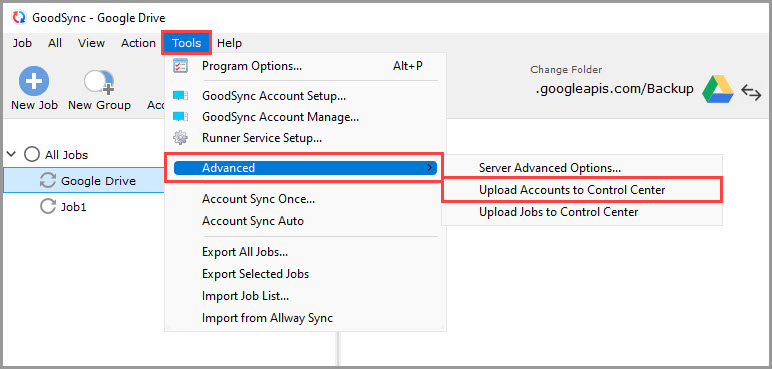
8) Once the folder has been selected, navigate to "Tools" >> "Advanced" >> "Upload Accounts to Control Center" (or "GoodSync" >> "Upload Accounts to Control Center" on Mac).
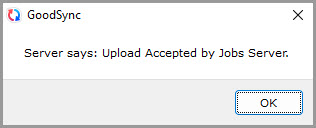
If all steps have been followed correctly, the Accounts should be successfully uploaded to the Control Center. You can view all uploaded Server Accounts in your Control Center by navigating to the "Server Accounts" section.
9) When creating new Jobs or updating existing ones, click the "Use Server Accounts" switch. All available uploaded accounts may be listed via drop-down.
