If you haven't already, download and install GoodSync.
With GoodSync, you can back up and sync to and from your Microsoft Azure storage. To do so, follow these steps:
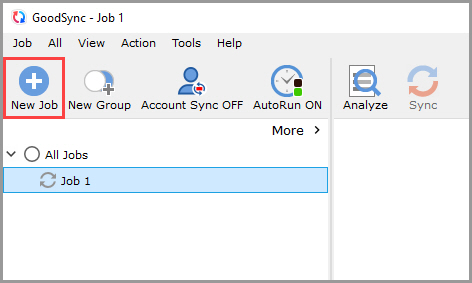
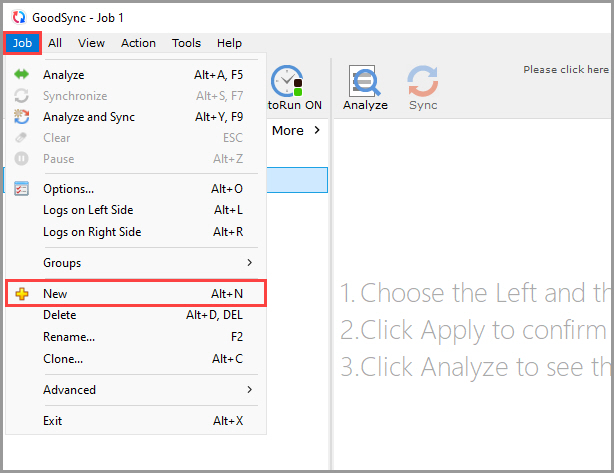
1) Open GoodSync and click the "New Job" button in the toolbar, or, in the "Job" menu, select "New."
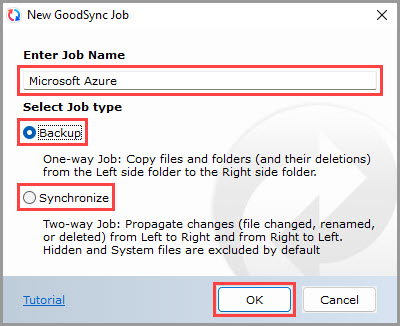
2) In the New GoodSync Job prompt, enter the name of your new Job. Then, select "Backup" or "Synchronize" as your Job type.
Click the "OK" button when done.
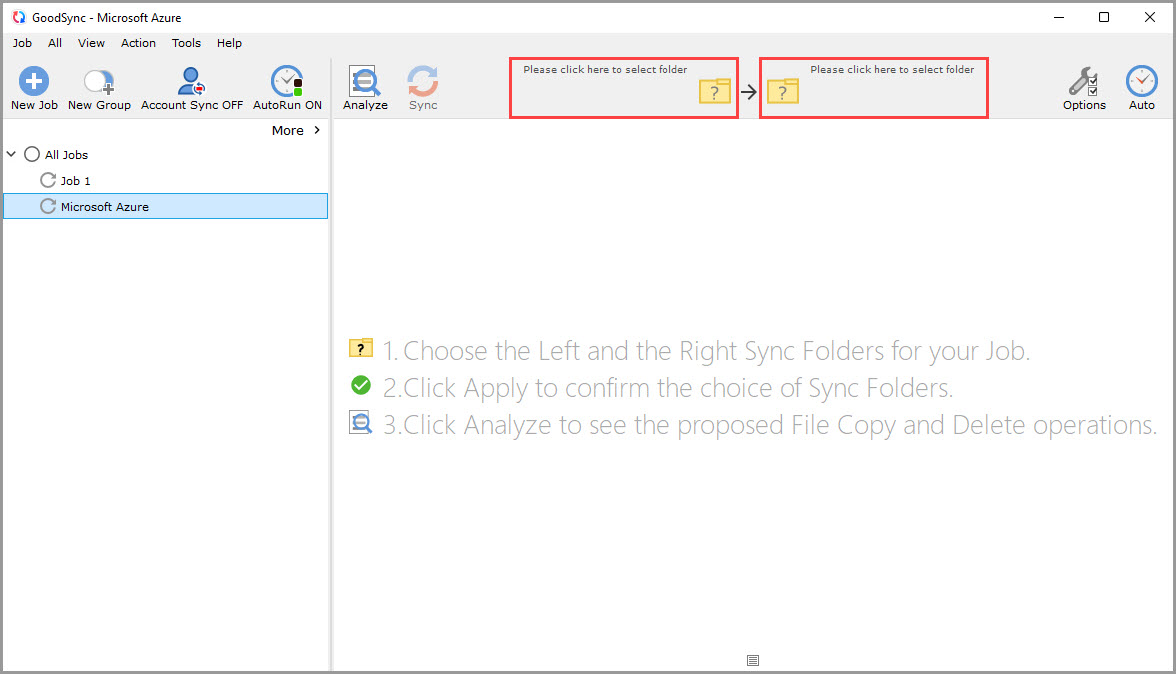
3) Click the left or right sync folder controls to view the files and folders available for selection.
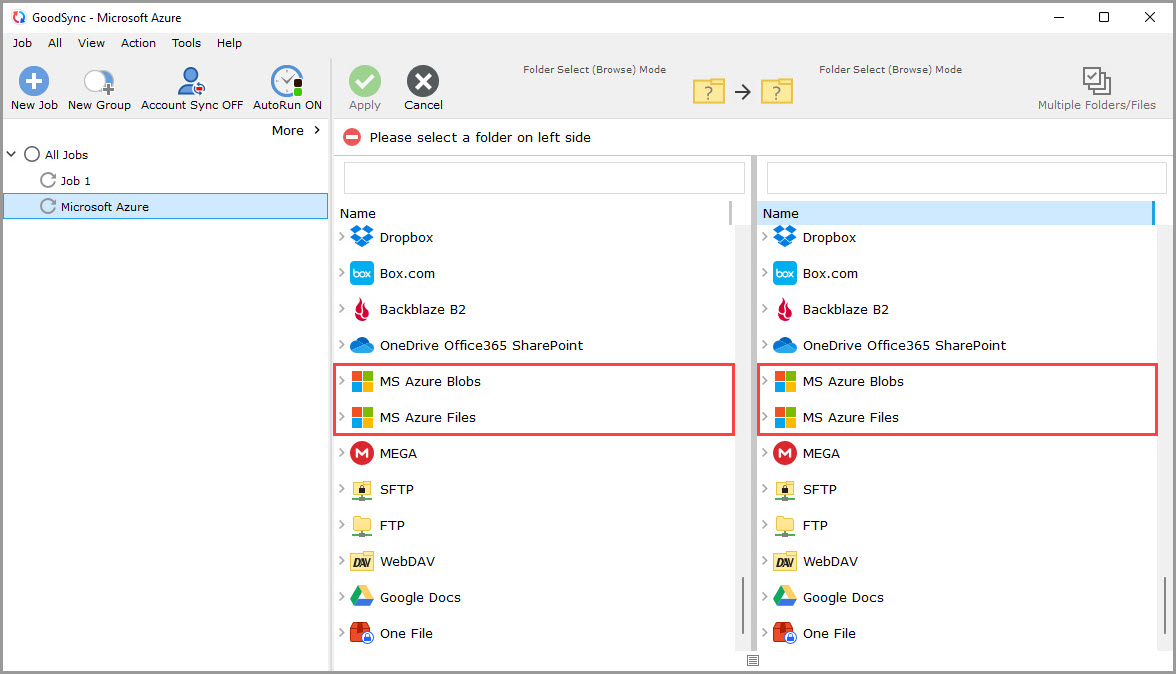
4) Scroll down, and select "MS Azure Blobs" or "MS Azure Files" from the list of supported services on either side.
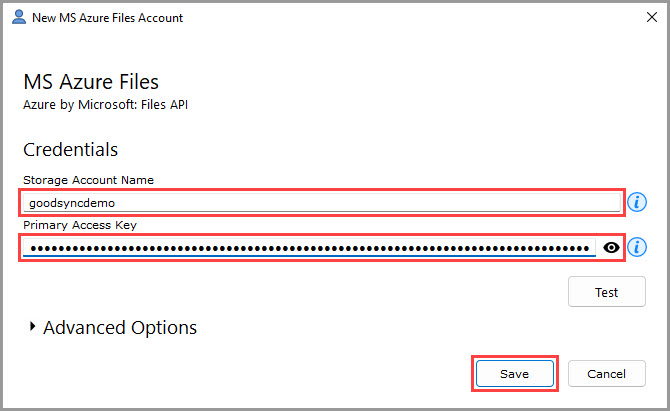
5) A window will appear prompting you to authorize GoodSync to access your Microsoft Azure account.
In the "Storage Account Name" field under "Credentials," enter your storage account name as it appears on your Microsoft Azure account.
In the "Primary Access Key" field under "Credentials," enter "Key 1" as it appears on your Microsoft Azure account.
Then, click the "Save" button.
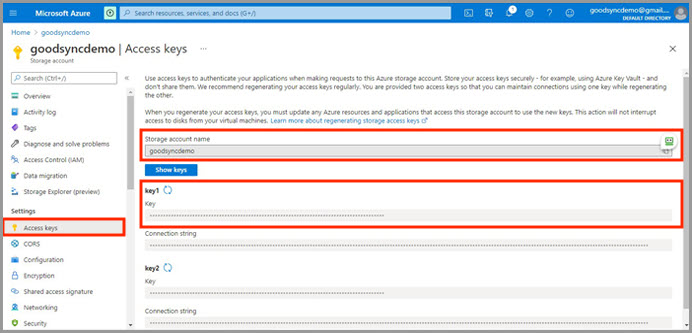
NOTE: To find your storage account name and access keys, first log in to your Microsoft Azure account. Then, under "Settings," click "Access keys." On the "Access keys" page, you will see your storage account name and keys. Your "Primary Access Key" is "Key 1."
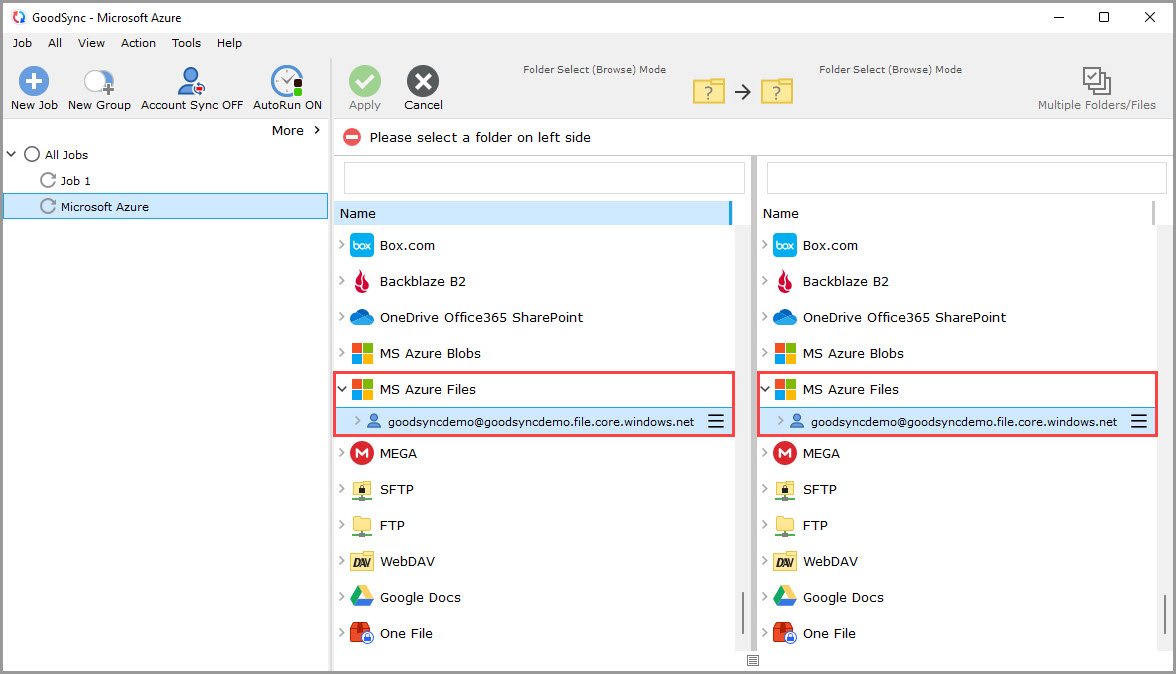
6) After permission is given to GoodSync, your Microsoft Azure account content will be displayed within the GoodSync interface.
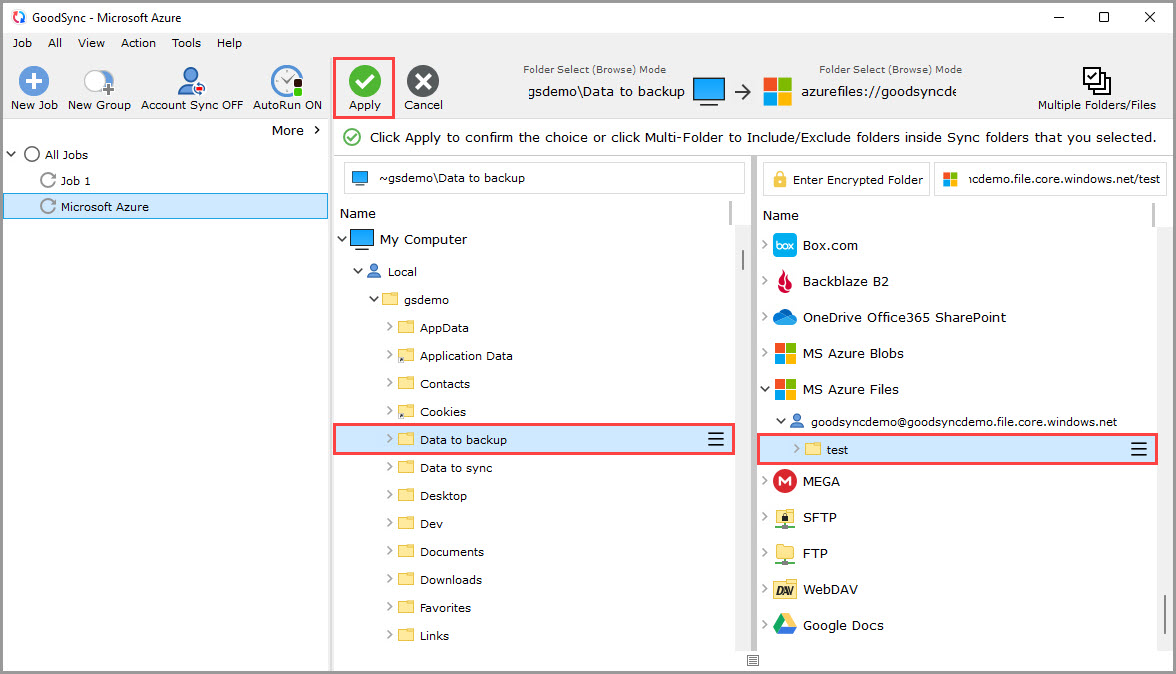
7) Select a folder that contains the data you wish to back up or sync on the left side.
On the right side, select or create a folder on your Microsoft Azure storage that you wish to back up or sync to.
Then, click the green "Apply" button.
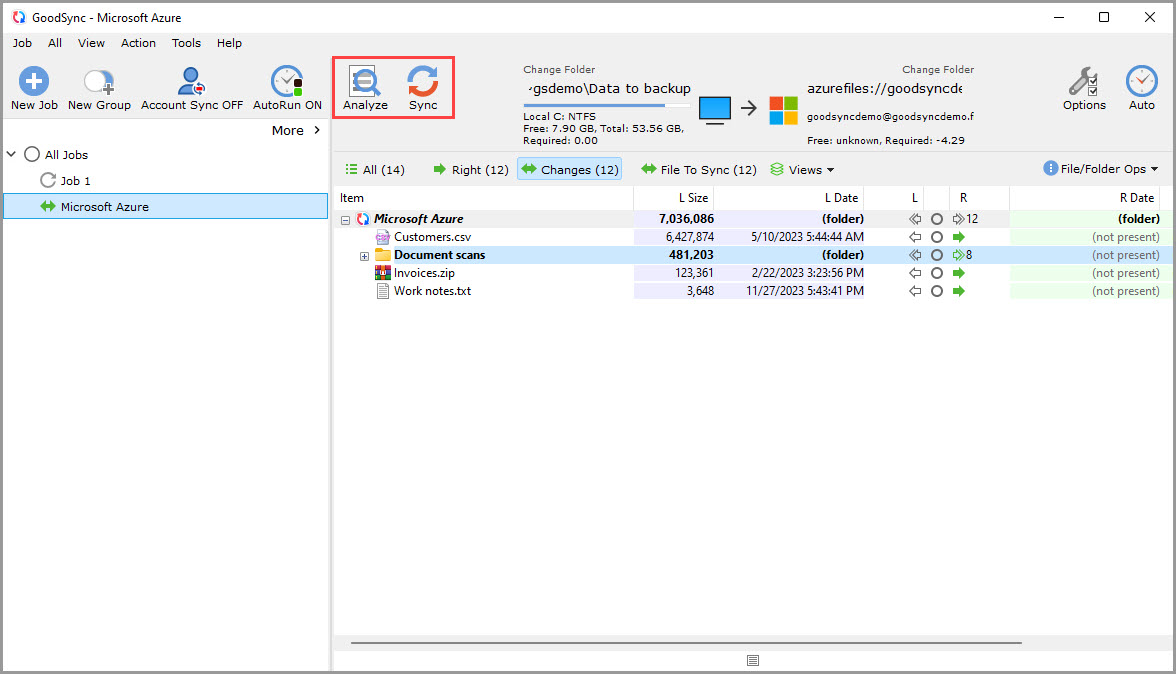
8) Your Job is now ready to Analyze and Sync.
NOTE: To configure the job with automation or other settings, click here.