If you haven't already, download and install GoodSync on your device.
With GoodSync, you can back up and sync data to and from Microsoft OneDrive, Office 365, and SharePoint cloud storage. GoodSync itself does not impose limits on how much data you can sync or the number of files involved. However, Microsoft enforces its own platform-specific restrictions, which are outside of GoodSync’s control.
For details on the limitations set by Microsoft, please review the following documentation: Restrictions and limitations in OneDrive and SharePoint
To begin syncing with OneDrive, Office 365, or SharePoint using GoodSync, follow the steps below:
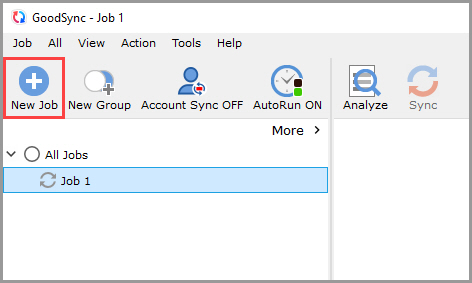
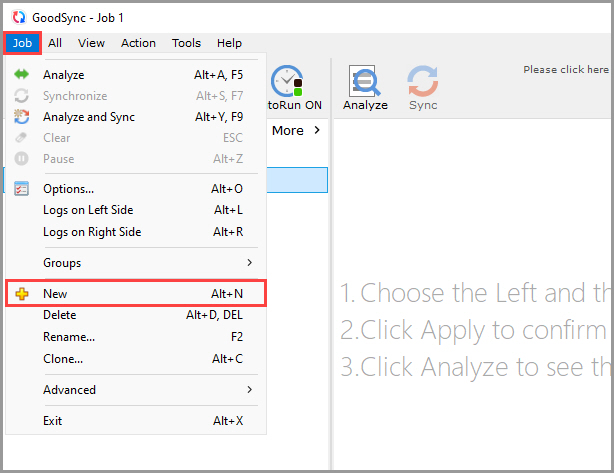
1) Open GoodSync and click the "New Job" button in the toolbar, or, in the "Job" menu, select "New."
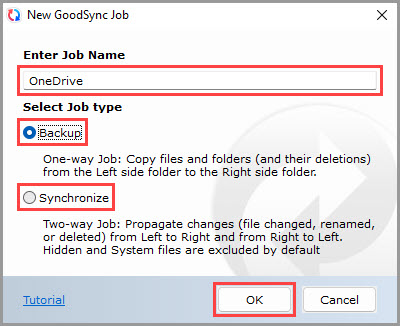
2) In the New GoodSync Job prompt, enter the name of your new Job. Then, select "Backup" or "Synchronize" as your Job type.
Click the "OK" button when done.
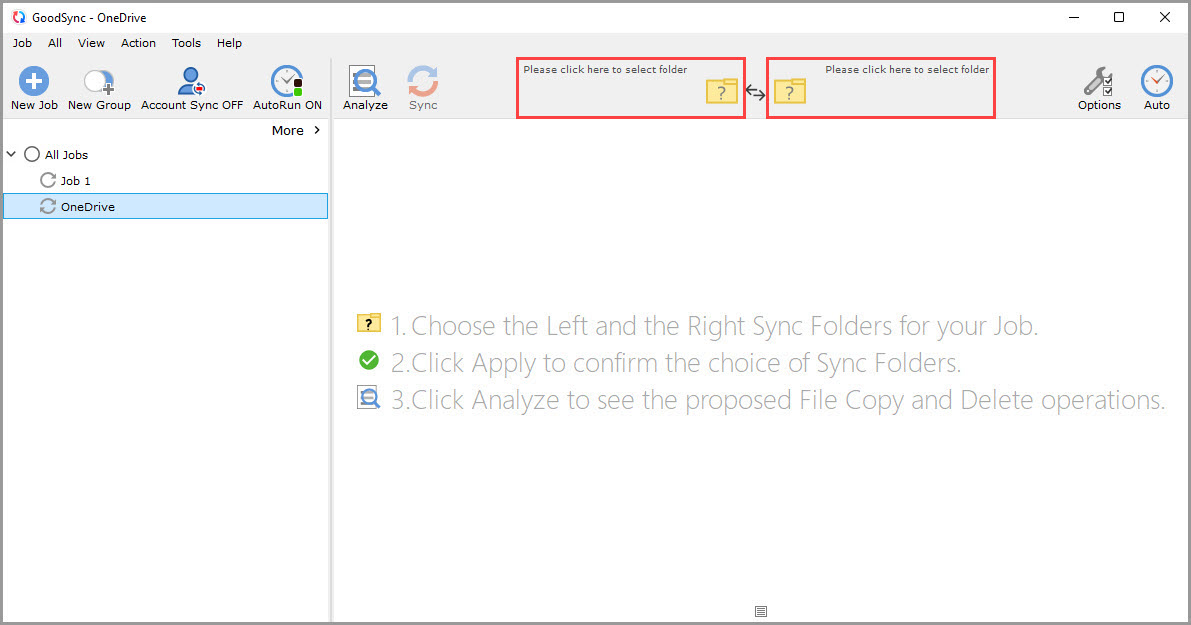
3) Click the left or right sync folder controls to view the files and folders available for selection.
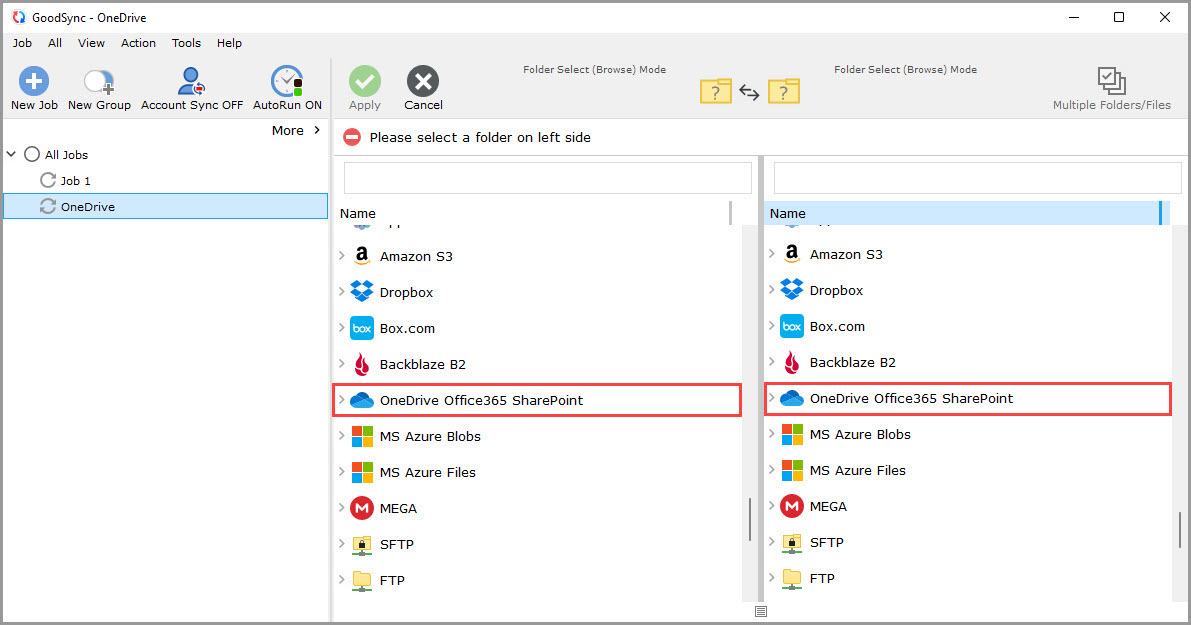
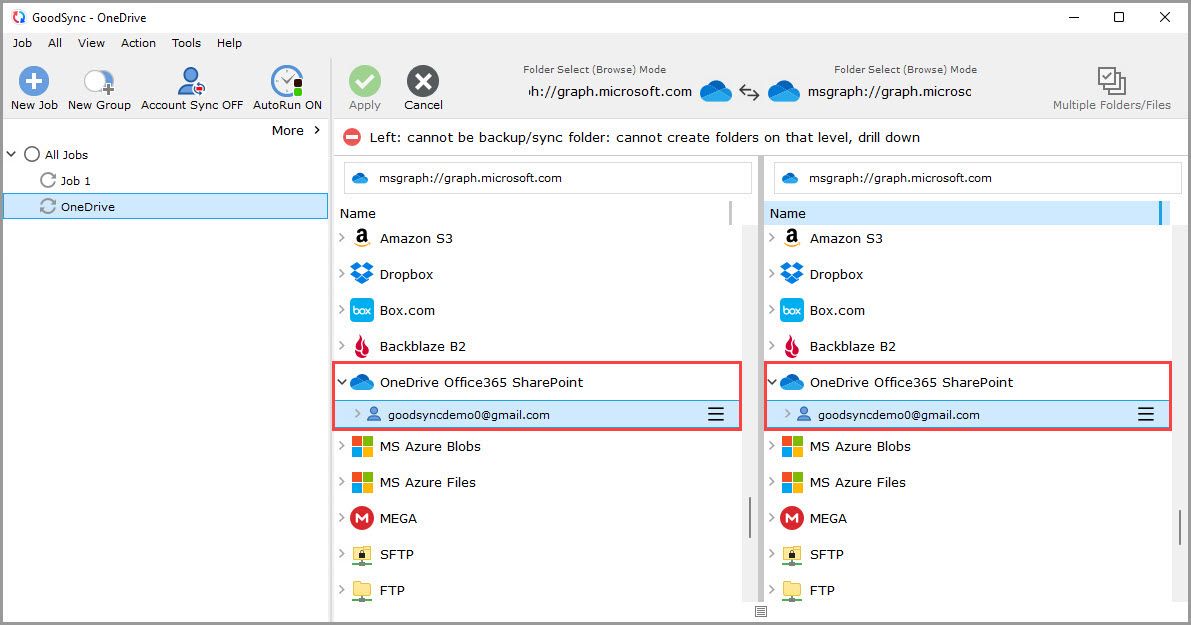
4) Scroll down, and select "OneDrive Office365 SharePoint" from the list of supported services on either side.
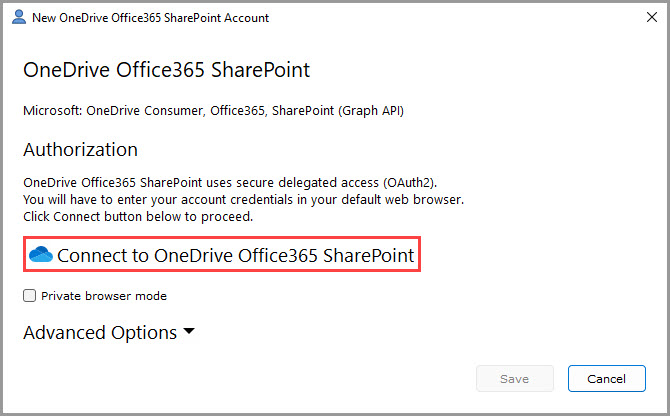
5) A window will appear prompting you to authorize GoodSync to access your Microsoft Live account. Click on the "Connect to OneDrive Office365 SharePoint" button.
NOTE: If you have already connected to OneDrive/Office365/SharePoint and wish to add another account, check the "Private browser mode" box. This will open your browser in Private mode, enabling authentication with a different account.
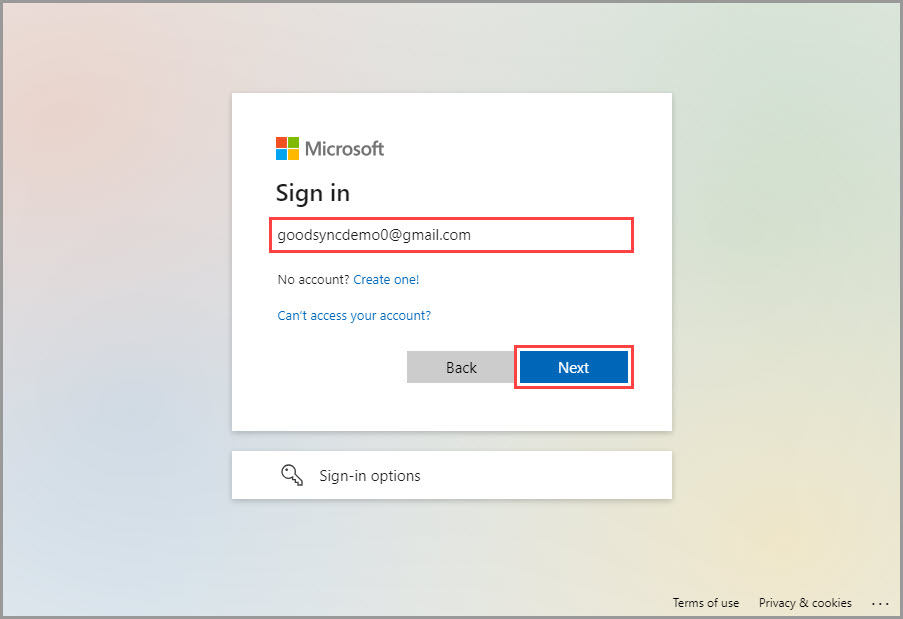
6) A Microsoft Live authentication page will open in your default browser. Enter the name of your Live account. Then click the blue "Next" button.
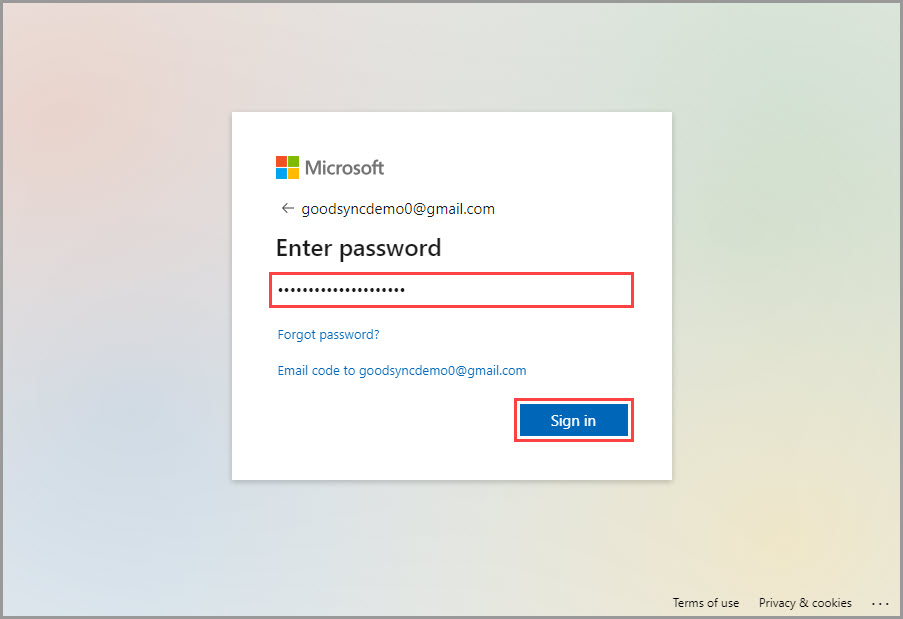
7) On the next step, enter the password of your Live account, and click the blue "Sign in" button.
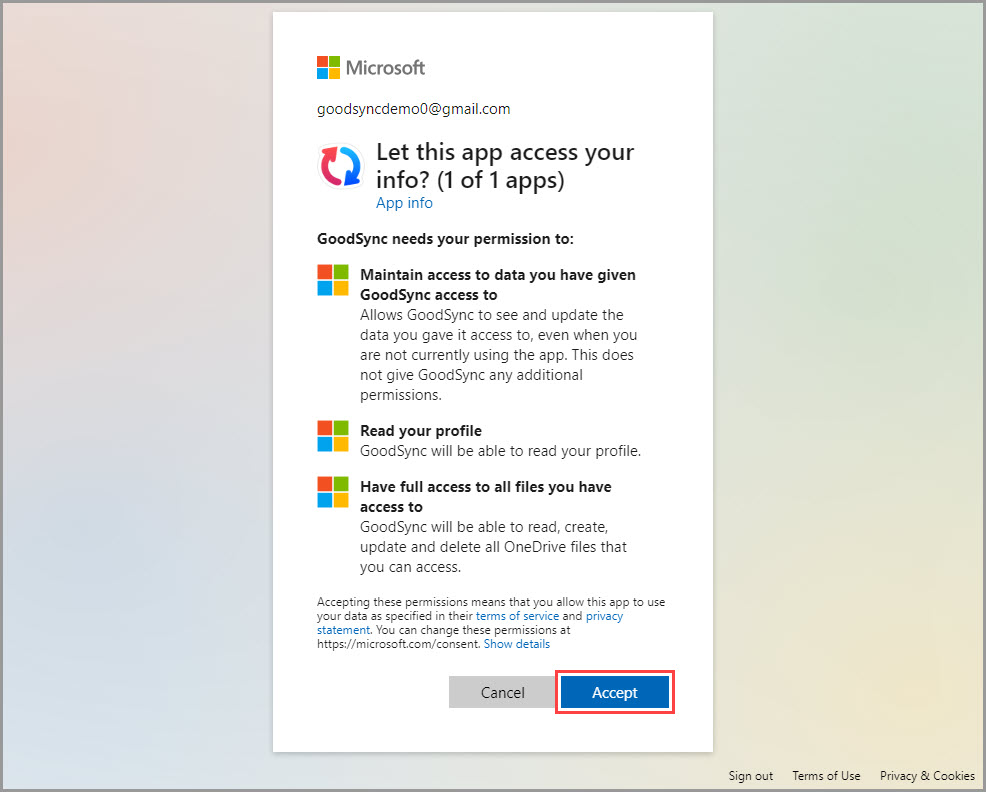
8) Click the "Accept" button to grant GoodSync access to your OneDrive/Office365/SharePoint storage. You will then be taken to a page confirming that you granted access to GoodSync.
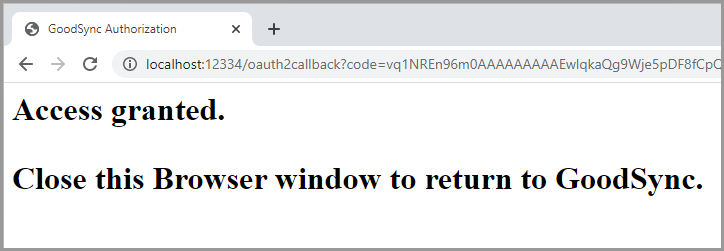
9) After permission is given to GoodSync, your OneDrive/Office365/SharePoint account content will be shown within the GoodSync interface.
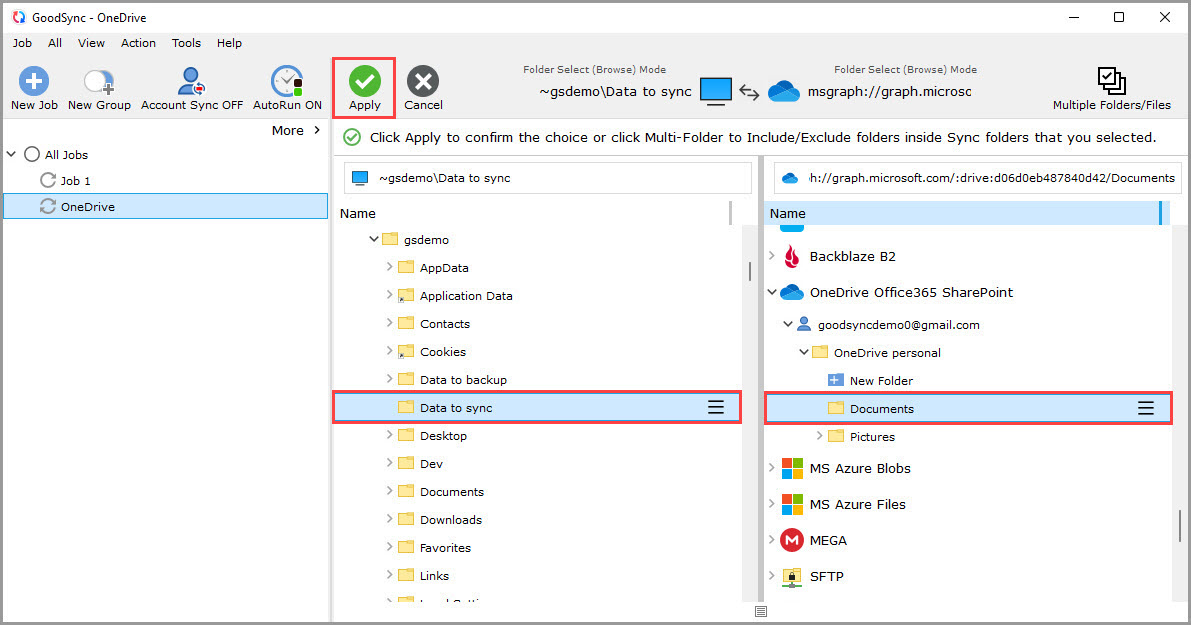
10) Select a folder that contains the data you wish to back up or sync on the left side.
On the right side, click "OneDrive Office365 SharePoint" and select or create a folder you wish to back up or sync to.
Then, click the green "Apply" button.
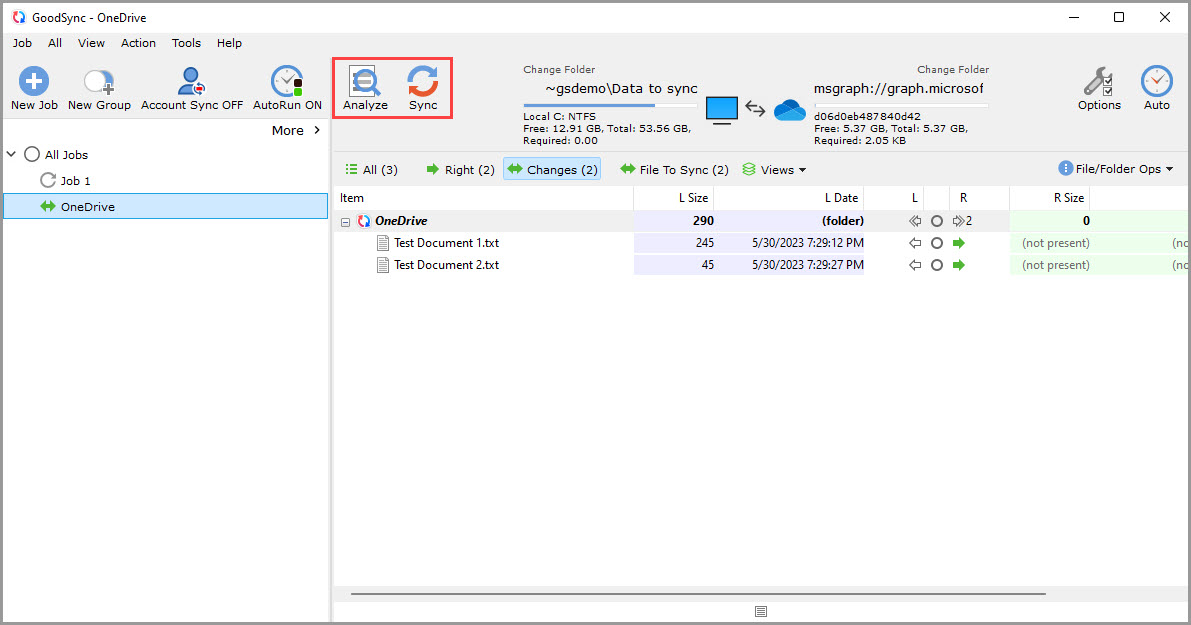
11) Your Job is now ready to Analyze and Sync.
NOTE: To configure the job with automation or other settings, click here.